Sign In
Upload
Download
Table of Contents
Contents
Add to my manuals
Delete from my manuals
Share
URL of this page:
HTML Link:
Bookmark this page
Add
Manual will be automatically added to "My Manuals"
Print this page
×
Bookmark added
×
Added to my manuals
Manuals
Brands
Bosch Manuals
Cooktops
PPH6A6B20A
User instructions
Bosch PPH6A6B20A User Instructions
Hide thumbs
1
Table Of Contents
2
3
4
5
6
7
8
9
10
11
12
13
14
15
16
17
18
19
20
page
of
20
Go
/
20
Contents
Table of Contents
Troubleshooting
Bookmarks
Table of Contents
Intended Use
Important Safety Information
Table of Contents
What to Do if You Smell Gas
Installation and Connection
Preparing to Install
Statutory Requirements
Clearances
Electrical Connection
Installation of Cooktop into the Kitchen Bench
Gas Connection
Converting the Cooktop from Nat. Gas to
Universal LPG
Getting to Know Your Appliance
Burner Locations
Controls and Burners
Accessories
Automatic Ignition
Gas Burners
Safety System
Switching off a Burner
Switching on Manually
Warnings
Precautions for Use
Settings Table and Tips
Suitable Pans
Table of Cooking Times
2 Cleaning and Maintenance
Cleaning
Maintenance
3 Trouble Shooting
4 Customer Service
Warranty Conditions
Advertisement
Quick Links
1
Preparing to Install
2
Installation and Connection
Download this manual
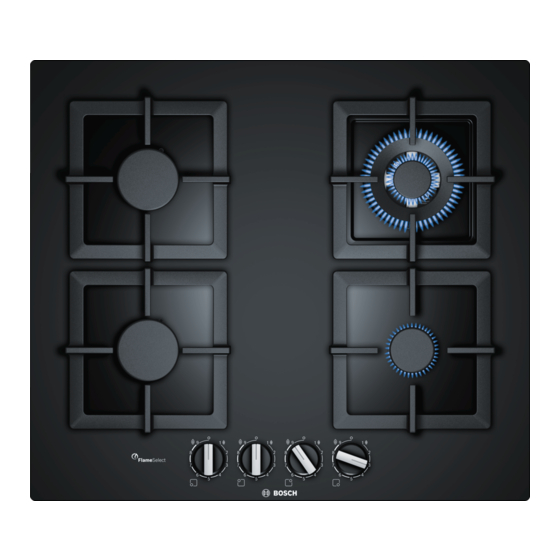
PPH6A6B20A, PPQ7A6B20A
This cooktop is approved for use with Natural
Gas and Universal LPG.
Leave these instructions with the owner.
USER INSTRUCTIONS
INSTALLATION INSTRUCTIONS
MAINTENANCE INSTRUCTIONS
Table of
Contents
Previous
Page
Next
Page
1
2
3
4
5
Advertisement
Table of Contents
Need help?
Do you have a question about the PPH6A6B20A and is the answer not in the manual?
Ask a question
Questions and answers
Related Manuals for Bosch PPH6A6B20A
Cooktops Bosch PCH615FAU Instructions Manual
(19 pages)
Cooktops Bosch PPQ7A6B20A User Instructions
(20 pages)
Cooktops Bosch NGM5056UC Installation Manual
Lp gas conversion kit (36 pages)
This manual is also suitable for:
Ppq7a6b20a
Table of Contents
Print
Rename the bookmark
Delete bookmark?
Delete from my manuals?
Login
Sign In
OR
Sign in with Facebook
Sign in with Google
Upload manual
Upload from disk
Upload from URL


Need help?
Do you have a question about the PPH6A6B20A and is the answer not in the manual?
Questions and answers