Table of Contents
Advertisement
Quick Links
Advertisement
Table of Contents

Subscribe to Our Youtube Channel
Related Manuals for Fox F50-842


Summary of Contents for Fox F50-842
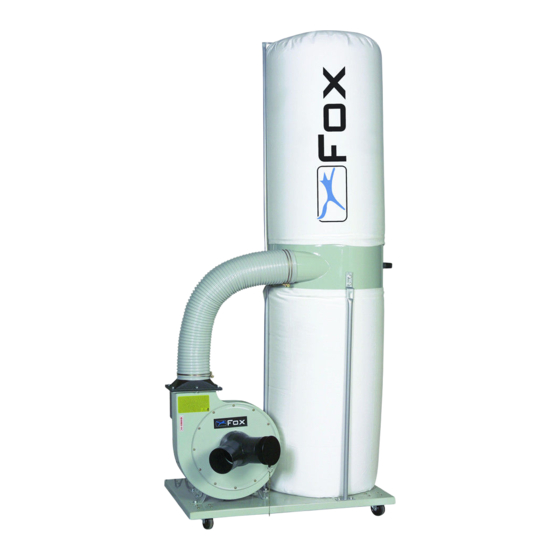
- Page 1 2HP DUST EXTRACTOR FOX Model F50-842...
-
Page 2: Table Of Contents
2hp Dust Extractor FOX MODEL F50-842 TABLE OF CONTENTS Safety instructions…………………………………………………………………………………………… Page 3 Specific safety instructions for dust collectors…………………………………………………………….Page 5 Specifications………………………………………………………………………………………………… Page 6 Electrical connections………………………………………………………………………………………. Page 7 Earthing instructions………………………………………………………………………………………… Page 7 Environmental protection…………………………………………………………………………………… Page 8 ... -
Page 3: Safety Instructions
ATTENTION : - Read the instructions for use carefully before using the machine - This device meets current safety standards for electrical machines. - Incorrect use may result in injury. Anyone not familiar with the instructions for use should not use the machine. - Page 4 8. Wear appropriate clothing. Avoid loose clothing, and remove jewellery which could become caught in moving parts. Non-slip shoes are particularly recommended when working outside. Keep long hair tied up. 9. Always wear safety glasses. Also wear a mask if operating the machine creates dust. 10.
-
Page 5: Specific Safety Instructions For Dust Collectors
SPECIFIC SAFETY INSTRUCTIONS FOR DUST COLLECTORS The filtration housing contains a high speed fan blade that can amputate fingers, grab loose clothing and neckties, and propel dust at high velocities. DO NOT OPERATE WITHOUT ALL PARTS IN PLACE. Do not attempt to clean, remove the dust bags, or service the unit when the power is on. Turn the unit off and disconnect the cord from the power source. -
Page 6: Specifications
Do not put any object into the ventilation openings. Do not vacuum with any ventilation opening blocked; keep free of dust, lint, hair or anything that may reduce air flow. Keep hair, loose clothing, fingers, and all body parts away from openings and moving parts. Extension cords in poor condition or that are too small can cause fire and shock hazards. -
Page 7: Electrical Connections
ELECTRICAL CONNECTIONS EXTENSION CORDS Before using an extension cord, ensure the insulation is not cut or worn. Immediately repair or replace a damaged or frayed cord. ATTENTION : Extension cords must be removed from the work area or located so that they will not get caught in parts, tools or other objects while using the tool. -
Page 8: Environmental Protection
ENVIRONMENTAL PROTECTION The crossed-out wheeled bin means that within the European Union the product must be taken to separate collection at the product end-of-life. This applies to your device but also to any enhancements marked with this symbol. Do not dispose of these products as unsorted municipal waste. -
Page 9: Unpacking The Dust Collector
UNPACKING THE DUST COLLECTOR Unpack your dust collector carefully, taking care with the loose parts. Note : if any parts are damaged or missing, do not connect the machine to the power and do not switch it on until the missing/damaged parts are replaced. -
Page 10: Assembling The Dust Collector
ASSEMBLING THE DUST COLLECTOR To assemble, first place the base plate (D) upside down and attach the four casters (J) in the holes provided and tighten with the wrench. Fig. 1. With the collector body and fan/motor assembly (A) in place, secure it to the base plate (D) using the screws and washers provided, as shown in Fig. - Page 11 Next, mount the outlet (L) and packing (I) to the collector body as shown in Fig. 3 and Fig. 4 below.
- Page 12 The collector support (F) can be mounted to the base plate (D) as shown in Fig. 5 below. Now attach the collector (C) to the three collector supports (F) making sure the side hole is facing the collector body as shown in Fig. 6 below.
- Page 13 Next, install the upper bag support (E) onto the collector (C) as shown in Fig. 7 below. Now attach one end of the hose (A) to the collector body (B) and the other end to the side hole of the collector and secure it with the two hose clamps (M) as shown in Fig.
- Page 14 Place the collector (C) and filter bags (H) onto the collector and secure with the clamps (O) as shown in Fig. 9 below. Once the bags are secured, the upper bag should be hung from the upper bag support (E). The inlet (G) can now be placed on the intake hole of the fan/motor assembly (B) as shown in Fig.
- Page 15 The dust collector is now ready to be used. Before connecting to the power supply, ensure the power source is properly grounded and is the correct voltage.
-
Page 16: Wiring Diagram
WIRING DIAGRAM... -
Page 17: Parts Diagram
PARTS DIAGRAM... -
Page 18: Parts List
PARTS LIST... -
Page 19: Dart Tool Group Guarantee
Power Tools and accessories which, upon examination, prove to be defective in workmanship or material. The warranty period for the FOX branded products is one year for parts and labour and three years for parts only. The guarantee does not include repair, labour or parts requiring replacement because of misuse, abuse, or normal wear and tear. -
Page 20: Declaration Of Conformity
KIRKCALDY, UK, KY1 3PD Tel. +44 (0) 1592 652946 Fax: +44 (0) 1592 654854 Declares that the: 2HP DUST COLLECTOR (F50-842) is in compliance with the regulations included in the Directives: CEE 2006/42-2004/108-2006/95 Person authorized to create the technical file: Robert Paterson 06.05.2011...
Need help?
Do you have a question about the F50-842 and is the answer not in the manual?
Questions and answers