Table of Contents
Advertisement
Quick Links
Advertisement
Table of Contents

Related Manuals for AEG LAVATHERM 97689IH


Summary of Contents for AEG LAVATHERM 97689IH
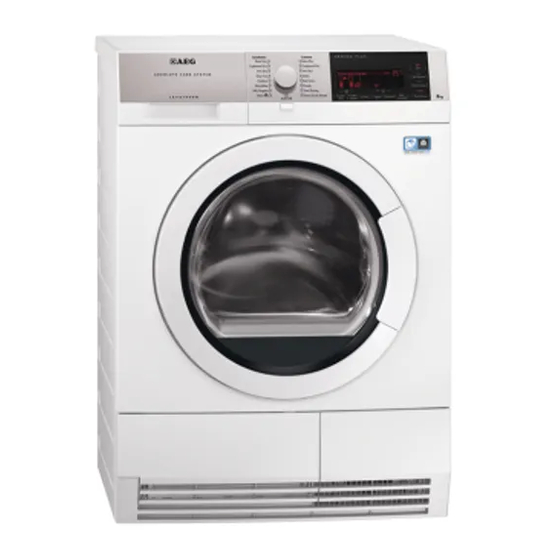
- Page 1 User Manual LAVATHERM 97689IH Tumble Dryer...
-
Page 2: Table Of Contents
16. WARRANTY ........................ 26 FOR PERFECT RESULTS Thank you for choosing this AEG product. We have created it to give you impeccable performance for many years, with innovative technologies that help make life simpler features you might not find on ordinary appliances. Please spend a few minutes reading to get the very best from it. -
Page 3: Safety Information
ENGLISH SAFETY INFORMATION Before the installation and use of the appliance, carefully read the supplied instructions. The manufacturer is not responsible if an incorrect installation and use causes injuries and damages. Always keep the instructions with the appliance for future reference. - Page 4 If the tumble dryer is put on top of a washing • machine, use the stacking kit. The stacking kit, available from your authorized vendor, can be used only with the appliance specified in the instructions, supplied with the accessory. Read it carefully before installation (Refer to the Installation leaflet).
-
Page 5: Conditions Of Use
ENGLISH Items that have been soiled with substances such as • cooking oil, acetone, alcohol, petrol, kerosene, spot removers, turpentine, waxes and wax removers should be washed in hot water with an extra amount of detergent before being dried in the tumble dryer. Items such as foam rubber (latex foam), shower caps, •... - Page 6 • When the appliance is put in its • Oil-affected items can ignite permanent position, check if it is fully spontaneously, especially when level with the aid of a spirit level. If it exposed to heat sources such as in a is not, adjust the feet until it is.
-
Page 7: Product Description
ENGLISH tight. The damage of the system can • Disconnect the appliance from the cause a leakage. mains supply. • Cut off the mains cable and discard it. 3.7 Disposal • Remove the door catch to prevent children and pets to get closed in the WARNING! appliance. -
Page 8: Accessories
The load door can be installed by the user in the opposite side. It can help to easily put and remove the laundry or if there is a limit to install the appliance (see separate leaflet). 5. ACCESSORIES 5.1 Stacking kit... -
Page 9: Control Panel
ENGLISH Read carefully the instructions supplied It is available from your authorized with the accessory. vendor (can be attached to some types of the tumble dryers). Do the check with 5.4 Drying rack the vendor or on the web site if the accessory is compatible with your appliance. - Page 10 6.1 The touch panel As alternative for the buttons to set the For accurate selection touch option you must touch the area with the the centre point of the area option name. Each area between the between the vertical marks.
- Page 11 ENGLISH Symbol on the display Symbol description estimated hour of the programme end with the delayed start delay start interval 30min. — 20h. Symbol on the display Symbol description extra laundry dryness: default, moderate, maximum anti-crease phase duration: default, interval (30min. - 120min.) laundry was spun at: 800 —...
-
Page 12: Programme Table
7. PROGRAMME TABLE Programmes Properties / Fabric mark Load Cottons 8 kg Drying level: extra dry. Extra Dry Cupboard Dry + 8 kg Drying level: cupboard dry +. Cupboard Dry 8 kg Drying level: cupboard dry. Iron Dry 8 kg Drying level: applicable for iron. - Page 13 ENGLISH Programmes Properties / Fabric mark Load To dry outdoor pieces of clothing, technical, sports, pile fabrics, waterproof and breathable Outdoor 2 kg jackets, shell jacket teamed with a removable fleece or inner insulation. To dry hand-washable silk with 1 kg Silk warm air and gentle movement.
-
Page 14: Options
Options Anti- Spun Time Time Extra creas Programmes Plus Save Silent Duvets Time Drying Synthetics; Extra Dry Synthetics; Cupboard Dry Synthetics; Iron Dry Easy Iron Outdoor Silk Wool Extra Quick Mixed 1) Together with the programme you can set 1 or more options. - Page 15 ENGLISH 8.3 Spun at RPM 8.6 Delay Start This option helps to set the best Lets to delay the start of a condition to dry the laundry. drying programme from If you know the initial spin speed when minimum of 30 minutes to you washed you can use this option.
-
Page 16: Before First Use
The cycle dB without the effect on the drying time can be shorter by 30% on the quality. The appliance operates slowly cottons and 40% on synthetics. The with the longer cycle time. - Page 17 ENGLISH • Use an applicable programme for • Dry only the laundry that is applicable cotton jersey and knitwear to prevent for tumble dryer. Refer to the fabric the items to shrink. label on the items. • Make sure that the laundry weight is not more than the maximum weight that is in the programme table.
- Page 18 10.6 Options 5. To deactivate the child lock, touch again the above option fields until Together with the programme you can the symbol goes out of the view. set 1 or more special options. 10.8 Starting a programme To start the programme: To activate or deactivate the option touch the applicable option field.
-
Page 19: Hints And Tips
ENGLISH 11. HINTS AND TIPS 11.1 Ecological hints Spun at RPM option fields for approximately 2 seconds. • Spin good the laundry before drying. • Use the load volumes which are 11.3 Deactivating the Tank specified in the programme chart. indicator •... -
Page 20: Care And Cleaning
2. Wait approximately 8 seconds. 3. Touch at the same time the Buzzer and Time Dry option fields and hold down. Time of day You see the language name on the display. 4. Turn the programme dial to set the new language. - Page 21 ENGLISH 12.2 Draining the water container Drain the condensed water container after each drying cycle. If the condensed water container is full, the programme breaks off automatically. Tank is on the display The symbol and you must drain the water container. To drain the water container: 1.
- Page 22 To do the inspection: 4. Lower the heat exchanger cover. 1. Open the door. Pull the filter. 2. Move the release button on the bottom of the door to open the heat exchanger door. 5. If necessary, remove the fluff from the heat exchanger and its compartment.
-
Page 23: Troubleshooting
ENGLISH 12.5 Cleaning the control 12.6 Cleaning the airflow slots panel and housing Use a vacuum cleaner to remove the fluff from the airflow slots. Use a standard neutral soap detergent to clean the control panel and housing. Use a moist cloth to clean. Dry the cleaned surfaces with a soft cloth. - Page 24 Possible cause Remedy Problem The filter not locked in the posi- Put the filter in the correct posi- The loading tion. tion. door does not The laundry is locked between the Put the load correctly in the drum. closed door and the seal.
-
Page 25: Technical Data
ENGLISH 14. TECHNICAL DATA Height x Width x Depth 850 x 600 x 600 mm (maximal 640 mm) Max. depth with the appliance door open 1090 mm Max. width with the appliance door open 950 mm Adjustable height 850 mm (+ 15 mm - feet regulation) Drum volume 118 l Maximum load volume... -
Page 26: Warranty
ACL and includes a situation for AEG Appliances. It is an important when an Appliance cannot be document. Please keep it with your repaired or it is uneconomic for... - Page 27 Appliance. to and from Electrolux or its ASC. 10. For AEG Appliances and services in 6. Proof of purchase is required before Australia, the Appliances come with a...
- Page 28 Appliance has a valid warranty claim number of the Appliance applicable to it. available; 12. For Appliances and services provided c) have the proof of purchase (e.g.
- Page 29 ENGLISH 17. ENVIRONMENT CONCERNS marked with the symbol with the Recycle the materials with the symbol household waste. Return the product to Put the packaging in applicable your local recycling facility or contact containers to recycle it. Help protect the your municipal office.
- Page 30 www.aeg.com...
- Page 31 ENGLISH...
- Page 32 www.aeg.com/au...
Need help?
Do you have a question about the LAVATHERM 97689IH and is the answer not in the manual?
Questions and answers