Norcold N260 Service Manual
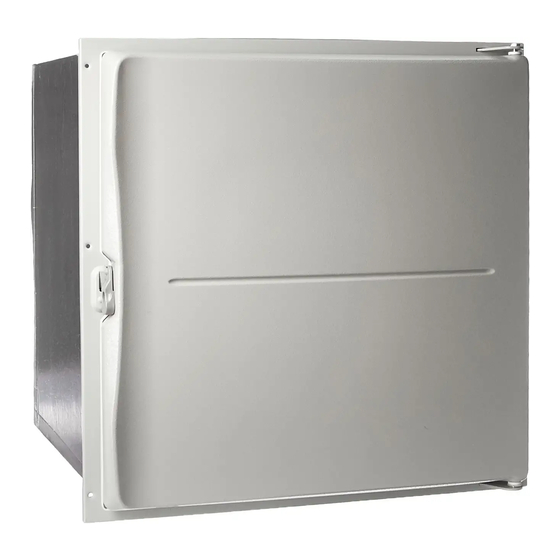
2.4 cu. ft., 2, 3--way refrigerator
Hide thumbs
Also See for N260:
- Owner's manual & installation manual (18 pages) ,
- Parts list (8 pages) ,
- Owner's manual & installation manual (17 pages)

Related Manuals for Norcold N260


Summary of Contents for Norcold N260
- Page 1 Service Manual For model N260 - a 2.4 cu. ft., 2-way refrigerator. For model N260.3 - a 2.4 cu. ft., 3-way refrigerator. NORCOLD, Inc. P.O. Box 4248 Sidney, OH 45365-4248 Part No. 619260A (4-98)
-
Page 2: Table Of Contents
1-800-444-7210. - Do not bypass or change the refrigerator’s electrical components or features. Only use genuine Norcold replacement parts on the refrigera- tor. Generic parts do not meet Norcold’s specifications for reliability, performance, and safety. 2 - Service Manual N260 Series... -
Page 3: Specifications
AC Circuit 3 Amp Type 3AG (1 1/4” x 1/4”) Norcold P/N: 61654622 - Make sure all fasteners and connections are tight. DC Circuit: 20 Amp Type 3AG (1 1/4” x 1/4”) Norcold P/N: 61440522 Service Manual N260 Series - 3... -
Page 4: Ventilation Requirements
If this air flow is blocked or decreased, the refrigerator may not cool correctly. Each NORCOLD model is certified by AGA and CGA for correct ventilation. 4 - Service Manual N260 Series... -
Page 5: Electrical Components
NOTE: This in-line fuse is necessary for added safety, even though the refrigerator has a DC fuse in the control assembly. Service Manual N260 Series - 5... -
Page 6: Ignition And Start Up
- Make sure that 120 volts AC is available. Remove and clean the burner orifice: - Turn the selector switch to the AC position ( NOTE: A dealer or a Norcold authorized Service Center must do this procedure. - Turn the thermostat to the temperature setting that you wish. -
Page 7: Diagnosing Cooling Problems
- Within 20 minutes of starting the refrigerator, touch 14 ..........DC heater (3-way models) the outside of the insulation sleeve. - The outside of the insulation sleeve should be warm to the touch. Service Manual N260 Series - 7... -
Page 8: Troubleshooting Charts
8 - Service Manual N260 Series... -
Page 9: Refrigerator Will Not Operate On Dc (3-Way Models)
Service Manual N260 Series - 9... -
Page 10: Burner Ignites But Does Not Maintain Flame
10 - Service Manual N260 Series... -
Page 11: Part Replacement
11. Make sure that a 20 Amp fuse is in the fuse holder. AC heater 12. Attach the DC input leads from the refrigerator. 1. Remove the AC power cord from the receptacle. Service Manual N260 Series - 11... -
Page 12: Thermocouple
6. Remove the LP gas outlet fittng from the safety valve. 7. Remove the safety valve from the thermostat. 8. To install the replacement safety valve, do steps 1-7 in reverse. 9. Examine all the LP gas connections for leaks. 12 - Service Manual N260 Series... - Page 13 Service Manual N260 Series - 13...
- Page 14 14 - Service Manual N260 Series...
Need help?
Do you have a question about the N260 and is the answer not in the manual?
Questions and answers