Table of Contents
Advertisement
Quick Links
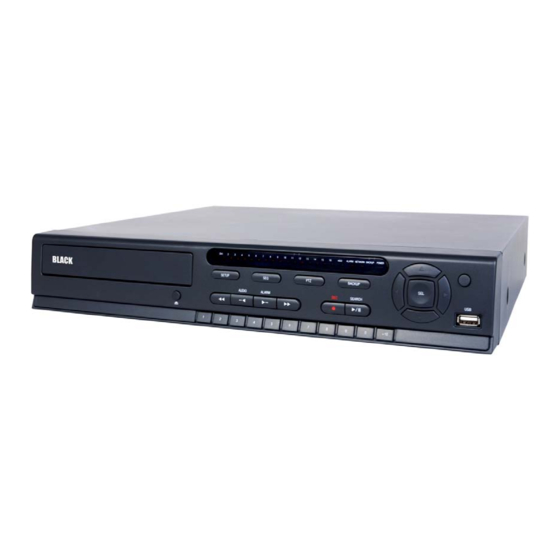
H.264 4/8/16 Channel DVR Quick Start Guide
Products: BLK-DH200400DHDVD, BLK-DH200800DHDVD, BLK-DH201600DHDVD
PLEASE READ THIS GUIDE BEFORE USING YOUR RECORDER, and always follow
the instructions for safety and proper use. Save this guide for future reference.
BLK-DH20xx00DHDVD_RQ
© 2012 Observint Technologies, Inc.
Advertisement
Table of Contents

Related Manuals for Black BLK-DH200400DHDVD


Summary of Contents for Black BLK-DH200400DHDVD
- Page 1 H.264 4/8/16 Channel DVR Quick Start Guide Products: BLK-DH200400DHDVD, BLK-DH200800DHDVD, BLK-DH201600DHDVD PLEASE READ THIS GUIDE BEFORE USING YOUR RECORDER, and always follow the instructions for safety and proper use. Save this guide for future reference. BLK-DH20xx00DHDVD_RQ © 2012 Observint Technologies, Inc.
-
Page 2: Specifications
Specifications* ITEM BLK-DH200400DHDVD BLK-DH200800DHDVD BLK-DH201600DHDVD Channel 4 channel 8 channel 16 channel Input level Composite, 1.0 Vp-p, 75 Ω Input Signal format NTSC Video loss check Video HDMI 1, up to 1080p Output Spot Input / output 4 channel line input / 1 channel line output... -
Page 3: Product Components
ITEM BLK-DH200400DHDVD BLK-DH200800DHDVD BLK-DH201600DHDVD Watermark Power 12 Vdc @ 5 A Operating temperature 41 °F ~ 104 °F (5 °C ~ 40 °C) Storage temperature 14 °F ~ 122 °F (-10 °C ~ 50 °C) Weight Unit weight / gross weight 9.04 lb / 13.67 lb (4.1 kg / 6.2 kg) - Page 4 Front Panel LEDs Name Description Indicates that the channel is being recorded. CH1~16 Indicates that the system is accessing the hard disk. ALARM Indicates that sensor(s) is/are triggered or motion is detected. Indicates that a network client is connected NETWORK BACKUP Indicates that a USB or DVD-RW device contains stored data POWER...
- Page 5 Descriptio Press to mo ove up the menu in Setup mode. It is also used as the number 1 w when entering (U password. Press to mo ove right or to ch ange the values in Setup mode. I It is also used as t the number ...
- Page 6 ear Pane K-DH200400D DHDVD DVR K-DH200800D DHDVD DVR K-DH201600D DHDVD DVR ear Panel C Connectors Item oling fan deo input & vide eo output dio Input DMI video outpu -232C terminal (For testing pu urposes) A output ATA port twork RS-45 Et hernet port B port -485 PTZ, senso...
-
Page 7: System Installation And Setup
System Installation and Setup Follow the steps below to install and setup your system. For more information, refer to the user manual provided on the Plan your entire installation carefully, considering: Position of the cameras to effectively cover your surveillance targets. Avoid locations and orientations where bright light might shine on or reflect onto the camera lens. - Page 8 10. When the main screen opens, you should see a video image from each camera. Use this image to refine the manual settings of the camera. These settings include the camera direction, and may include focus, zoom, and other settings. 11.
-
Page 9: Network Connections
Network Connections LAN Connection – Using a crossover cable without a switching hub Connect to the system directly using a crossover type network cable. LAN Connection – Using a switching hub Connect to the system using a hub (switching hub) and an Ethernet cable (10BASE-T/100BASE-TX CAT 5 LAN cable). Internet (ADSL) Connection Connect to the system using a router or ADSL modem and an Ethernet cable (10BASE-T/100BASE-TX CAT 5 LAN cable).
Need help?
Do you have a question about the BLK-DH200400DHDVD and is the answer not in the manual?
Questions and answers