
Summary of Contents for CDA VW601
- Page 1 VW601 Grill Drawer Installation, Use and Maintenance Customer Care Department • The Group Ltd. • Harby Road • Langar • Nottinghamshire • NG13 9HY T : 01949 862 012 F : 01949 862 003 E : customer.care@cda.eu W : www.cda.eu www.cda.eu...
-
Page 2: Important Safety Information
Keep the drawer closed whilst grilling. Appliance information: Please enter the details on the appliance rating plate below for reference, to assist CDA Customer Care in the event of a fault with your appliance and to register your appliance for guarantee purposes. - Page 3 Appliance Model Serial Number CE Declarations of Conformity: This appliance has been designed, constructed and marketed in compliance with safety requirements of Directive 73/23/CEE modified by directive 93/68/CEE for attribution of CE approval (Low voltage) and requirements of EMC Directive 89/336/CEE modified by directive 93/68/CEE for attribution of CE approval.
- Page 4 Important • Do not rest or sit on the drawer when open, as this will damage the telescopic runners. • The maximum capacity of the drawer is 15 kg. • Do not cover the bottom of the drawer with aluminium foil or other objects.
-
Page 5: Before First Use
Before First Use Before using the drawer for the first time we recommend that you Preheat the empty drawer for thirty minutes with the temperature control at the six O’clock position. A slightly unpleasant smell may be produced, caused by grease remaining on the heating element from the production process. - Page 6 IMPORTANT If the drawer runners become damaged or do not work correctly do not operate the grill drawer. Contact CDA Customer Care for advice.
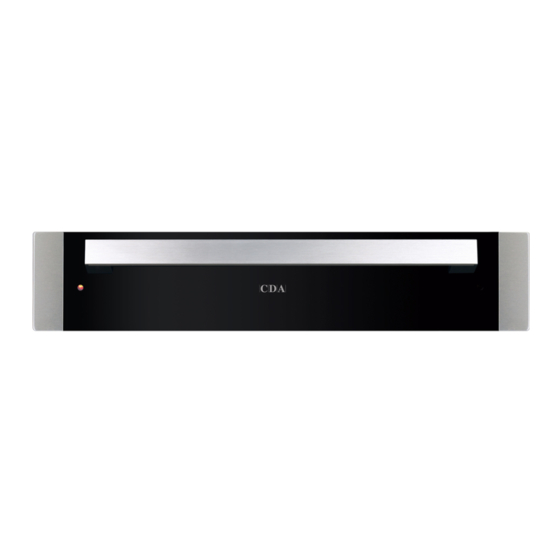
- Page 7 Using Your Grill Drawer Temperature control Medium A Plate warming Power indicator B Keeping food warm C Low D Medium E Medium high F High G Full Power When the drawer is closed, the power indicator is visible on the front of the drawer to indicate the drawer is switched on.
- Page 8 Setting The Cooking Time The grill drawer is equipped with a timer which can be set for up to 30 minutes. • Turn the timer control to the required position. The timer will start running and will sound an audible alert at the end of the countdown. •...
-
Page 9: Care And Maintenance
Proprietary stainless steel cleaners are available. We recommend the CDA E-Cloth available from the CDA Sales Team for cleaning stainless steel surfaces as this has been designed to prolong the finish of your appliance. - Page 10 IMPORTANT: • Steam cleaners must not be used when cleaning this appliance. • Once care and maintenance is complete, ensure that all parts are correctly replaced before using the grill drawer. The drawer can be removed to facilitate cleaning. - Pull out the drawer fully. - Open the drawer release levers, positioned underneath the drawer runners, as shown in figure 2.
-
Page 11: Installation
Important The grill drawer is not intended to be installed under a worktop and is intended to be installed underneath a CDA compact appliance. Do not install this product in locations where the top of the grill drawer is within 25mm of a wooden supporting shelf. - Page 12 How to install your grill drawer You will need the following housing area to install your grill drawer correctly. The grill drawer is designed to fit into a cabinet of 600mm width with a clearance between the side and rear of Air Exhaust 25 min the grill drawer of 5mm or more.
- Page 13 Electricity Supply To Your Grill Drawer Warning! This appliance must be earthed. This appliance must be connected by a competent person, using fixed wiring via a double pole switched fused spur outlet, protected by a 13A fuse. DOUBLE POLE SWITCHED FUSE SPUR OUTLET We recommend that the appliance is connected by a qualified electrician,...
- Page 14 1. The wire which is coloured green and yellow must be connected to the terminal marked E (Earth) or coloured Green. 2. The wire which is coloured blue must be connected to the terminal marked N (Neutral) or coloured Black. 3.
- Page 15 E & O E. All instructions, dimensions and illustrations are provided for guidance only. CDA reserve the right to change specifications without prior notice.
- Page 16 T : 01949 862 012 F : 01949 862 003 E : customer.care@cda.eu Customer Care Department • The Group Ltd. • Harby Road • Langar • Nottinghamshire • NG13 9HY T : 01949 862 012 F : 01949 862 003 E : customer.care@cda.eu W : www.cda.eu www.cda.eu...