Table of Contents
Advertisement
Quick Links
IMPORTANT
To ensure rain water does not collect on the canopy, attach
guy ropes to the nylon loops located on the center of each
panel. Not doing so will void warranty.
IMPORTANT
We strongly suggest setting up your new tent before initial use to
insure that all parts are present and to familiarize yourself with the
tent's assembly. This will have a great effect on how well enjoy your
product and experience.
For questions or concerns call Gigatent at our Toll Free Number:
877-836-8701 Monday-Thursday 9am-5pm EST, Friday 9am-12pm EST or email us at customerservice@gigatent.com.
For replacement parts, please login to our website at gigatent.com and click the link "replacement parts".
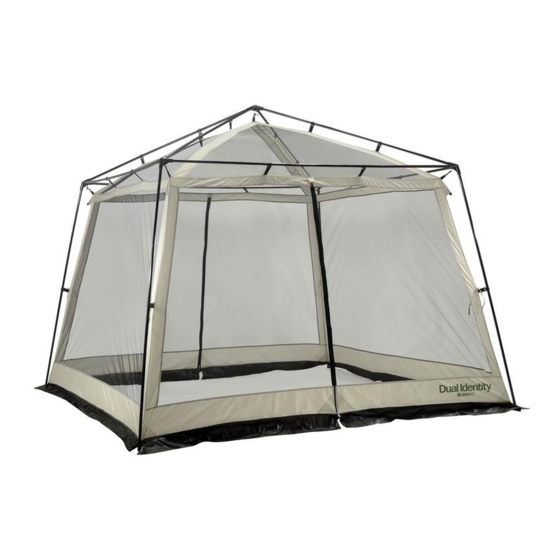
Dual Identity
Model # SHT007 • 10' W x 10' D x 94" H
Model # SHT009 • 12' W x 12' D x 97" H
Owner's Manual
IMPORTANT
Though we take very seriously every tent perform according to our
stringent requirements, we strongly recommend all tent seams be
sealed using a water based sealer to avoid water leaking into tent from
seams. For best results, seal seams from outside of tent.
Advertisement
Table of Contents

Related Manuals for GigaTent Dual Identity SHT007


Summary of Contents for GigaTent Dual Identity SHT007
- Page 1 For best results, seal seams from outside of tent. For questions or concerns call Gigatent at our Toll Free Number: 877-836-8701 Monday-Thursday 9am-5pm EST, Friday 9am-12pm EST or email us at customerservice@gigatent.com. For replacement parts, please login to our website at gigatent.com and click the link “replacement parts”.
-
Page 2: Step 1- Frame Set Up
ASSEMBLY INSTRUCTIONS HUBS STEEL POLES EAVE POLE x4 GABLE POLE x4 CORNER HUB CENTER HUB LEG POLE x4 POLE DIAGRAM CENTER HUB CORNER HUB EAVE POLE x4 CORNER HUB EAVE POLE x4 CENTER HUB Step 1- FRAME SET UP (see diagram above) 1) Fully open all of the poles. - Page 3 Step 2- ATTACHING THE CANOPY and SCREEN INSERT 5) Drape the canopy over the frame and make sure it is lined up correctly. 6) Attach the corner extensions to the bottom of the leg pole by inserting the corner hook (Figure D) into one of the holes in the bottom of the leg.
-
Page 4: Replacement Parts
REPLACEMENT PARTS Review your parts list to make sure all parts listed have been included in your package. Model SHT007 and SHT009 Frame Parts Hubs Center Corner Poles Eave Pole Gable Pole Leg Pole Misc. Canopy Top Screen Insert Tent Bag Pole Bag Canopy Top Stake Bag... -
Page 5: Tips And Tricks
Seam Sealing Gigatent suggests that at a MINIMUM the seams at the bottom of the windows should be sealed using a product like McNetts Seam Grip or a good water based tent sealer to prevent moisture from coming through the needle holes. Follow the manufacturer's instructions when applying seam sealer. -
Page 6: Troubleshooting Guide
Thank you for purchasing a quality product from GIGATENT. This troubleshooting guide is designed to help you sort out some of the possible problems you might encounter with your new tent. If you are still having problems with your purchase please contact us at 877-836-8701 or email us at customerservice@gigatent.com... - Page 7 WARNING! This product was not designed to be left out in the sunlight for extended periods of time. Prolonged UV exposure will rapidly break down the fabric of this product. UV damage is not covered under our warranty. WARNING : NEVER LEAVE CHILDREN UNATTENDED IN TENT. Keep all Flame and Heat away from tent and tent fabric.
-
Page 8: Warranty
(e.g. tent fly), postage prepaid, along with a description of what needs attention. REPLACEMENT PARTS: Replacement parts may be ordered online at gigatent.com. Click on “Replacement Parts” and then click on the Replacement Form. All listed information is required.
Need help?
Do you have a question about the Dual Identity SHT007 and is the answer not in the manual?
Questions and answers