Advertisement
Table of Contents
Advertisement
Table of Contents

Related Manuals for Ideal-Standard Waverley


Summary of Contents for Ideal-Standard Waverley
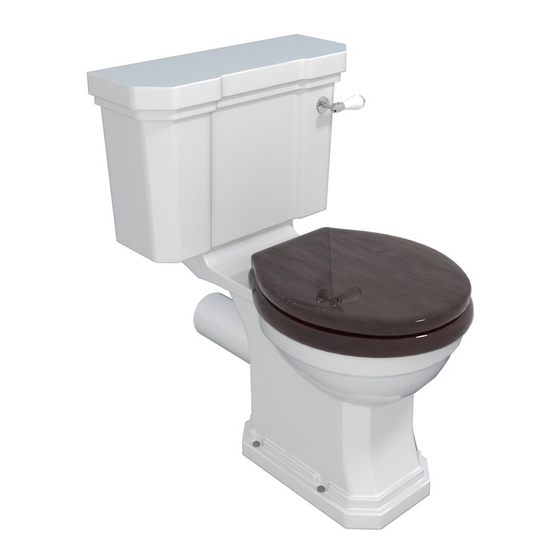
- Page 1 Close Coupled WC Suite Assembly and Installation Instructions...
-
Page 2: Parts Supplied
Parts Supplied Cistern Lever Cistern Lever Fixings... -
Page 3: Before You Start
Tools Reuired (not supplied) • Adjustable Spanner • Screwdriver • Spirit Level • Tape Measure • Pencil or Marker Pen • Power Drill and suitable bit(s) Parts Required (not supplied) • Brass Screws and Fixing Plugs to secure the cistern to the wall •... - Page 4 Cistern Assembly inlet valve 1. Assemble and fit close coupling bolt set (E) into the cistern base, see instructions outlet valve supplied with set. 2. Setup the inlet valve to the correct height (see page 6 for settings). flat rubber 3.
- Page 5 Flush Valve Installation 1. Turn flush valve body anticlockwise and lift, parting it from flush valve seat. 2. Adjust valve settings to chart below by moving centre float, full and half adjusters up or down. 3. Refit valve 4. Adjust overflow pipe height by pulling cap, see chart for setting...
- Page 6 Inlet Valve Installation Unscrew the nut and remove both the plastic and rubber washer (optional). Insert the fill valve into the installation hole at the bottom of the tank and then install the rubber and plastic washer (optional) and tighten hex nut. Installation torque recommendation: 1.
-
Page 7: Inlet Valve
Inlet Valve Major Height Adjustment Remove locking clip by pushing downwards Loosen valve body anticlockwise adjust to required height, and tighten clockwise Re-fit locking clip Minor Height Adjustment Realise locking device in direction shown. Adjust top of cup to approximately 7mm below the water line, and rotating oat screw taking top surface of the oat to within 2-4mm below top edge of cup. - Page 8 WC Pan and Cistern Fixing Place the WC in the required position. With cistern lid removed, mark the position of the screw holes in the rear of the cistern and in the base of the pan. Remove the WC away from its location and drill and plug the positions marked on the wall and floor.
- Page 9 Install Lever Flush Fixing nut Button Box Anti-rotation Washer Plastic Washer Pull Rubber Washer Lever Cistern Lever Hole Slot In The Thread Direction Part Flush • With the lever facing outward and the slot on the thread facing upwards, fix the Full lever to cistern.
-
Page 10: Product Care
Product Care All our products are designed, manufactured and supplied to give many years of reliable service, provided they are properly maintained and cared for. These are our recommen- dations to make sure that your bathroom stays looking good: Vitreous China – Ceramic toilets, cistern tanks Do’s Use warm soapy water, cream or liquid cleaner.
Need help?
Do you have a question about the Waverley and is the answer not in the manual?
Questions and answers