Advertisement
Quick Links
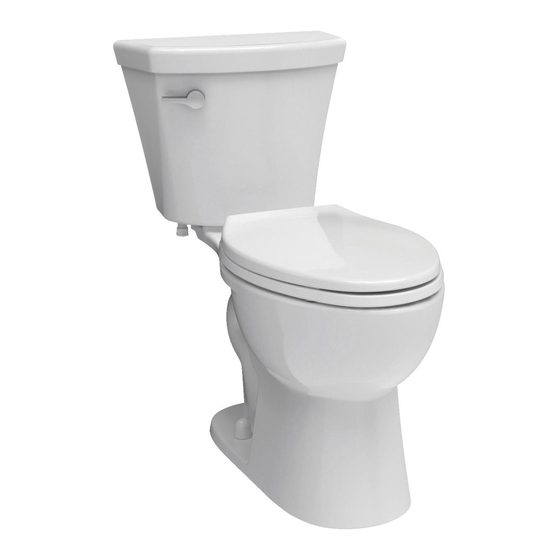
Models/Modelos/Modèles
C41903T-s Brevard™ Round Front Toilet and
C43903T-s Brevard™ Elongated Toilet
Series/Series/Seria
Write purchased model number here.
Escriba aquí el número del modelo comprado.
Inscrivez le numéro de modèle ici.
For easy installation of your Delta
toilet you will need:
• To READ ALL the instructions completely
before beginning.
• To READ ALL warnings, care, and
maintenance information.
• To purchase the correct water supply hook-up.
Para instalación fácil de su llave
Delta usted necesitará:
• LEER TODAS las instrucciones completamente
antes de empezar.
• LEER TODOS los avisos, cuidados, e
información de mantenimiento.
• Comprar las conexiones correctas para el
suministro de agua.
Pour installer votre robinet Delta
facilement, vous devez:
• LIRE TOUTES les instructions avant de débuter;
• LIRE TOUS les avertissements ainsi que toutes
les instructions de nettoyage et d'entretien;
• Acheter le bon nécessaire de raccordement.
www.deltatoilet.com
76687
76687
1
TOILET INSTALLATION
INSTALACIÓN DE INODOROS
INSTALLATION DE LA TOILETTE
5/10/16
Rev. D
Advertisement

Related Manuals for Delta Brevard C41903T Series


Summary of Contents for Delta Brevard C41903T Series
- Page 1 Series/Series/Seria Write purchased model number here. Escriba aquí el número del modelo comprado. Inscrivez le numéro de modèle ici. For easy installation of your Delta toilet you will need: • To READ ALL the instructions completely before beginning. • To READ ALL warnings, care, and maintenance information.
- Page 2 Side View Vista lateral Vue latérale Finished Wall Pared acabada Mur fini Mounting Bolt Finished Floor Perno de montaje Piso terminado Boulon de montage Surface finie du plancher Flange Brida Collerette This Side Up Este lado hacia arriba. Haut If you are replacing an old toilet, you may want to plug the drain hole until you are ready to Install plastic washers (1) onto toilet bowl mounting bolts (2).
- Page 3 This side up. Este lado hacia arriba. Haut Align and seat the octagon shaped seal (1) onto the octagon shaped nut Align the mounting bolts (1) on the waste flange with the toilet mounting holes (2) (2). Be sure to align correctly. and carefully place toilet over the flange.
- Page 4 J. Model / Modelo / Modèle C41903T J. Model / Modelo / Modèle C43903T Make connections to water supply (1). Note: Optional fittings (2) are included, For Model C41903T - Open caps (1) and place seat hinges (2) over mounting but may not be needed.
- Page 5 Installing "C" Batteries (Optional, Not Included) Installing "AA" Batteries Para instalar las pilas "C" (opcional, no incluido) Para instalar las pilas "AA" Pour installer des piles « C » (optionnelles et non incluses) Pour installer des piles « AA » To Install "C"...
- Page 6 IMPORTANT: Remove cardboard spacer from flapper (1). Turn on water Check for leaks at arrows. A drop or two of water may appear at the supply and check for leaks. The water level should be preset to the indicated back flow valve (4) during flush cycle. This is normal. When finished, place cover (5) onto tank.
- Page 7 FlushIQ™ Product Overview LED Flush Sensor / Indicator Light: This sensor on the tank is used to flush the toilet, but will also function as the indicator light to inform you of any issues with your product or what mode is active.
- Page 8 Descripción del producto FlushIQ ™ Aperçu du produit FlushIQ Voyant et détecteur de vidange à DEL : Ce détecteur situé sur le Sensor LED (Diodo Emisor de Luz) Empotrado /Luz indicadora: réservoir sert à actionner la chasse d’eau de la toilette, mais il com- Este sensor en el tanque se utiliza para descargar el agua/tirar de la porte aussi un voyant qui vous informe d’une défectuosité...
- Page 9 EP75944 EP76683s Fill Valve / Flush Actuator Brevard™ FlushIQ™ RP75635s Válvula de llenado / accionador Tank Assembly Brevard™ Tank Lid Al ras Brevard ™ FlushIQ™ Tapa para el Remplir / vanne encastré montaje del tanque tanque Brevard™ Couvercle-réservoir Brevard FlushIQ Brevard Assemblée réservoir RP76682...
- Page 10 FlushIQ™ TROUBLESHOOTING FlushIQ ™ SOLUCIÓN DE PROBLEMAS FlushIQ ™ DÉPANNAGE Problem Solution (see page 11 for illustration) A. Check battery installation, orientation and condition (1). Doesn't Flush - Light is off. B. Replace Fill Valve / Flush Actuator (2). Doesn't Flush - Light is on. A.
-
Page 11: Cleaning And Care
Este daño puede causar fugas y daños a la propiedad. DELTA no será responsable por cualquier falla de instalación del tanque o daños causados por el uso de pro- ductos de limpieza dentro tanques para limpiar los tazones. -
Page 12: Limited Warranty
1 an à compter de la date d’achat. Les sièges de toilette des toilettes Delta® ne sont pas de réparation exécutés inadéquatement ou incorrectement.
Need help?
Do you have a question about the Brevard C41903T Series and is the answer not in the manual?
Questions and answers