Advertisement
Advertisement
Table of Contents

Related Manuals for Ideal Air GSH75


Summary of Contents for Ideal Air GSH75
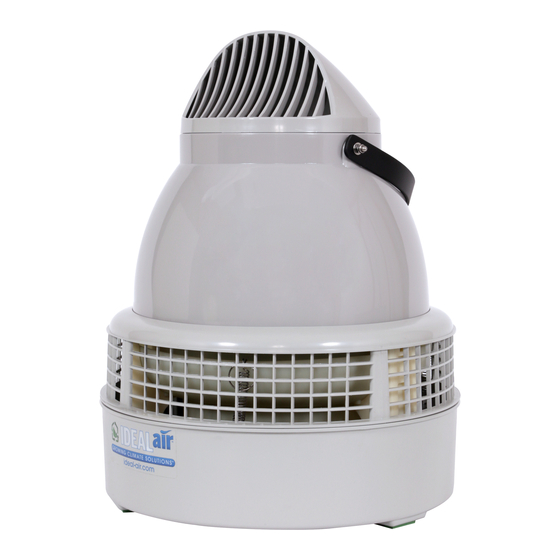
- Page 1 ™ COMMERCIAL-GRADE GSH75™ HUMIDIFIER 75 PINTS PER DAY PRODUCT# 700860...
- Page 2 COMMERCIAL-GRADE GSH75™ HUMIDIFIER EXPLODED VIEW DIAGRAM IDEAL-AIR™ PRODUCT# 700860...
- Page 3 —PART IDENTIFICATION LIST— Description Description 15 Motor(110V/60HZ) 30 Housing 17 Capacitor(250V/60HZ) 31 Mid Pan 19 Fan Blade 32 Lower Pan 20 Motor Cover 33 Strainer Support 21 Motor Support 34 Strainer Screen 22 Cord 35 Leg 23 Atomizing Screen 36 Float Valve (part #460885) 24 Hub Assembly 37 Float...
- Page 4 —WATER CONNECTION— Place the unit on a level surface, such as a benchtop or floor. In an environment with little to no ventilation, place the unit in a central location. In a ventilated area, place unit near the intake end. When the unit is in the desired location, connect a water supply to the female 6 mm / 1/4 inch inlet.
- Page 5 —TROUBLESHOOTING— No Fog: Check for motor rotation. If motor is operating properly, there will be an adequate amount of water in the pan (1/4” to 1-1/4”). If the pan runs dry, the float valve may be sticking in the up posi- tion.
- Page 6 —MAINTENANCE— • Regularly clean the Reservoir Pan Assembly with soap and water to remove dirt and sediment. Use liquid bleach after cleaning, to sterilize any parts if algae was present. • Periodically remove Strainer Screen and thoroughly flush. Also check to make sure the tapered pump/fan blade assembly is free of debris.
- Page 7 NOTES: ________________________________________________ ________________________________________________ ________________________________________________ ________________________________________________ ________________________________________________ ________________________________________________ ________________________________________________ ________________________________________________ ________________________________________________ ________________________________________________ ________________________________________________ ________________________________________________ ________________________________________________ ________________________________________________ ________________________________________________ ________________________________________________ ________________________________________________ ________________________________________________ ________________________________________________ ________________________________________________ _________________________________________________ _________________________________________________ _________________________________________________ _____________________________________________ ___ ________________________________________________ ________________________________________________ ________________________________________________ ________________________________________________ _______________________________________________ IDEAL-AIR™ PRODUCT# 700860...
- Page 8 All design and specifications herein are subject to change without cifications herein are subject to notice for product improvement. Contact Ideal Air for oduct improvement. Contact Id details, updates and other information. ls, updates and other informatio Exclusively distributed by: www.sunlightsupply.com...
Need help?
Do you have a question about the GSH75 and is the answer not in the manual?
Questions and answers
I plug it in and nothing happens I've even got water in the tank
The Ideal Air GSH75 may not be turning on despite having water in the tank due to the following possible reasons:
1. Power Issues – Check if the power cord is damaged. If so, it must be replaced by the manufacturer, its service agent, or a qualified person.
2. Motor Not Rotating – Verify if the motor is operating properly; otherwise, the unit may not function.
3. Float Valve Malfunction – If water enters the pan while the float is in the up position, the float valve may need to be replaced.
4. Unit Not on a Level Surface – Place the unit on a stable, level surface for proper operation.
If these steps do not resolve the issue, contacting Ideal Air Support directly is recommended.
This answer is automatically generated
Is there a way to reset the level of the float? It sits so high in the water, the fan is hitting it.