Advertisement
Quick Links
Advertisement

Summary of Contents for Neets SB2
- Page 1 Sound Bar – SB2 Installation Manual...
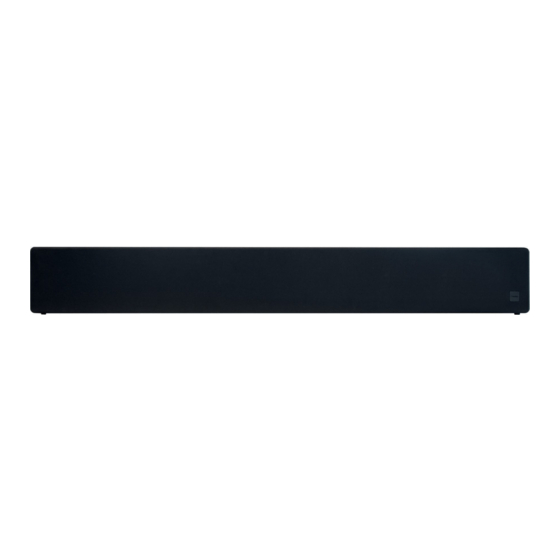
- Page 2 The Neets Sound Bar – SB2 is simple and advanced at the same time. It has 4 audio input options to choose from; HDMI(ARC), USB, Balanced Audio or Unbalanced (RCA). It comes with a wake-on-signal feature built-in or it can...
- Page 3 Function description • Control System compatibility Compatible with all Neets Control Systems or 3 party systems. • Placement options Can be mounted on a wall or sit on a tabletop or shelf. Brackets for wall mounting are included in the box as well as 4 rubber feet.
- Page 4 Specifications Neets Sound Bar SB-2 RS-232 Audio output Ports Output power 4 x 20 Wrms 1 x bidirectional THD+N < 0.1 % @ 1 W Baud rate 19200 bit/sec Woofer 2 x 4” dual magnet, Data bits sandwich membrane Parity...
- Page 5 Installation Neets Sound Bar – SB2 is designed to be easily installed, in any convenient location. It can be mounted on the wall beneath, or above a screen, or placed on a desk free standing. To use the Sound Bar freestanding on a desk, simply unpack the unit, mount the adhesive feet, and it is ready to go.
- Page 6 Connection and Controls Front Number Description Power/standby indication led Power/standby indication LED The LED indicate the current state of the Sound Bar: • When powered on the LED will be on • When powered off the LED will pulse slowly on and off •...
- Page 7 To connect the Sound Bar to a control system, connect Sound Bar G to ground on control system. Connect Rx from Sound Bar to transmit/Tx from control system, and Tx from Sound Bar to receive/Rx from control system. Neets Control Sierra II, EU P/N#: See the section “RS-232 protocol”...
- Page 8 USB STIK ILLUSTATION The connector marked “USB Audio-in” is a USB audio digital input. Connect the source using a USB-A to USB-B cable. Source is typically Solvo by Neets, a UC system or a Laptop. AC input connector AC STIK ILLUSTATION Mains power (100 –...
- Page 9 How to use The mode select switch The mode selection switch is used to select between RS-232 control mode and the Auto on/off mode combined with one of the three EQ presets (Video Conference, Music & Present). Auto On/off mode When the switch is set in one of the three Auto on/off modes the Sound Bar will activate the Wake-on-signal function and work autonomously powering on and off as described in “Wake-on-signal”...
- Page 10 Wake-on-signal technology The Sound Bar is equipped with Wake-on-signal technology. This means that the Sound Bar is able to automatically power on and off, if there is a signal present on one of the four connected sources. For the USB input the soundbar looks for an active 5V signal in order for it to be detected as an active source. For the HDMI(ARC) input the connected TV automatically powers on and off the soundbar using CEC when the TV turns on and off.
- Page 11 RS-232 protocol Command structure The Neets RS-232 protocol is structured in a special way, which is described here. The protocol consists of commands to control the Sound Bar and queries to request status from the Sound Bar. Both commands and queries is a two-way data exchange where the command or query is sent to the Sound Bar. The...
- Page 12 Commands or queries send to the Sound Bar Commands or queries to the Sound Bar is always structured the same way: Replies from the Sound Bar The Sound Bar will reply with an acknowledgement to a command to indicate that the command have been accepted Reply on accepted command: NEUNIT=1,OK\CR...
- Page 13 Global functions In the global functions, all the functions allowed to adjust the basic functions of the Sound Bar is shown. All commands start with “NEUNIT=1,” followed by the command in <A>, the value after the equal sign must be replaced with the value in <X>...
- Page 14 Audio input settings Audio input settings are used to adjust settings for Wake-on-signal settings. All commands start with: NEUNIT=1,SETTINGS=INPUT, followed by the command in <A>, the value after the equal sign must be replaced with the value in <X> or a question mark, all commands must end with a \CR. Description <A>...


Need help?
Do you have a question about the SB2 and is the answer not in the manual?
Questions and answers