Advertisement
Advertisement
Table of Contents

Related Manuals for XP-PEN Artist 24


Summary of Contents for XP-PEN Artist 24
- Page 1 User Manual Artist 24 Pen Display...
-
Page 2: Table Of Contents
Contents Overview 1.1 Product Introduction 1.2 Connection Get started with your pen display 2.1 Download 2.2 Installation 2.3 Introduction to Driver 2.4 Work Area 2.5 Application 2.6 Pen Settings 2.7 Shortcut Keys 2.8 Touch/Roller 2.9 Settings... -
Page 3: Overview
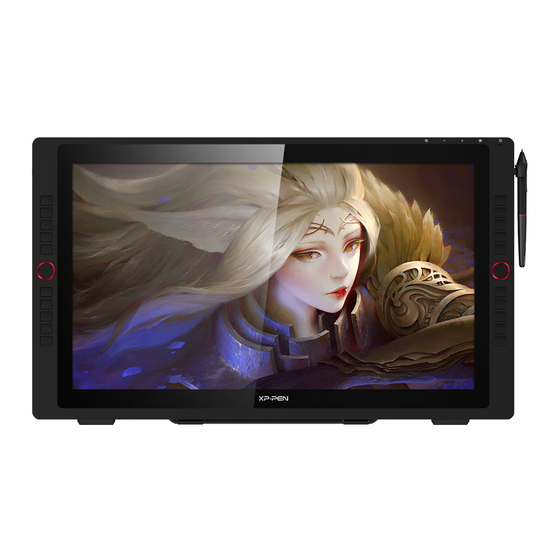
Overview 1.1 Product Introduction 1. Display/Active area 2. Back key 3. Brightness down 4. Brightness up 5. Menu/OK 6. Power switch (Please press and hold it for about 3 seconds to turn on) 7. Power LED (White) a. Always On: When the pen display is connected to the computer and the power supply is switched on, the indicator will be on. -
Page 4: Connection
1.2 Connection 1. HDMI connection: Connect the pen display to your computer via the HDMI and USB-A to USB-C cable. Then connect the power jack to the adapter connected to the wall outlet. 2. USB-C connection (Only full-featured USB-C port): Connect the pen display to your computer with a USB-C cable. -
Page 5: Get Started With Your Pen Display
Get started with your pen display 2.1 Download Please download the corresponding driver according to your product model from the XP-PEN official website (https://www.xp-pen.com). 2.2 Installation After downloading is completed, please unzip the folder and operate the ".exe" file (Windows) or ".dmg"... -
Page 6: Work Area
2.4 Work area 2.4.1 Screen If multiple monitors are used in duplicate mode (i.e. All monitors display the same picture), the work area of the device will be mapped to all monitors. When the pen moves in the work area, the cursor on all monitors will move at the same time. -
Page 7: Application
Set any part of the work area of the device to be mapped as the display area of the screen. The driver provides four modes for selection: (1) Full tablet area: Maximize the work area of the device. (2) Tablet proportion: Scale the work area of the device and your screen in equal proportions. (3) Set tablet area: Use a stylus to click the positions of "top left corner"... -
Page 8: Pen Settings
c. Click the "OK" button at the bottom of the interface, and the application just selected will be added to the application bar. 2.6 Pen settings Pen keys: Set functions of the pen keys here. You may click the drop-down menu to use "Customize" to do Notes: When the pen is within the working range of the device, single-click the key to switch the pen or eraser mode. - Page 9 Use mouse control: You may configure mouse controls and keyboard keys here. With the "Keyboard Shift" and "Left Click" selected, shortcut actions are enabled in software that supports such combination keys. Input from the keyboard: You may configure keyboard shortcuts here, for example, set it as Alt+A in 3D MAX software, and an alignment tool can be used.
-
Page 10: Shortcut Keys
Mouse mode: The mouse uses the absolute mode by default. Check this to use the relative mode. After selecting it, you can adjust the speed of the cursor. Absolute coordinate (pen mode): This is the standard mode. Absolute coordinate is to scale down the display area of your screen to the work area of the pen display. -
Page 11: Touch/Roller
2.8 Touch/Roller 2.8.1 Roller 1 Select the function you want to use from the default four groups of functions. You can customize or set this function invalid. Customize: In the custom settings, you can set KL and KR to corresponding key combinations and custom name them. -
Page 12: Settings
When you need to import & export the changed functions, please click the "OK" button on the left side of the driver interface first to save the configuration. If you need any further assistance, please contact us at: Website: www.xp-pen.com Email: service xp-pen.com...
Need help?
Do you have a question about the Artist 24 and is the answer not in the manual?
Questions and answers