
Subscribe to Our Youtube Channel
Related Manuals for KegLand MaltZilla KL15776


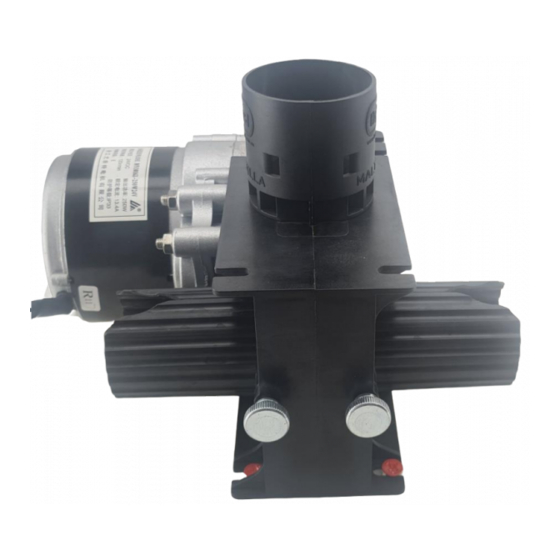
Summary of Contents for KegLand MaltZilla KL15776
- Page 1 MaltZilla Instruction Manual MaltZilla KL15776 Instruction Manual KegLand Distribution PTY LTD www.KegLand.com.au www.KegLand.com.au Last Updated 28/05/2021 3:36 PM Page 1 of 11...
- Page 2 Hopper Installation and Mounting Maltzilla to Base Board Remove the two, bottom central 5mm hex bolts and insert the bottom hopper feeder pipe and then secure with the 5mm hex bolts as shown below: www.KegLand.com.au Last Updated 28/05/2021 3:36 PM Page 2 of 11...
- Page 3 Align the mounting holes on the MaltZilla with the mounting holes on the base board and secure the MaltZilla with three M6 bolts and nuts on the underside of the base board. www.KegLand.com.au Last Updated 28/05/2021 3:36 PM Page 3 of 11...
- Page 4 MaltZilla Instruction Manual The MaltZilla can be mounted to the top or the bottom of the base board depending on your preference, using the appropriate mounting holes. www.KegLand.com.au Last Updated 28/05/2021 3:36 PM Page 4 of 11...
-
Page 5: Top Mount
MaltZilla is mounted needs to be reversed. (If you are using an unwired power supply, the polarity of the DC Voltage should also be checked. The voltage should have positive polarity). TOP MOUNT BOTTOM MOUNT www.KegLand.com.au Last Updated 28/05/2021 3:36 PM Page 5 of 11... - Page 6 The grain should then be left for about 6 hours for the moisture to evenly distribute through the grist before being milled. Grain conditioning results in reduced grain dust being produced and a more even crush. www.KegLand.com.au Last Updated 28/05/2021 3:36 PM Page 6 of 11...
-
Page 7: Operating Procedure
1. Undo the 8 hex bolts on the side of the MaltZilla using an xmm allen key and remove the housing. 2. Remove the detended gap adjustment knobs from the non-driven roller and remove the non-driven roller from the housing. www.KegLand.com.au Last Updated 28/05/2021 3:36 PM Page 7 of 11... - Page 8 3. Remove the circlip, bearing and shim washer from each side of the non-driven roller. The bearing can be removed by levering it up with a flat head screw driver. Remove any debris. www.KegLand.com.au Last Updated 28/05/2021 3:36 PM Page 8 of 11...
- Page 9 4. Remove the bearing and shim washer from the driven roller and then remove the driven roller off the drive shaft. The bearing can be removed by levering it up with a flat head screw driver. Remove any debris. www.KegLand.com.au Last Updated 28/05/2021 3:36 PM Page 9 of 11...
- Page 10 MaltZilla Instruction Manual 5. Clean the driven and non-driven rollers using a steel wire brush and clean any debris from the housing. AFTER BEFORE www.KegLand.com.au Last Updated 28/05/2021 3:36 PM Page 10 of 11...
-
Page 11: Warranty (Australia)
If you purchased your unit from an international distributor, you will be required to go through their warranty claims process. For a full terms and conditions, please visit our website here -> Terms & Conditions www.KegLand.com.au Last Updated 28/05/2021 3:36 PM Page 11 of 11...
Need help?
Do you have a question about the MaltZilla KL15776 and is the answer not in the manual?
Questions and answers