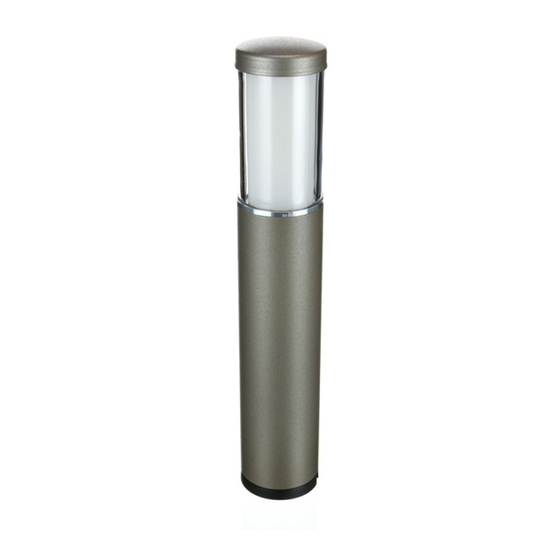
Summary of Contents for in-lite LIV WALL
- Page 1 LIV WALL LIV WALL Handleiding Manual Installationshinweise Manuel d’utilisation Manual de instrucciones in-lite in-lite www.in-lite.com...
- Page 2 Deze is alleen geschikt voor het gebruik in combinatie met een laag- 2x schroeven spanningssysteem, 12V. Dit product alleen gebruiken binnen het in-lite 2x pluggen systeem. Bij gebruik van andere dan in-lite producten vervalt de 1x Easy-Lock garantie. 1x Torx sleutel Geniet van de verlichting in uw tuin.
- Page 3 Het installeren van het armatuur op 12V om de contacten te beschermen tegen vocht. Mogelijk komt er ook Door de reeds gemonteerde lichtbron is het armatuur direct geschikt wat gel uit de Easy-Lock connector: was dan na installatie de han- voor gebruik.
- Page 4 It is only suitable for use in combination with a 12 V low-voltage een bevoegd installateur. 2x screws system. This product should only be used within the in-lite system. Use Stap 6 2x plugs of products other than those made by in-lite will invalidate the warranty.
- Page 5 Connecting the fixture to 12 V your hands with soap and water, and avoid the gel coming into Connecting the fixture to 100-240 V Step 5 The already installed lamp means the fixture is immediately ready for contact with your eyes. If you want to connect the fixture to a 100-240V power source, you Thread the 100-240V power cable of the internal transformer through use.
- Page 6 Inhalt Anschluss der Armatur an 12 V Kontakte gegen Feuchtigkeit eine kleine Menge Gel gegen die 1x LIV WALL (WW) 12 V / 2 W Achtung! Dank der bereits installierten Lichtquelle ist die Armatur gebrauchs- Kontakte im Easy-Lock-Verbinder gepresst. Sollte etwas Gel aus Abmessung Ø...
- Page 7 Ce câble ne peut être combiné qu’à un système basse tension de 12 V. Der Anschluss an eine 100-240-V- Stromquelle ist von einem aner- Utilisez ce produit uniquement avec un système in-lite. L’utilisation de Bringen Sie innerhalb des Vierecks (A) für die Durchführung des Lentille en plastique de qualité...
- Page 8 Installation de l’armature sur 12 V pressée contre les contacts dans le connecteur Easy-Lock. Ceci Installation de l’armature sur 100-240 V Étape 5 La source lumineuse étant déjà montée, l’armature est immédiatement pour protéger les contacts contre l’humidité. Il se peut que du gel Si vous désirez raccorder l’armature au 100-240 V, vous devez utiliser Faites passer le câble d’alimentation de 100-240 V du transformateur à...
- Page 9 12 V. Este producto debe utilizarse únicamente en tacto del gel con los ojos. 2x clavijas combinación con el sistema in-lite. En caso de emplear productos dis- Paso 1 1x Easy-Lock tintos de los productos in-lite, caducará la garantía.
- Page 10 Instalación de la armadura a 100-240 V Paso 4 Si desea conectar el armazón a 100-240V, deberá utilizar el transfor- Pase el cable de 100-240V por la abertura en la carcasa. Vuelva a fijar mador de montaje que se suministra por separado. Su distribuidor la parte inferior de la armadura a la carcasa apretando los dos torni- podrá...


Need help?
Do you have a question about the LIV WALL and is the answer not in the manual?
Questions and answers