Table of Contents
Advertisement
Quick Links
LOW SUGAR
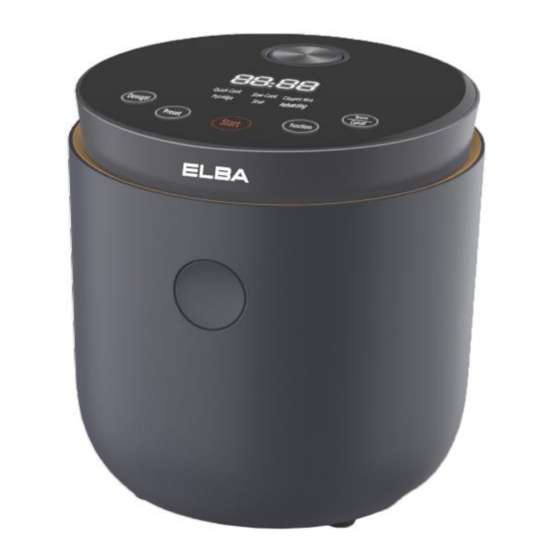
RICE COOKER
MODEL: ERC-K2050D(BK)
Owner's Manual
Please read this manual carefully before
operating your set.
Retain it for future reference.
Record model number and serial number of
the set.
See the label attached on the set and quote
this information to your dealer when you
require service.
For The Warranty Terms & Conditions, Please Refer To Warranty Certificate.
Advertisement
Table of Contents

Subscribe to Our Youtube Channel
Summary of Contents for Elba ERC-K2050D(BK)
- Page 1 LOW SUGAR RICE COOKER MODEL: ERC-K2050D(BK) Owner’s Manual Please read this manual carefully before operating your set. Retain it for future reference. Record model number and serial number of the set. See the label attached on the set and quote this information to your dealer when you require service.
-
Page 2: Important Safeguards
21. Always let the appliance to cool off before starting the cleaning process. 22. Always clean the appliance after use. Do not clean the appliance in the dishwasher. 23. Never use any accessories or parts from other manufacturers or that ELBA does not specifically recommended. -
Page 3: Product Description
PRODUCT DESCRIPTION CONTROL PANEL... -
Page 4: Before First Use
BEFORE FIRST USE Removing all packing materials. Check to make sure the appliance is not damaged. In case of any damage return the appliance to the nearest authorized dealer or service center for examination and repair. Before first use, clean the non-stick inner pot and lid thoroughly by cleaning with damp sponge and mild cleaning detergent. - Page 5 3. Claypot Rice ➢ Press "Functions" button to select “Claypot Rice” function. ➢ Setting time is show 70 mins (this is subjective to type of rice and water level and cooking time will be different.) Do not required for other setting, just press "Start". 5 seconds later, it will enter into the working process after 2 beeps.
- Page 6 7. De-sugar ➢ Press the "De-sugar" function button. ➢ Cooking time will be 50 mins to 60 mins (this is subjective to type of rice and water level and cooking time will be different.) complete the required settings, press the start button, enter the corresponding functional work process, 5 seconds later, 2 beeps into the corresponding functional work process, the display screen shows a countdown, the function of cooking de-sugar key display light is always on.
- Page 7 8. Preset (Timer) ➢ This function is to preset the timer if you want to cook later with your desired cooking function. ➢ The preset timer for this product is 24 hrs and the preset time of this appliance is the start time of cooking.
-
Page 8: Cleaning And Maintainance
CLEANING AND MAINTAINANCE 1. Before cleaning, always turn off the appliance and unplug the power plug from the power supply. 2. Clean the inner pot, water container and rice container. ➢ Use warm water, dishwashing liquid and sponge to clean. Do not use any abrasive scouring agents, steel wool, metal objects, hot cleaning agents or disinfectants, since they can damage the appliance. -
Page 9: Troubleshooting Guide
TROUBLESHOOTING GUIDE Possibility of Reason Guide fault Indicator light 1. The power board is not connected Check if the product is connected to did not on 2. Power failure power source 1. Board failure Heating Element Send to service center for 2.

Need help?
Do you have a question about the ERC-K2050D(BK) and is the answer not in the manual?
Questions and answers