Table of Contents
Advertisement
Quick Links
Advertisement
Table of Contents

Subscribe to Our Youtube Channel
Summary of Contents for Victrola VC-150
- Page 1 MODEL: VC-150 BLUETOOTH CLOCK RADIO...
-
Page 2: Important Safety Instructions
CAUTION: To reduce the risk of fire or electric shock, do not expose this appliance to rain or moisture. WARNING: To prevent electric shock, do not use this (polarized) plug with an extension cord, receptacle or other outlet unless the blades can be fully inserted to prevent blade exposure. IMPORTANT SAFETY INSTRUCTIONS Read these instructions –... - Page 3 -This lightning flash with arrowhead symbol within an equilateral triangle is intended to alert the user to the presence of non-insulated “dangerous voltage” within the product’s enclosure that may be of sufficient magnitude to constitute a risk of electric shock. -Warning: To reduce the risk of electric shock, do not remove cover (or back) as there are no user-serviceable parts inside.
-
Page 4: Product Overview
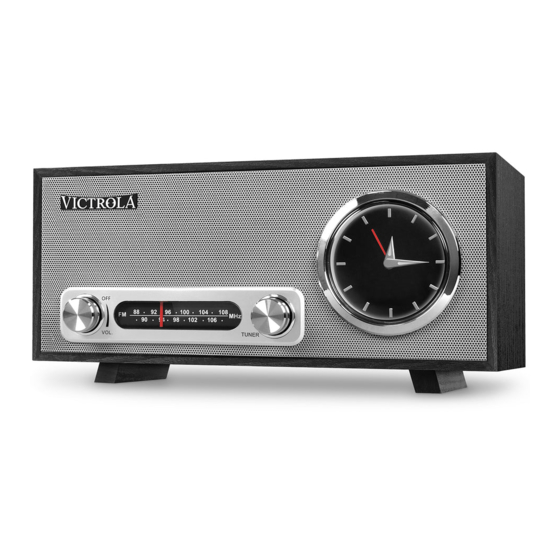
PRODUCT OVERVIEW Front View OFF/VOLUME Rotate clockwise to turn the unit ON. Rotate counter-clockwise to turn OFF. When unit is ON, rotate to adjust the volume. ANALOG RADIO RADIO TUNER KNOB: In FM mode, turn knob to tune to desired station. CLOCK DISPLAY Top View SNOOZE/DIMMER:... -
Page 5: Setup / Basic Operation
Rear View CLOCK KNOB: Push in and rotate dial to set the clock time. USB CHARGING PORT: In OFF or Bluetooth mode, it will charge an external device. FM-BT: Slide to select function. (FM Radio, Bluetooth) ON/OFF: Slide to turn on or off the alarm time. ALARM: Rotate to set the alarm time. -
Page 6: Listening To Fm Radio
NOTE: The effective distance between your external device and this apparatus is 10 meters (33ft). 4. Wait a moment for “VC-150” to appear on the devices list. Press “VC-150” to connect to the unit. If asked for a password. Use “0000”, then press OK on your external device. -
Page 7: Setting The Time
SETTING THE TIME 1. Push in and rotate the CLOCK knob counter-clockwise to adjust the clock time. (The minute pointer will vary with the adjustment of the hour pointer). 2. Once you have set the time successfully, release the knob. NOTE: Once the power cord is connected or batteries are installed, the clock will work. -
Page 8: Specifications
SPECIFICATIONS GENERAL Power Requirements AC 120 V~ 60 Hz Battery for Clock 1 X AAA size Power Consumption Dimensions (W x H x D) 13 in x 5.51 in x 5.98 in (approx.) 330 x 140 x 152mm (approx.) Weight 4.17 lbs (approx.) 1.89 . -
Page 9: Troubleshooting Guide
TROUBLESHOOTING GUIDE Symptom Possible Cause Solution Unit will not power on. Unit is unplugged. Connect the unit to the AC • • • power supply. No sound output from The volume level is set too low. Adjust the volume. • •... -
Page 10: Fcc Statement
FCC STATEMENT This device complies with Part 15 of the FCC Rules. Operation is subject to the following two conditions: (1) This device may not cause harmful interference, and (2) this device must accept any interference received, including interference that may cause undesired operation. NOTE: This equipment has been tested and found to comply with the limits for a Class B digital device, pursuant to Part 15 of the FCC Rules. - Page 11 To obtain service, the purchaser MUST present an original sales receipt / proof of purchase. Please contact us at www.victrola.com to request an RMA (Return Material Authorization) number to return products for service or replacement. Returns without an RMA number on the package will be refused and returned to sender.


Need help?
Do you have a question about the VC-150 and is the answer not in the manual?
Questions and answers