Advertisement
Quick Links
Advertisement

Related Manuals for Orbitor OR100L

Summary of Contents for Orbitor OR100L
- Page 1 orbitor 98-PIECE 1200X MICROSCOPE SET Instructions Learning Guide...
- Page 2 How to use your new microscope: There’s a whole tiny universe around you ready to be explored! All you need is your microscope, and a zest for adventure. Your microscope is an instrument with special lenses that make very small objects appear much larger.
- Page 3 make the sample look very big. This microscope can make things look 300 times, 600 times, or even 1,200 times bigger than you can see them with your own eyes. b) Scalpel – A scalpel is a sharp blade that is used to cut very thin pieces of material so you can look at them with your microscope.
- Page 4 q) Spare light bulb – This spare bulb will replace the one in the illuminator lamp when it eventually wears out. r) Camera adapter – This adapter lets you attach a single use camera or a digital camera to the microscope so you can make photographs or digital images of the exciting subjects you will see.
- Page 5 F. Arm – This curved piece is the “backbone” of the microscope and holds everything together. You can tilt and adjust the angle of this arm to set the most comfortable viewing position. G. Stage – The stage is the flat platform that supports your slides for viewing. H.
- Page 6 3) Once you can see a bright circle of light in the eyepiece your microscope is ready for use. 4) Choose one of the prepared sample slides from your set. Place it under the two spring clips on top of the stage. 5) Next, choose the magnifying power you want to use.
- Page 7 7) Turn the focusing knob until the objective lens is almost touching the slide. Don’t let the lens touch the slide as you may break the slide and damage the lens. Now look through the eyepiece and slowly turn the focusing knob back until you see the sample clearly. How to make your own prepared slides Samples for examination should be very thin so that light can pass through them.
- Page 8 How to Use the Camera Adapter The camera adapter can hold a personal digital camera or a single use camera loaded with ISO400 type film. To position the adapter, remove the microscope eyepiece and place the camera adapter over the focusing tube. Place the camera on the camera adapter base plate so that the camera lens is directly over the hole in the base plate.
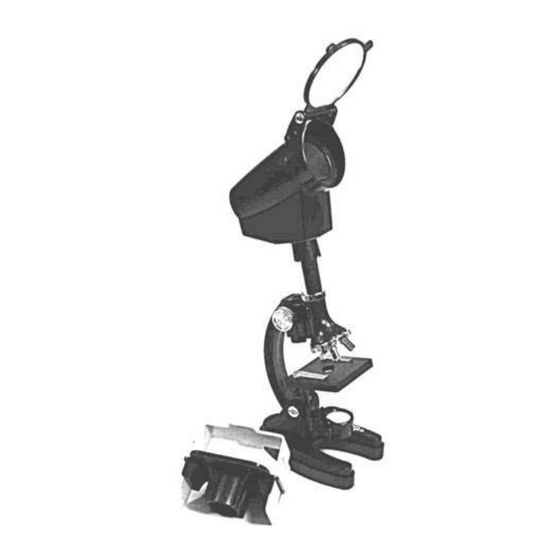
- Page 9 How to Use the Drawing Device You can observe the image on the unit’s projection screen, or you can project an enlarged image onto a white surface. 1) Make sure that the plastic viewing screen is in place in the slot on the top of the viewing hood. 2) Adjust the focus and illuminator until you see a clear image on the screen.
- Page 10 History of the Microscope During the late Middle Ages (around . 1200 to 1450), the growing demand for eyeglasses led to experimentation with lenses and making small things appear larger. As a result of this experimentation, the first microscope was created (probably in Holland in the late 16th century—the Dutch were masters at the craft of magnification).
- Page 11 Frequently Asked Questions 1) What can I see with my microscope? You can see thousands of things that are difficult or impossible to see with your eyes. You can see tiny plants and animals. You can observe plant and animal cells. You can see the differences between different plants, different papers, different fibers, and hairs from different people.
Need help?
Do you have a question about the OR100L and is the answer not in the manual?
Questions and answers