
Related Manuals for American Technologies Network ATN OTS 4T Series

Summary of Contents for American Technologies Network ATN OTS 4T Series
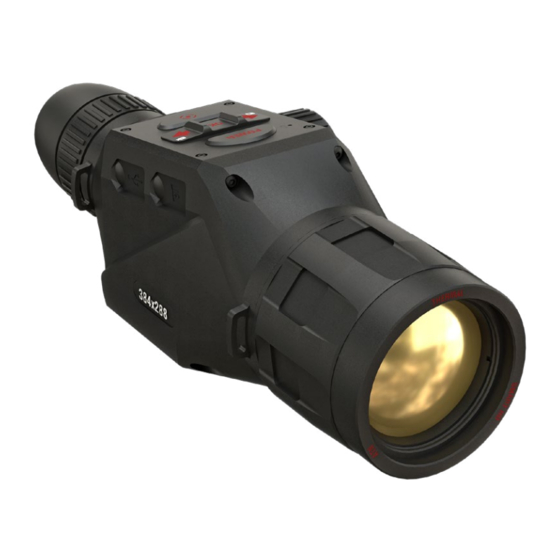
- Page 1 ATN OTS 4T Series THERMAL SMART HD MONOCULAR M A N U A L AMERICAN TECHNOLOGIES NETWORK CORP .
-
Page 2: Table Of Contents
TA B L E O F C O N T E N T S DIOPTER ADJUSTMENT FUNCTION BUTTON FEATURES ........4 OK BUTTON APPLICATION . -
Page 3: Application
A P P L I CAT I O N ATN has created a new series of thermal monoculars that offers the user a profound new technological experience! The new ATN OTS 4T series delivers a superior value by providing ATN SMART HD features and an improved ther- mal imaging sensor that exceeds expectations. -
Page 4: Preparing The Device
P R E PA R I N G T H E D E V I C E UNPACKING The following steps must be performed before using the device: 1. Open packaging box, remove OTS 4T and check the contents. • Eyecup •... -
Page 5: Firmware Update
10. Please delete the Firmware file off of the microSD card after the process 3. Use a thin object (small coin, paper is complete. Or the system will try to update the Firmware every time you clip) to lock the microSD card in place after turn the monocular on. -
Page 6: Mounting On A Tripod
DISTANCE FOCUS I N T E R FAC E FOCUS ADJUSTMENT RING Rotate the Adjustment Ring, as neces- sary, to achieve the proper focus at various HOMESCREEN distances. The first screen you’ll see after turning on the device is the Homescreen. It consists of Scales, Status Bar icons and different Information Widgets. -
Page 7: Main Operations
To enter System Settings NOTE you should click the OK Recording will automatically stop when the memory card is full or the battery is out of power. button from Homes- creen to access the Short- cut Carousel. SHORTCUT CAROUSEL Select the wrench icon with RIGHT or LEFT but- Pressing down on the OK button opens and closes the Shortcut menu. -
Page 8: Using System Settings
EXIT Exit Carousel. TAB BAR WITH EXIT BUTTON CATEGORIES Allows you to make a non-uniformity compensation (NUC). RANGEFINDER Activates Smart Rangefinder feature. SUBCATEGORY VALUE SUB- CATEGORIES GALLERY Gives you access to the library of Images and Videos that are stored on your monocular’s micro SD card. -
Page 9: Functions
Change the value with F U N C T I O N S the Scroll Wheel or Keypad buttons PHOTO MODE From the Homescreen: press the LEFT button to TAKE A PHOTO. NOTE You must have a mi- croSD card inserted in the device for these fea- tures to work, and all files To select a new value,... -
Page 10: Rangefinder
RANGEFINDER HOW TO PERFORM A NUC Using the Smart Range NUC’ing helps to improve the image quality when the image is degraded Finder will allow you to es- by various environmental factors. There are multiple NUC tables that span timate the distance to your the full operating temperature range, and the camera automatically selects target, as long as you have the optimum table based on its temperature. -
Page 11: System Settings
DISPLAY WIDGETS — allows you to disable several widgets (Minimal/Ex- SYS T E M S E T T I N G S tended). SLEEP MODE THERMAL • Sleep Mode — allows you to switch the mode (ON/OFF). • Hibernation Time — can be 1 – 60 min. CONTRAST —... -
Page 12: Bix Technology
reticle with the infrared B I X T E C H N O L O GY ranging laser. The visi- ble red laser is used as ABL PAIRING a visual reference point for zeroing. Use the ar- NOTE row keys on the keypad to move the reticle to the Make sure you have the Advanced Settings... -
Page 13: Caution
3 Y E A R P R O D U C T WA R R A N T Y WA R N I N G S A N D CAU T I O N S • Always remember to turn off the device when it is not in use. This product is guaranteed to be free from manufacturing defects in material and workmanship under normal use for a period of 3 (three) years from the •... - Page 14 PRODUCT WARRANTY REGISTRATION Notes In order to validate the warranty on your product, ATN must receive a com- pleted Product Warranty Registration Card for each unit or complete war- ranty registration on our website at www.atncorp.com. Please complete the included form and immediately mail it to our Service Center: ATN Corporation, 1341 San Mateo Avenue, South San Francisco, CA 94080.
- Page 15 For customer service and technical support, please contact American Technologies Network Corp. 2400 NW 95 Ave, Doral, FL 33172 phone: 800-910-2862, 650-989-5100 e-mail: service@atncorp.com www.atncorp.com ©2021 ATN Corporation...
Need help?
Do you have a question about the ATN OTS 4T Series and is the answer not in the manual?
Questions and answers