Sign In
Upload
Download
Table of Contents
Contents
Add to my manuals
Delete from my manuals
Share
URL of this page:
HTML Link:
Bookmark this page
Add
Manual will be automatically added to "My Manuals"
Print this page
×
Bookmark added
×
Added to my manuals
Manuals
Brands
WOLFF Manuals
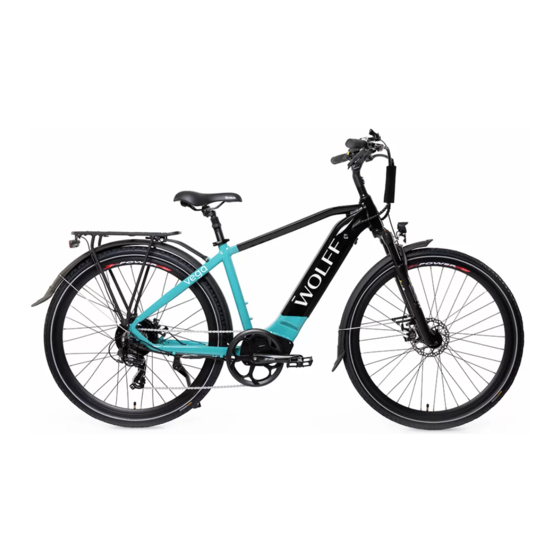
Bicycle
VEGA
Manual
WOLFF VEGA Manual
Hide thumbs
1
Table Of Contents
2
3
4
5
6
7
8
9
10
11
12
13
14
15
16
17
18
19
20
21
22
23
24
25
26
page
of
26
Go
/
26
Contents
Table of Contents
Bookmarks
Table of Contents
Table of Contents
Introduction
Warning
Your Wolff Bike Information
Component Diagram
Carton Contents
Assembly Instructions
Required Assembly Tools
Assembly Steps
Adjustments after Assembly
Cockpit
Seatpost & Saddle
Disc Brakes
Drivetrain
Suspension Fork and Suspension Seat
Care & Maintenance
Operating Procedures
Installation and Removal of Battery
Charging the Battery
Battery Storage
Turning the Power on / off
Display
Functional Description
Parameter Setting
Error Codes
Riding the Bicycle
Assist Modes
Basic Screen Display
Warranty
Faq's
Advertisement
Quick Links
1
Your Wolff Bike Information
2
Charging the Battery
3
Operating Procedures
4
Turning the Power on / off
5
Display
6
Functional Description
7
Parameter Setting
8
Basic Screen Display
Download this manual
BIKE MANUAL
Table of
Contents
Previous
Page
Next
Page
1
2
3
4
5
Advertisement
Table of Contents
Need help?
Do you have a question about the VEGA and is the answer not in the manual?
Ask a question
Questions and answers
Related Manuals for WOLFF VEGA
Bicycle WOLFF VELA Manual
(26 pages)
Bicycle WOLFF TUCANA Manual
(27 pages)
This manual is also suitable for:
Vela
Table of Contents
Save PDF
Print
Rename the bookmark
Delete bookmark?
Delete from my manuals?
Login
Sign In
OR
Sign in with Facebook
Sign in with Google
Upload manual
Upload from disk
Upload from URL


Need help?
Do you have a question about the VEGA and is the answer not in the manual?
Questions and answers