Advertisement
Available languages
Available languages
Quick Links
π
H-7041, H-8546, H-8547
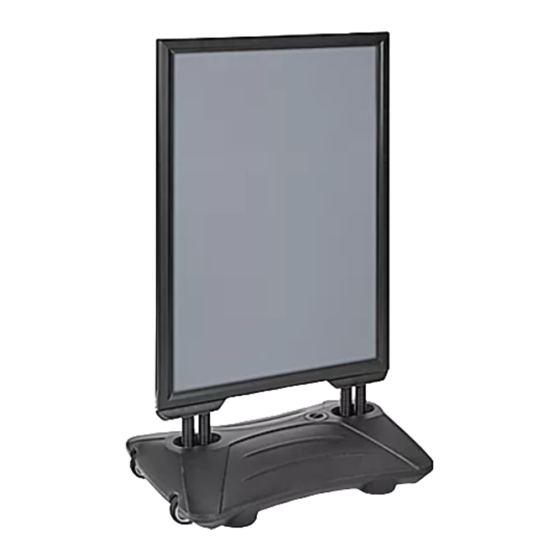
WINDPRO
HEAVY DUTY
®
SNAP EDGE SIGN
TOOL INCLUDED
Wrench
Frame x 1
NOTE: Remove washers and nuts before
assembling sign.
1.
Insert screws on bottom of frame through top of
base. (See Figure 1)
2. Place two-holed washer onto screws at bottom of
base. (See Figure 2)
PAGE 1 OF 6
1-800-295-5510
uline.com
PARTS
Base x 1
Two-holed Washer x 2
ASSEMBLY
3. Slide nuts onto screws on bottom of base. (See Figure 3)
4. Use wrench to tighten nuts around screws until snug
Figure 1
Figure 2
Pour le français, consulter les pages 5-6.
(Ships with base)
against washer. (See Figure 4)
CAUTION! Tighten carefully. When tightened too
much, the base can crack.
Para Español, vea páginas 3-4.
Nut x 4
(Ships attached to frame)
Figure 3
Figure 4
0621 IH-7041
Advertisement

Related Manuals for U-Line WINDPRO H-7041

Summary of Contents for U-Line WINDPRO H-7041
- Page 1 Para Español, vea páginas 3-4. Pour le français, consulter les pages 5-6. π H-7041, H-8546, H-8547 1-800-295-5510 uline.com WINDPRO HEAVY DUTY ® SNAP EDGE SIGN TOOL INCLUDED Wrench PARTS Frame x 1 Base x 1 Two-holed Washer x 2 Nut x 4 (Ships with base) (Ships attached to frame) ASSEMBLY...
- Page 2 ASSEMBLY CONTINUED TO INSERT SIGN 3. Insert sign. 4. Replace plastic cover to protect sign. (See Figure 7) Flip open snap edges. (See Figure 5) Figure 5 Figure 7 2. Remove plastic cover. (See Figure 6) 5. Flip snap edges to closed position. (See Figure 8) Figure 8 Figure 6 1-800-295-5510...
- Page 3 π H-7041, H-8546, H-8547 800-295-5510 uline.mx WINDPRO LETRERO DE USO ® PESADO CON MOLDURAS ABATIBLES HERRAMIENTA INCLUIDA Llave PARTES 1 Marco 1 Base 2 Rondanas de Doble Orificio 4 Tuercas (Se envían con la base) (Se envían adjuntas al marco) ENSAMBLE NOTA: Retire las rondanas y tuercas antes de 3.
- Page 4 CONTINUACIÓN DEL ENSAMBLE PARA INSERTAR EL LETRERO 3. Inserte el letrero. 4. Vuelva a colocar la cubierta de plástico para 1. Abra las molduras abatibles. (Vea Diagrama 5) proteger el letrero. (Vea Diagrama 7) Diagrama 5 2. Retire la cubierta de plástico. (Vea Diagrama 6) Diagrama 7 5.
-
Page 5: Montage
π H-7041, H-8546, H-8547 1-800-295-5510 uline.ca WINDPRO – ENSEIGNE ROBUSTE AVEC BORDS À PRESSION OUTIL INCLUS Clé PIÈCES Cadre x 1 Base x 1 Rondelle à deux trous x 2 Écrou x 4 (livrée fixée à la base) (livré fixé au cadre) MONTAGE REMARQUE : Retirez les rondelles et les écrous 3. - Page 6 MONTAGE SUITE POUR INSÉRER UNE ENSEIGNE 3. Insérez l'enseigne. 4. Remettez la couverture en plastique pour protéger 1. Ouvrez les bords à pression. (Voir Figure 5) l'enseigne. (Voir Figure 7) Figure 5 2. Enlevez la couverture en plastique. (Voir Figure 6) Figure 7 5.
Need help?
Do you have a question about the WINDPRO H-7041 and is the answer not in the manual?
Questions and answers