Advertisement
Available languages
Available languages
π
H-7805
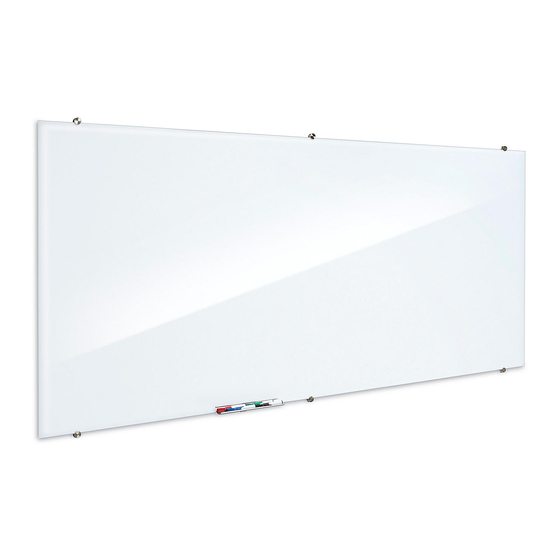
MAGNETIC GLASS
DRY ERASE BOARD – 8 x 4'
Two Person Assembly Required
TOOLS NEEDED
1/4", 5/16" and
1/8" Drill Bits
Power Drill
Glass Board x 1
Aluminum Tray x 1
WARNING! Glass dry erase boards are made
of safety glass, but improper handling and
installation may cause serious injury if the
board shatters. Proper installation will require
at least two people.
1.
Make sure wall is flat. On drywall and stud walls,
always hit studs (if possible). A minimum of 1/2"
drywall is required. Use correct type anchor and
predrill for the wall type.
PAGE 1 OF 9
1-800-295-5510
uline.com
Phillips
Screwdriver Bit
Chalkline
Board Hardware Kit
Wall Mount Bracket
Plastic Anchor x 8
Outer Cap x 8
Wall Mount Bracket x 8
Stud Finder
PARTS
Drywall Anchor x 8
CS Screw x 8
SETUP
IMPORTANT! Do not use unless all screws are tight.
At least every six months, check all screws to be
sure they are tight.
Para Español, vea páginas 4-6.
Pour le français, consulter les pages 7-9.
Tape Measure
Marker Tray Hardware Kit
Tray Mount x 1
Phillips Tray Screw x 2
Level
0919 IH-7805
Advertisement
Table of Contents

Related Manuals for U-Line H-7805

Summary of Contents for U-Line H-7805
- Page 1 Para Español, vea páginas 4-6. Pour le français, consulter les pages 7-9. π H-7805 1-800-295-5510 uline.com MAGNETIC GLASS DRY ERASE BOARD – 8 x 4' Two Person Assembly Required TOOLS NEEDED 1/4", 5/16" and Phillips 1/8" Drill Bits Screwdriver Bit...
-
Page 2: Installation
INSTALLATION Determine what type of wall board will be mounted on. 3. With help, hold board up in position and draw a line around the perimeter. Make sure these drawn lines 2. Measure length, width and center lines of board are parallel with the ceiling and floor. - Page 3 INSTALLATION CONTINUED 4. Determine desired tray location and mark a line 8. Apply self-adhesive pads to back of board. Peel 1" above the bottom edge of board. Drill two 5/16" one side of the backer from the pad and apply to diameter holes in wall 5⁄"...
-
Page 4: Herramientas Necesarias
π H-7805 800-295-5510 uline.mx PIZARRÓN BLANCO DE VIDRIO MAGNÉTICO – 8 x 4' Se debe ensamblar entre dos personas HERRAMIENTAS NECESARIAS Brocas de 1/4", Broca de Punta 5/16" y 1/8" de Cruz Taladro Tiralíneas con Gis Detector Cinta de Medir Nivel Eléctrico... -
Page 5: Instalación
INSTALACIÓN Determine el tipo de pared en la cual se instalará el 3. Con ayuda de otra persona, coloque el pizarrón en pizarrón. la posición deseada y dibuje una línea alrededor del perímetro. Asegúrese de que estas líneas dibujadas 2. Mida el largo, ancho y las líneas centrales del queden paralelas con el techo y el piso. - Page 6 CONTINUACIÓN DE INSTALACIÓN 4. Determine la ubicación deseada de la bandeja y 8. Pegue las almohadillas autoadhesivas en la parte marque una línea a 1" por encima del borde inferior posterior del pizarrón. Despegue un lado del del pizarrón. Taladre dos orificios con diámetro de reverso de la lámina y aplíquela al pizarrón como 5/16"...
-
Page 7: Outils Nécessaires
π H-7805 1-800-295-5510 uline.ca TABLEAU MAGNÉTIQUE EFFAÇABLE À SEC EN VERRE – 8 x 4 PI Un montage à deux personnes est recommandé. OUTILS NÉCESSAIRES Mèches de 1/4 po, Mèche de 5/16 po et 1/8 po tournevis Perceuse Cordeau Détecteur de Ruban à... - Page 8 INSTALLATION Déterminez le type de mur sur lequel installer le tableau. 3. Faites-vous assister pour tenir le tableau sur le mur et tracez une ligne le long de son périmètre. Assurez- 2. Mesurez la longueur et la largeur, puis centrez les vous que les lignes tracées sont parallèles au sol et lignes/alignez le tableau et le mur.
- Page 9 INSTALLATION SUITE 4. Déterminez l'emplacement du porte-marqueur et 8. Fixez des tampons autoadhésifs au dos du tableau. tracez une ligne 1 po au-dessus du bord inférieur du Pelez un côté de la pellicule au dos du tampon et tableau. Percez deux trous d'un diamètre de 5/16 po fixez au tableau comme illustré.
Need help?
Do you have a question about the H-7805 and is the answer not in the manual?
Questions and answers