Advertisement
Quick Links
www.DataSheet4U.com
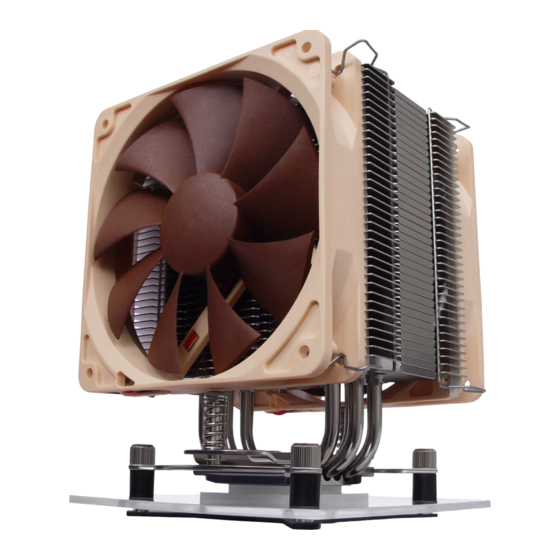
Noctua LGA775 Mounting-Kit
Installation Manual
Thank you very much for choosing a Noctua
cooler. This manual will guide you through the
installation process step by step.
Prior to installing the cooler, please consult the compat-
ibility list on our website and verify that the cooler is fully
compatible with your motherboard.
Should you encounter any difficulties, please check the
FAQs on our website and don't hesitate to contact our
support team at support@noctua.at. Noctua cannot
be held responsible for any damage or losses caused by
compatibility issues.
Multilingual versions of this manual are available on our
website: www.noctua.at
Required mounting parts (from the LGA775-bag):
1x LGA backplate
2x short silver
2x short mounting bars
springscrews
Required mounting parts (from the common parts bag):
2x standard fastening brackets
2x red, thin washers
8x short screws
2x pressure springs
Step 1:
Removing the mainboard
In case you want to use the NH-U12P on an assembled system,
you first have to remove the mainboard from the case as the
cooler has to be screwed together with the backplate on the
back side of the mainboard.
Step 2:
Attaching the backplate
Place the backplate on the back side of the mainboard, aligning
NH-U12P-LGA775 | Installation Manual
the backplate's screw sockets with the mainboard's screw-
holes.
Caution: The rubber foam square of the LGA backplate
has to face the mainboard. Don't remove the white protec-
tion film!
Caution: Don't forget to
put 4 washers between the
mainboard and the mount-
ing bars to avoid damage to
the mainboard.
Choose the alignment of the mounting bars according to the
desired final orientation of the cooler:
Orientation A
Orientation B
Caution: Make sure that the straight sides of the mounting
bars face the socket and the bulgings are pointing outwards.
Now screw the mounting bars to the backplate using small
screws and washers.
Step 3:
Attaching the fastening brackets to the heatsink
Tightly screw the fastening brackets to the base of the heatsink
using 4 short screws.
Step 4:
Applying thermal paste
If there are residual traces of thermal paste or thermal pads on
your CPU, please clean them off first.
Press a small drop (4-5mm diameter) of NT-H1 onto the cen-
tre of the heat-spreader.
Caution: Applying too much thermal paste will lower the heat
conductivity and cooling performance!
Caution: Peel off the protection film at the bottom side of the
heatsink first!
Put the heatsink onto the CPU and turn it back and forth a few
times in order to spread the paste.
Advertisement

Subscribe to Our Youtube Channel
Related Manuals for Noctua NH-U12P-LGA775


Summary of Contents for Noctua NH-U12P-LGA775
- Page 1 Installation Manual holes. Thank you very much for choosing a Noctua Caution: The rubber foam square of the LGA backplate cooler. This manual will guide you through the has to face the mainboard. Don’t remove the white protec- installation process step by step.
- Page 2 In case of warranty, you can either request RMA at your retailer or use our Direct RMA Service. For further information, please consult www.noctua.at. In order to process your RMA enquiry, we need a proof of purchase, so please don’t forget to keep...
- Page 3 Step 2: Installation Manual Attaching the backplate Thank you very much for choosing a Noctua Place the backplate on the back side of the mainboard, cooler. This manual will guide you through the aligning the backplate’s screw sockets with the mainboard’s installation process step by step.
- Page 4 In case of warranty, you can either request RMA at your retailer or use our Direct RMA Service. For further information, please consult www.noctua.at. In order to process your RMA enquiry, we need a proof of purchase, so please don’t forget to keep...
Need help?
Do you have a question about the NH-U12P-LGA775 and is the answer not in the manual?
Questions and answers