Advertisement
Advertisement
Table of Contents

Related Manuals for Lex System SUPER Series


Summary of Contents for Lex System SUPER Series
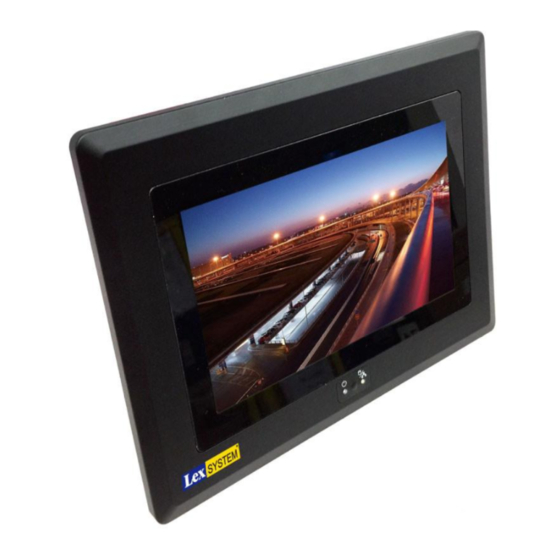
- Page 1 SUPER Series Panel PC Assembly Guide...
- Page 2 Contents 1-1 Installing for SO-DIMM ................. 1-2 Installing for Mini PCI-e Card ............... 1-3 Installing for SATA HDD Version ............Super Series (2L) Panel PC Exploded Drawing ......... Super Series (3L) Panel PC Exploded Drawing .........
- Page 3 1-1 Installing for SO-DIMM 1. Remove 9 pcs M3*6 round head screws from the top cover & open the cover. (Fig.1) (Fig.1) 2. Insert the memory into the SODIMM at a 45 degree angle. (Fig.2) Notices: The connectors are designed to ensure the correct insertion.
- Page 4 1-2 Installing for Mini PCI-e Card 4. Remove the secured screws of Mini PCIe socket . (Fig.4) (Fig.4) 5. Insert the Mini PCIe card into the socket at a 45 degree angle. (Fig.5) 45° (Fig.5) 6. Press down the Mini PCIe card and secure the card with screws.
- Page 5 1-3 Installing for SATA HDD Version (Fig.7) 7. Attach the HDD to the HDD KIT via 4PCS M3*4 flat head screw (Fig.7) 8. Connect the SATA DATA Cable with (Fig.8) motherboard. (Fig.8) (Fig.5) 9. Connect the SATA Power Cable with (Fig.9) motherboard.
- Page 6 (Fig.11) (Fig.10) 10. Secure the HDD KIT to the system via 11.Connect the SATA DATA Cable with HDD. 3 pcs M3*4 flat screws. (Fig.10) (Fig.11) 12.Connect the SATA Power Cable wit HDD. (Fig.12) (Fig.12) (Fig.12) (Fig.13) 13. Put the cover back & screws it via 9 pcs round head M3*6 screw. (Fig.13) (Fig.6)
- Page 7 Super Series (2L) Panel PC Exploded Drawing Name Q'ty Touch Keypad Front Cover Middle Frame Main Board HDD Bracket 10 Panel Back Cover Middle Sponge Touch Tape WP Sponge...
- Page 8 Super Series (3L) Panel PC Exploded Drawing Name Q'ty Touch Keypad Front Cover Middle Frame Main Board HDD Bracket 10 Panel Back Cover Middle Sponge Touch Tape WP Sponge...
Need help?
Do you have a question about the SUPER Series and is the answer not in the manual?
Questions and answers