Do you have a question about the X Series and is the answer not in the manual?
Questions and answers
Роман
April 19, 2025
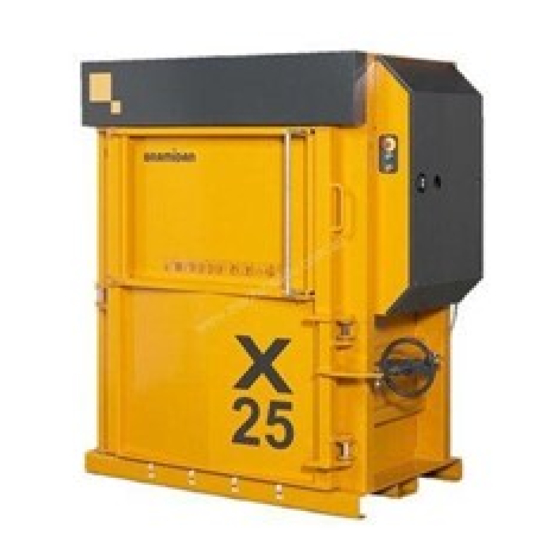
Мигает зеленая кнопка пресс в 20 , что делать прес зажат и не поднимается , просто мигает зеленая кнопка
1 comments:
Mr. Anderson
May 10, 2025
When the green button on the BRAMIDAN X Series baler is blinking and the press is stuck, it means the baler is waiting for an action by the operator before it can continue operating.


Need help?
Do you have a question about the X Series and is the answer not in the manual?
Questions and answers
Мигает зеленая кнопка пресс в 20 , что делать прес зажат и не поднимается , просто мигает зеленая кнопка
When the green button on the BRAMIDAN X Series baler is blinking and the press is stuck, it means the baler is waiting for an action by the operator before it can continue operating.
This answer is automatically generated