Advertisement
Quick Links
Advertisement

Subscribe to Our Youtube Channel
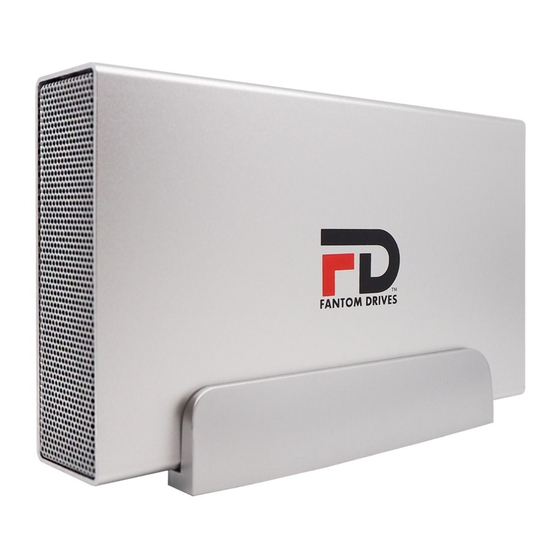
Summary of Contents for Fantom Drives GFORCE 3
- Page 1 USER MANUAL...
- Page 2 Contents Page 3..........Contact Information Page 4-7......Windows Installation & Formatting Page 8-9......Mac Installation & Formatting Page 10........Disconnecting GFORCE 3 Page 11..........Warranty Information Parts & Accessories List The package should contain the following items: (1) GFORCE 3 (1) USB Cable (1) User Manual...
- Page 3 Thank you for choosing Fantom Drives! Your Fantom Drives GFORCE 3 has been built to the highest standard of quality and workmanship. When used according to the instructions in this guide, will provide years of trouble-free operation. We at Fantom Drives take great pride in bringing personal satisfaction to each of our customers.
- Page 4 Instructions for use with - Windows 10, Windows 8, Windows 7, and Windows Vista 1) Connect the GFORCE 3 Hard Drive to the computer using the USB 3.2 Gen 1, FW400/800, or eSata(Model Varies). Power the unit and your system should automatically detect the hard drive.
- Page 5 3) When “Disk Management” opens, verify that your system sees the drive you have connected. Disk 0 is usually the OS and should be ignored. Here, you notice that it is Disk 1 (note that it can be a different number other than Disk 1. You can check by unplug- ging and plugging back the unit in and seeing what shows when connected).
- Page 6 6) Go back to Disk Management. You should now see that drive as “Unallocated” as mentioned in step 3. 7) Right click on your Disk and select “Initialize Disk.” 8) Make sure your disk and GPT option is selected.
- Page 7 9) Right click your disk again on Disk Management and click on “New Simple Volume.” 10) Continue through with the Wizard and where it asks for File Sys- tem Type, make sure it is set to NTFS. Finish the Wizard and you are now able to use the drive with Windows.
- Page 8 2) Open Mac HD or the name of your main hard drive in finder. 3) Open Applications, then Utilities, and then Disk Utility. 4) Once the Disk Utility application has opened, your GFORCE 3 should be listed on the left. Click on the GFORCE 3 Drive and click the Erase tab.
- Page 9 Warning: This will delete all your current data in the drive! 5) For Format, select Mac OS Extended (Journaled) 6) Click Erase at the bottom of the screen. You will receive a warning message asking you to confirm the erase procedure. 7) The drive will be available to use after the process completes.
- Page 10 Select Start > Settings > Devices. Select the device, and click “Remove device.” For Mac, the GFORCE 3 drive will show up as an icon on the desktop. Just drag it into the trash can.
-
Page 11: Year Warranty
Drives. This Warranty does not apply when the malfunction results from the use of this Product in conjunction with accessories, products or ancillary or peripheral equipment, or where it is determined by Fantom Drives that there is no fault with this Product itself. This Limited Warranty is invalid if any of the factory applied stickers including serial number have been altered or removed from the Product.


Need help?
Do you have a question about the GFORCE 3 and is the answer not in the manual?
Questions and answers