Table of Contents
Advertisement
Quick Links
Advertisement
Table of Contents

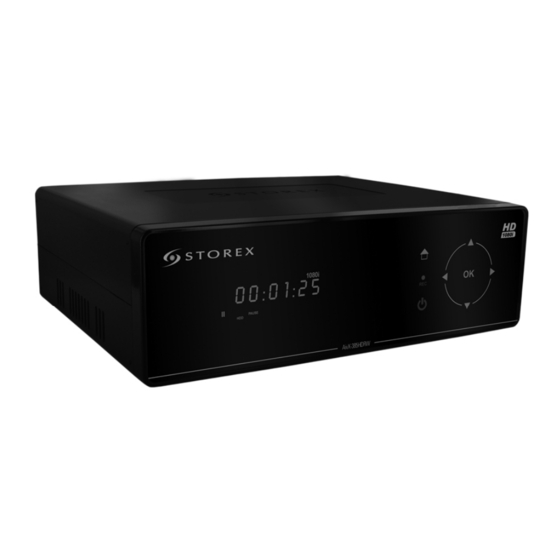
Related Manuals for Storex AivX-385HDRW

Summary of Contents for Storex AivX-385HDRW
- Page 1 Quick installation guide - AivX-385HDRW - Version 1 - © Storex 2008...
- Page 2 Quick installation guide - AivX-385HDRW - Version 1 - © Storex 2008...
- Page 3 Scart Video component and 2CH AUDIO (YUV + Stereo RCA) Switch on your TV set and select the correct Audio-Video input (AV) to which your AivX-385HDRW is connected (HDMI, Composite, Scart, Component) Connect the supplied mains adapter to your AivX-385HDRW Switch on the toggle switch located on the rear panel.
-
Page 4: Step 2 - Formatting The Hard Disk
STEP 2 – Formatting the hard disk When you switch on your AivX-385HDRW, the following dialog box will be displayed. Select OK by pressing the Enter button on your remote control or by the OK button on the front panel. - Page 5 Press the ► button and select Next by pressing the Enter button or the OK button on the front panel. NOTE : Please refer to the explanation of the file system before starting this section. Quick installation guide - AivX-385HDRW - Version 1 - © Storex 2008...
- Page 6 Select OK by pressing the Enter button or the OK button on the front panel. Formatting is complete. NOTE: Please do not format your computer again. AivX-385HDRW will consider it as a new HARD DISK if it is connected. Quick installation guide - AivX-385HDRW - Version 1 - © Storex 2008...
-
Page 7: Step 3 - Initial Configuration
STEP 3 – Initial configuration When you have formatted the HARD DISK of your AIVX-385HDRW, you can set the language, the time or LAN. The following dialog box of the initial configuration will be displayed. Select your language by pressing the ▲, ▼ and Enter buttons to confirm. - Page 8 TV set if it is connected with an HDMI cable. In this case, please try again by connecting the TV set with a scart cable or a RCA cable. Quick installation guide - AivX-385HDRW - Version 1 - © Storex 2008...
-
Page 9: Step 4 - Copying A File
• The name of the driver can differ from one computer to another • Please connect your AivX-385HDRW to a USB 2.0 port to get a high speed transfer of the file (up to 480Mbps). You can copy the Audio-Video content from a computer to your AivX-385HDRW operating as an external hard disk. - Page 10 Press the Guide button on your remote control or on the front panel (HOME). Select Video by pressing the ◄, ►buttons and press the Enter button on the remote control or the OK button on the front panel. Quick installation guide - AivX-385HDRW - Version 1 - © Storex 2008...
- Page 11 If you set up the TV Input set on ‘enabled’ in the Setting menu to register directly from your TV set, the A/V input switches as follows : Each source is displayed in the upper right corner of your screen. Quick installation guide - AivX-385HDRW - Version 1 - © Storex 2008...
- Page 12 Press the STOP button to stop recording. If the decoder (terrestrial, satellite or cable) is connected to an AV input of your AivX-385HDRW, you can record the TV program. In this case, you must use the up and down Channel button or the remote control of the decoder to change the channel.
-
Page 13: Step 6 - File Playback
Enter button on the remote control or the OK button on the front panel. Select the requested file by pressing the ◄, ► buttons and press the Enter button to play full screen. Quick installation guide - AivX-385HDRW - Version 1 - © Storex 2008... - Page 14 Select the requested track from the list of recorded tracks by pressing the ▲, ▼ buttons and press the Enter button to play full screen. Quick installation guide - AivX-385HDRW - Version 1 - © Storex 2008...
- Page 15 Wireless network (WIFI) Connect the USB WIFI pen (included with the AivX-385HDRW) to the USB HOST port at the rear of the product. Note : The WIFI network is only available if the USB WIFI pen is connected to the unit and if your WIFI router is lighted up and operational.
- Page 16 Select the security type of your access point, if there are no password select « open system » otherwise WEP or WPA according to your configuration, confirm by pressing the ENTER button. Quick installation guide - AivX-385HDRW - Version 1 - © Storex 2008...
- Page 17 12. Press ENTER, the IP ADRESS will appear with the WiFi gauge signal. NOTE It is recommended to configure your network only after USB WIFI pen is correctly connected to the AivX-385HDRW. Please verify that the anti-virus or the firewall do not block the network access to the unit.
- Page 18 Quick installation guide - AivX-385HDRW - Version 1 - © Storex 2008...
- Page 19 © STOREX –2007 All the specified trademarks are registered trademarks from their respective owners. Quick installation guide - AivX-385HDRW - Version 1 - © Storex 2008...
Need help?
Do you have a question about the AivX-385HDRW and is the answer not in the manual?
Questions and answers