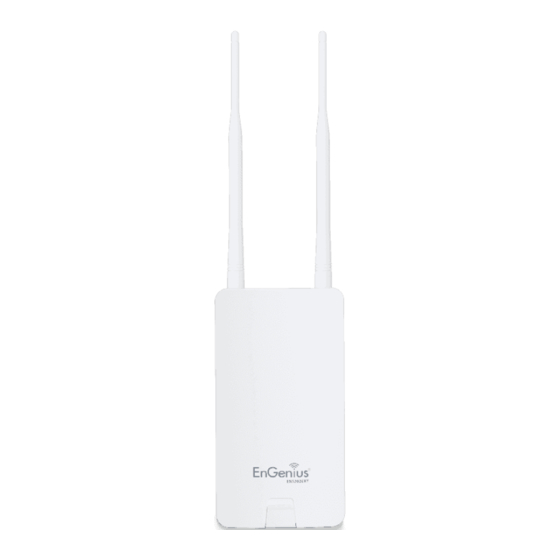
EnGenius EZ Hotspot ENS202EXT Quick Installation Manual
Hide thumbs
Also See for EZ Hotspot ENS202EXT:
- User manual (89 pages) ,
- Quick installation manual (2 pages) ,
- Quick start manual (2 pages)
Advertisement
Table of Contents
Hardware installatie
1. Remove the rear bottom panel.
2. Connect one end of the Ethernet cable to the ENS202EXT-EzHotspot. From
the back view, it is the Ethernet Port on the right, which is also marked as
LAN(PoE) on the label. Ensure it is properly secured with a click and replace the
removed rear bottom panel back. Connect the other end of the Ethernet cable to
the PoE injector's PoE port.
3. Connect the power adapter DC inlet to the 24V DC IN of the PoE injector
and the power adapter to the electrical outlet.
Note: The device should ONLY be powered via the Ethernet cable connected to
the included PoE injector.
4. Once both connections are secure, verify the following:
a. One quick indication of the WLAN LED, followed by quick indication of the
PWR, LANs, LED and finally only the PWR LED.
b. After 1 minute, the WLAN LED starts to blinks intermittently and randomly.
EnGenius Europe | Veldzigt 28, 3454 PW De Meern,
Netherlands | 0900-WIFIABC | www.wifiabc.com
ENS202EXT - EZ Hotspot Edition
Disclaimer: Information may be subject to changes without prior notification.
5. On iOS or Android devices, click on 'Settings', 'Wi-Fi' and under 'choose a
network', you should select the SSID "EnGenius-EzHotspot-Extender". Select and
enter the serial number of the device as the key.
6. Once connected, open you browser and type ezhotspot.eu.
Note: If you get intermittent or no response, you might have to reload the show.
Also make sure you are not re-connected to another SSID. Reason is when the
extender is scanning different channels in the background, you might get
disassociated and connect to another SSID. If this persists, click on 'Forget the
precious network'.
Follow us
Quick Installation Guide
https://www.linkedin.com/company/engeniuseurope
https://twitter.com/engeniuseu
https://plus.google.com/+EngeniusEuropeBVDeMeern
https://www.youtube.com/user/engeniuseuropebv
Advertisement
Table of Contents

Summary of Contents for EnGenius EZ Hotspot ENS202EXT
- Page 1 5. On iOS or Android devices, click on ‘Settings’, ‘Wi-Fi’ and under ‘choose a 1. Remove the rear bottom panel. network’, you should select the SSID “EnGenius-EzHotspot-Extender”. Select and enter the serial number of the device as the key. 2. Connect one end of the Ethernet cable to the ENS202EXT-EzHotspot. From the back view, it is the Ethernet Port on the right, which is also marked as 6.
- Page 2 - When you make a connection with an encrypted access point, make sure that you choose the right encryption. This you can find under ‘Properties’ on the client device. https://www.linkedin.com/company/engeniuseurope EnGenius Europe | Veldzigt 28, 3454 PW De Meern, https://twitter.com/engeniuseu Disclaimer: Information may be subject to changes without prior notification. Follow us https://plus.google.com/+EngeniusEuropeBVDeMeern...


Need help?
Do you have a question about the EZ Hotspot ENS202EXT and is the answer not in the manual?
Questions and answers