Advertisement
Quick Links
Advertisement

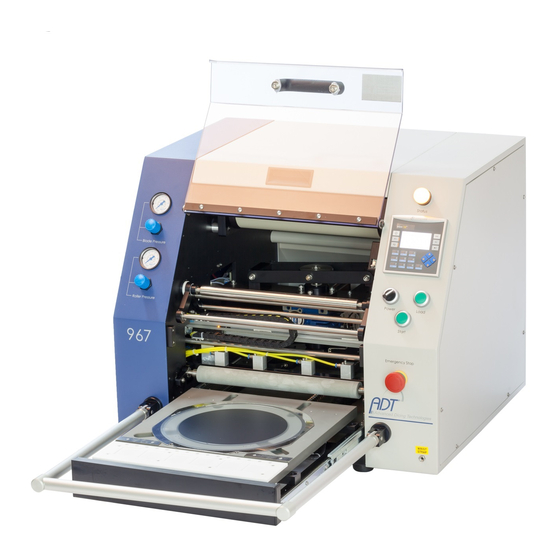
Related Manuals for ADT 967


Summary of Contents for ADT 967
- Page 1 Tape status Manual supplement...
-
Page 2: Table Of Contents
Table of Contents This manual supplement is a supplement document to the full 967 Operation and Maintenance Manual. The document include the followings: • Introduction • Sensor Calibration • Conversion Formula • How is it look? • Software Configuration •... -
Page 3: Introduction
With an easy calibration process (factory setting by ADT) we can convert the pulses to current tape left length, by a formula that developed by ADT. -
Page 4: Sensor Calibration
Sensor Calibration The sensor’s measuring unit is pulse, in order to convert the pulse to mm, we using a calibration formula. We take 2 reference points with known distance from the sensor. We measure the 2 points pulses values from the sensor. And we create a calibration formula by using the line equation. Reference point Reference point... -
Page 5: Conversion Formula
Conversion Formula After the calibration process, still we need to convert ‘distance between sensor and current tape roll’ into ‘current tape left at the machine’. In order to do so, we at ADT developed a formula that convert those 2 parameters. -
Page 6: How Is It Look
How is it look? UV Tape and protecting film with Ultrasonic configuration (Side view illustration) Ultrasonic Sensor... -
Page 7: Software Configuration
Software Configuration Note: For full setup and activations please see the full 967 manual section 7. Please do the followings before each new tape type installation. 1. To enter to the Tape Status Screen, at the main screen press Main Screen 2. - Page 8 Software Configuration 4. At the setup screen press ‘F2’ Setup Screen 5. At the Analog screen press ‘Enter’ Analog Screen...
- Page 9 Software Configuration Tape Status Screen Show how much tape left in meters II. Set threshold in meters for showing ‘Warning Screen’ III. Set initial tape length in meters IV. Set tape thickness in millimeters (including UV tape protective foil – if there is one) V.
- Page 10 9. Install an empty roll tape at the machine, and then press (‘Tape Left (m)’ will show 0). 10. Remove the empty roll tape, and install a new tape. (see ‘Tape loading’ section at the 967 full manual) Button Left...
- Page 11 Software Configuration Frames counter screen Frames counter screen indicate the number of total frames mounted at machine since beginning...
-
Page 12: Tape Status Factory Calibration
Tape Status factory calibration Note: The tape status factory configuration, is made by ADT before the machine is sent to the customer. Please do not change any of the following parameters. 1. To enter to the tape status factory screen, you need to press the ‘I’ + ‘0’ buttons at the Tape Status screen. - Page 13 Tape Status factory calibration Ultrasonic sensor Reference tool for distance calibration Reference tool above Ultrasonic sensor...
- Page 14 Tape Status factory calibration Tape Status factory screen 1. Put the reference tool for setting low value (try to see value around 3300), above the US sensor and press ‘F1’ for 3 seconds until ‘Done!’ notice will show. – try to set low value around 3300 2.
-
Page 15: Mounting Operation
Mounting Operation Note: For the full mounting operation, please see ‘Mounting operation’ section, at the 967 full manual. 1. Press the ‘Load’ button at the main screen, the stage moves out to the load station. If the tape left is under the alarm min threshold, then a warning screen will show with a steady red light. - Page 16 Current tape left (%) Loading Screen Note: If the current tape left is under 5% of the initial length, then the ‘Tape % headline’ will blink. 3. To continue with the mounting operation, follow the ‘Mounting operation’ section, at the 967 full manual.
Need help?
Do you have a question about the 967 and is the answer not in the manual?
Questions and answers