Table of Contents
Advertisement
MO1105-EC
Getting Acquainted
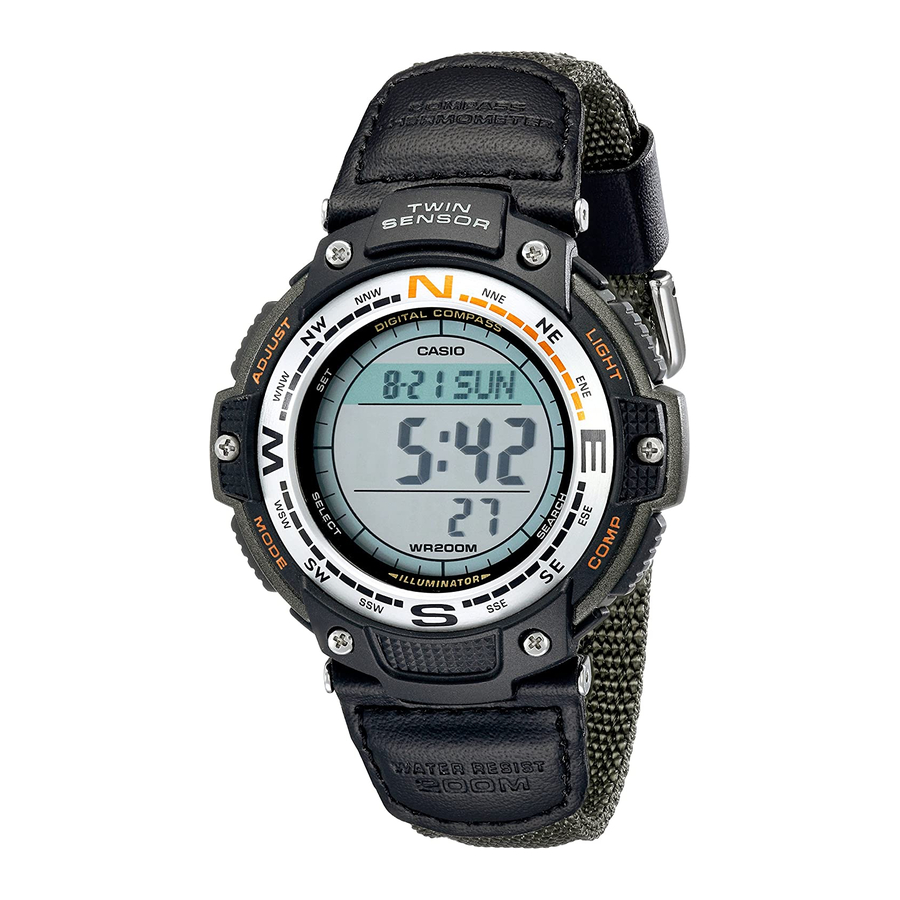
Congratulations upon your selection of this CASIO watch. To get the most out of your
purchase, be sure to read this manual carefully.
Applications
The built-in sensors of this watch measure direction and temperature. Measured
values are then shown on the display. Such features make this watch useful when
hiking, mountain climbing, or when engaging in other such outdoor activities.
• The measurement functions built into this watch are not intended for use in taking
measurements that require professional or industrial precision. Values produced
by this watch should be considered as reasonably accurate representations only.
• When engaging in mountain climbing or other activities in which losing your way
can create a dangerous or life-threatening situation, always be sure to use a
second compass to confirm direction readings.
• Note that CASIO COMPUTER CO., LTD. assumes no responsibility for any
damage or loss suffered by you or any third party arising through the use of this
product or its malfunction.
General Guide
• The illustration below shows which buttons you need to press to navigate between
modes.
• In any mode (except when a setting screen is on the display), press B to illuminate
the display.
• You can enter the Digital Compass/Thermometer Mode from the Timekeeping Mode
by pressing D. To enter from another mode, first use C to enter the Timekeeping
Mode, and then press D.
Digital Compass/
Thermometer Mode
Timekeeping
Month – Day
Day of week
Seconds
Hour : Minutes
To set the time and date
1. In the Timekeeping Mode, hold down A until the city code starts to flash, which
indicates the setting screen.
2. Use D and B to select the city code you want.
• Make sure you select your Home City code before changing any other setting.
• For full information on city codes, see the "City Code Table".
3. Press C to move the flashing in the sequence shown below to select the other
settings.
City Code
Temperature
Unit
• The following steps explain how to configure timekeeping settings only.
4. When the timekeeping setting you want to change is flashing, use D and/or B to
change it as described below.
Screen
To do this:
Change the city code
Toggle between Daylight Saving Time
(
Toggle between 12-hour (
24-hour (
Reset the seconds to
Change the hour or minute
Change the year
Change the month or day
5. Press A to exit the setting screen.
• For details about configuring temperature display settings, see "To specify the
temperature display unit".
• See "Daylight Saving Time (DST) Setting" below for details about the DST setting.
Operation Guide 3157
Warning!
Timekeeping Mode
Press D.
Press C.
Use the Timekeeping Mode to set and view the current
time and date.
Read This Before You Set the Time and Date!
This watch is preset with a number of city codes, each of
which represents the time zone where that city is located.
When setting the time, it is important that you first select
the correct city code for your Home City (the city where
you normally use the watch). If your location is not
included in the preset city codes, select the preset city
code that is in the same time zone as your location.
• Note that all of the times for the World Time Mode city
codes are displayed in accordance with the time and
date settings you configure in the Timekeeping Mode.
12/24-Hour
DST
Second
Format
Day
Month
Year
Minute
Do this:
Use D (east) and B
(west).
Press D.
) and Standard Time (
).
Press D.
) and
12H
) timekeeping.
24H
00
Press D.
Use D (+) and B (–).
Use D (+) and B (–).
About This Manual
Press C.
Daylight Saving Time (DST) Setting
Daylight Saving Time (summer time) advances the time setting by one hour from
Standard Time. Remember that not all countries or even local areas use Daylight
Saving Time.
To toggle the Timekeeping Mode time between DST and Standard Time
On/Off status
DST indicator
Digital Compass/Thermometer
You can take direction readings and temperature readings in the Digital Compass/
Thermometer Mode.
Direction readings are taken by the watch's built-in magnetic bearing sensor and
displayed as one of 16 directions. A temperature sensor is used for temperature
Hour
readings.
• See "Digital Compass" for more information about the digital compass.
• See "Thermometer" for more information about the thermometer.
To enter and exit the Digital Compass/Thermometer Mode
12 o'clock position
Current time
During readings
Thermometer
The watch takes temperature readings automatically whenever you enter the Digital
Compass/Thermometer Mode. In addition, you can take readings manually by
performing the procedure below.
• You can calibrate the temperature sensor if you think readings are wrong for some
reason.
• You can select either Celsius (°C) or Fahrenheit (°F) as the temperature unit.
• Depending on the model of your watch, display text
(Light)
appears either as dark figures on a light background or
light figures on a dark background. All sample displays
in this manual are shown using dark figures on a light
background.
• Button operations are indicated using the letters shown
in the illustration.
• Each section of this manual provides you with the
information you need to perform operations in each
mode. Further details and technical information can be
(Light)
found in the "Reference" section.
Stopwatch Mode
World Time Mode
Countdown Timer
Alarm Mode
1. In the Timekeeping Mode, hold down A until the city
code starts to flash, which indicates the setting screen.
2. Press C once and the DST setting screen appears.
3. Press D to toggle between Daylight Saving Time (
displayed) and Standard Time (
4. Press A to exit the setting screen.
• The DST indicator appears to indicate that Daylight
Saving Time is turned on.
1. While in the Timekeeping Mode, press D to enter the
Digital Compass/Thermometer Mode.
• The watch will start to take direction and temperature
readings. After about two seconds, the direction that
the 12 o'clock position of the watch is facing will be
indicated and the current temperature reading will
appear on the display.
• Direction readings will be taken each second for about
10 seconds, and then stop automatically.
• Temperature readings will be taken every two
About two
seconds for about 10 seconds, and then stop
seconds
automatically.
• To perform direction and temperature readings for
another 10 seconds, press D again.
2. Press C to return to the Timekeeping Mode.
• For information about using the digital compass, see "To
take a direction reading".
• For information about using the thermometer, see "To
take a temperature reading".
Mode
ON
OFF
displayed).
1
Advertisement
Table of Contents

Related Manuals for Casio SGW100B - SGW100B-3V


Summary of Contents for Casio SGW100B - SGW100B-3V
-
Page 1: Digital Compass/Thermometer
MO1105-EC Getting Acquainted Congratulations upon your selection of this CASIO watch. To get the most out of your purchase, be sure to read this manual carefully. Applications The built-in sensors of this watch measure direction and temperature. Measured values are then shown on the display. Such features make this watch useful when hiking, mountain climbing, or when engaging in other such outdoor activities. - Page 2 1. Remove the watch from your wrist, and position it so its back is parallel with the ground and the 12 o’clock position is pointed away from you. 2. In the Digital Compass/Thermometer Mode, hold down A until the indicator at the 12 o’clock position starts to flash.
-
Page 3: Faqs
• The indicator will go around the display up to four times, if you do not stop it by pressing C. After the fourth time, the watch will exit the calibration screen automatically. To perform magnetic declination correction 1. -
Page 4: Alarms
The alarm tone sounds at the preset time for 10 seconds, regardless of the mode the watch is in. In the case of the snooze alarm, the alarm operation is performed a total of seven times, every five minutes, until you turn the alarm off. -
Page 5: City Code Table
Operation Guide 3157 City Code Table City City Code Offset Pago Pago –11.0 Honolulu –10.0 Anchorage –09.0 Vancouver –08.0 Los Angeles Edmonton –07.0 Denver Mexico City –06.0 Chicago Miami Toronto –05.0 New York Santiago –04.0 Halifax St. Johns –03.5 Rio De Janeiro –03.0 Praia –01.0...
Need help?
Do you have a question about the SGW100B - SGW100B-3V and is the answer not in the manual?
Questions and answers