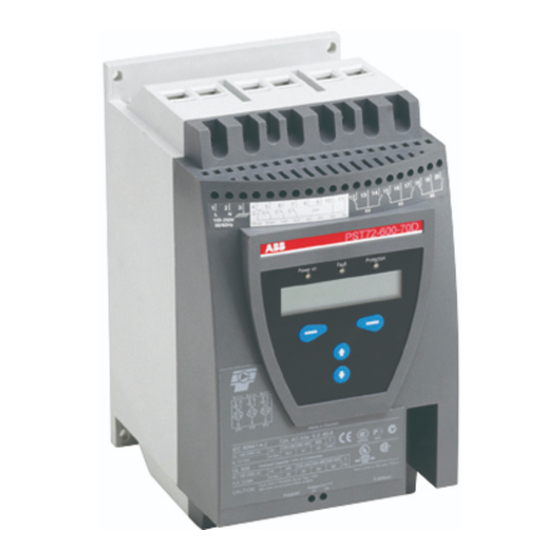
ABB PST30 Quick Start
Hide thumbs
Also See for PST30:
- Installation and commissioning manual (200 pages) ,
- Installation and maintenance manual (95 pages) ,
- Manual (10 pages)
Advertisement
1
Power on
Fault
Protection
U= 0%
I=0.0A
Menu
Figure 1:
1 Status indication LEDs
2 LCD display
3 Selection keys for selecting, changing
and storing parameters
4 Navigation keys for navigating in the
menus
Arrows shown in the display indicates
that the value/menu is possible to
change or scroll
L1
L2
L3
N
Start
KM1
1L1 3L2 5L3
1 2
3
2T1 4T2 6T3
U
V
W
M
3
Figure 2: Standard connection PST
Power on
Fault
Protection
U=
0%
I=0.0A
Menu
Figure 3: Top level
1SFC132004M0201
Quickstart PST30...PSTB1050
2
3
4
Start
4 5
10
Start
Stop
4 5
6 7
8 9
10 11
12 13 14
15 16 17 18 19 20
This document is a short guide to how to connect, do the
Configuration and start the softstarter in the easiest way.
Warning!
Mounting, electrical connection and settings of the
softstarter shall be made in accordance with existing laws
and regulations and be performed by authorised personnel.
Do not change any parameters in the Service Settings
menu.
Connection
1. Mount the softstarter according to Chapter 4 "Mounting",
see manual 1SFC132003M0201.
2. Be aware of the ambient temperature.
Derating is required above 40
3. Connect the main circuit: terminals 1L1 - 3L2 - 5L3 to the
line side and terminals 2T1 - 4T2 - 6T3 to the motor side.
4. Connect the supply voltage: terminal 1 and 2
(100-250V 50/60Hz).
5. Connect the functional ground: terminal 3.
The wire shall be as short as possible, and be connected to
the mounting plate.The mounting plate should also be
earthed.
6. Connect the start/stop circuits: terminal 4, 5, 8, 9 and 10
according to the diagram. 24V DC only.
7. Check that the main and supply voltage corresponds to
the softstarter ratings.
8. Switch on the supply voltage.
9. The green "Power on" LED is on and the LCD shall
appear as in figure 3.
1
°
°
C (104
F).
Advertisement
Table of Contents

Related Manuals for ABB PST30


Summary of Contents for ABB PST30
- Page 1 Quickstart PST30...PSTB1050 This document is a short guide to how to connect, do the configuration and start the softstarter in the easiest way. Power on Fault Protection U= 0% I=0.0A Menu Warning! Mounting, electrical connection and settings of the softstarter shall be made in accordance with existing laws and regulations and be performed by authorised personnel.
- Page 2 Figure 10. OL Class Store 8. If an external by-pass contactor is used set Ext ByPass to Yes using the navigation keys. (PST30...300 only). Figure 9: OL Class Figure 11. OL Class 9. Press Store and Next to continue or Back to return to pre-...
Need help?
Do you have a question about the PST30 and is the answer not in the manual?
Questions and answers