Advertisement
Quick Links
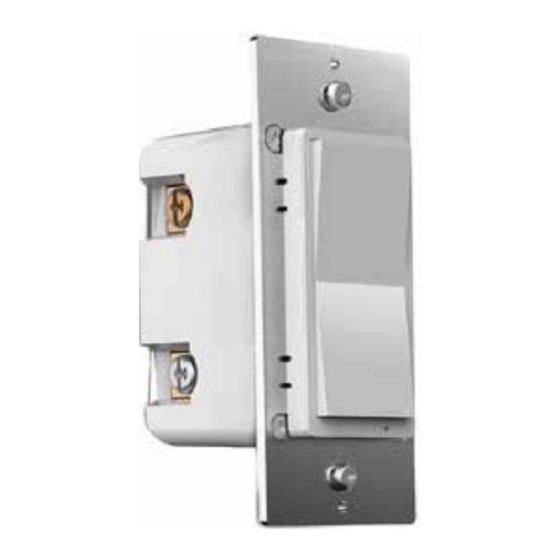
3-Way Wi-Fi Smart ON/OFF Switch
• WF30S •
FCC Caution.
This device complies with part 15 of the FCC Rules. Operation is subject to the following two conditions: (1) This device
may not cause harmful interference, and (2) this device must accept any interference received, including interference
that may cause undesired operation.
Any Changes or modifications not expressly approved by the party responsible for compliance could void the user's
authority to operate the equipment.
Note: This equipment has been tested and found to comply with the limits for a Class B digital device, pursuant to part 15
of the FCC Rules. These limits are designed to provide reasonable protection against harmful interference in a residential
installation. This equipment generates uses and can radiate radio frequency energy and, if not installed and used in
accordance with the instructions, may cause harmful interference to radio communications. However, there is no
guarantee that interference will not occur in a particular installation. If this equipment does cause harmful interference
to radio or television reception, which can be determined by turning the equipment off and on, the user is encouraged to
try to correct the interference by one or more of the following measures:
-Reorient or relocate the receiving antenna.
-Increase the separation between the equipment and receiver.
-Connect the equipment into an outlet on a circuit different from that to which the receiver is connected.
-Consult the dealer or an experienced radio/TV technician for help.
*RF warning for Mobile device:
This equipment should be installed and operated with minimum distance 20cm between the radiator& your body.
1. Tool: Please prepare a flat head screwdriver.
Turn power OFF at circuit breaker or fuse box.
2.
Remove wallplate.
3.
4. Remove the switch mounting screws.
5. Disconnect the wires and label them after remove the old
switch.(Please use our sticker)
Load
Neutral
Ground
Traveler
Line
6. Carefully remove the switch from the switch box. (DO NOT
disconnect the wires.)
7. There are up to five screw terminals on the smart switch,
these are marked (Please check <HOW TO INSTALL THE
WIRES>)
8. Fix the wallplate with screws after wiring succeed. (Please use
our screws.)
9.The Ground was excluded from the diagram to simplify the
illustration. Please Make sure the ground wires connected to the
switches respectively.
NOTE:
1) Neutral required. If the switch box do not have a Neutral, please stop! Connect the white wire to neutral terminal (use a white jump wire form the
package or the second hole at the terminal to connect.)
2) Before the old switch detached, please identify the common terminal.
3) If the Line wire connected to the Common terminal, please refer to the wiring diagram Option 2.
If the Load wire connected to the Common terminal, please refer to the wiring diagram Option1.
4) Only work with regular 3-way on/off for 2 locations control. It can only be connected with regular 3-way on/off switch, don't use a smart switch or a
dimmer switch! Couldn't work with an add-on switch!
(Just for 3-way switch)
• Switch x1
• wiring x1
• screw x2
• Faceplate x1
Single-pole wiring
From breaker box
Line
Neutral
Specifications:
Power: 120V AC, 60Hz
Wireless Frequency: 2.4GHz
Wireless Standard: IEEE802.11b/g/n
Maximum Load: 8A
Incandescent 500W
LED 150W
Resistive 1000W
Temperature Range: 32° F~104° F
Range: Up to 100 feet line of sight
For indoor use.
From breaker box
Line
Neutral
Advertisement

Related Manuals for EVA Logik WF30S


Summary of Contents for EVA Logik WF30S
- Page 1 Wireless Standard: IEEE802.11b/g/n Maximum Load: 8A Incandescent 500W 3-Way Wi-Fi Smart ON/OFF Switch LED 150W Resistive 1000W • WF30S • • Switch x1 Temperature Range: 32° F~104° F • wiring x1 Range: Up to 100 feet line of sight • screw x2 For indoor use.
- Page 2 Please check which option is best for your 3-way installation. Power Power Option 1 Option 2 common common From breaker box regular From breaker box Line Neutral common common common common Neutral Line Box 2 Box 2 Box 1 Box 1 Don’t change this (Load) ( Line/Hot Neutral and Light/Load)
Need help?
Do you have a question about the WF30S and is the answer not in the manual?
Questions and answers