Table of Contents
Advertisement
Quick Links
1500 Cherokee Parkway, Suite 100, Acworth, GA 30102
P: 866-845-5451 • F: 866-816-6165 • E: service@acclaim-lighting.com
WARNING : To avoid electrical shock. Do not attempt to install the fixture
in wet or rainy conditions. Always turn off electrical power at the circuit
breaker or by disconnecting the fuse.Only use bulbs in compliance with
manufactures specifications.
DO NOT ATTEMPT TO EXCEED MAXIMUM WATTAGE RATING.
TOOLS AND MATERIALS REQUIRED
Blade and or Phillips Head screw driver
Step Ladder(if needed)
Wiring supplires as required by electrical code:
Wire connectors
Electrical tape
WARNING: Risk of fire.
Before installing your lighting fixture, thoroughly review the section titled wiring connections.
If you do not have sufficient electrical wiring expe rience, please refer to a do-it-yourself wiring
handbook or have your fixture installed by a qualified licensed electrician.
All electrical connections must be in accordance with local and National Electrical Code(NEC) standards.
If you are unfamiliar with proper electrical wiring connections obtain the services of a qualified electrician.
Remove the fixture and the mounting hardware packag e from the box and make sure that no parts are missing by
referencing the illustration s on the installation instructions.
To ensure success of the installa tion, read these instructions and review the diagrams thoroughly.
Save these instructions for future reference.
This fixture is intended to be mounted to a 4"x4"x2-1/8" deep metal outlet box.
The building structure must directly support the outlet box.
Before starting the installation, disconnect the power by turning off the circuit breaker or by removing the
fuse at the box. Turning the power off using the light switch is not sufficient to prevent electrical shock.
Required supply circuit: 120V,60Hz.
Connect the white wire from the fixture to the white wire of the supply circuit.
Connect the black wire from th e fixture to the black wire of the supply circuit.
Connect the green(or bare copper)colored wire to the grounding conductor of the supply circuit.
Use UL/CSA listed wire connectors suitable for the size, type, and nu mber or conductors.
No loose strands or loose connections should be present.Secure wire connectors with Use UL/CSA listed electrical tape.
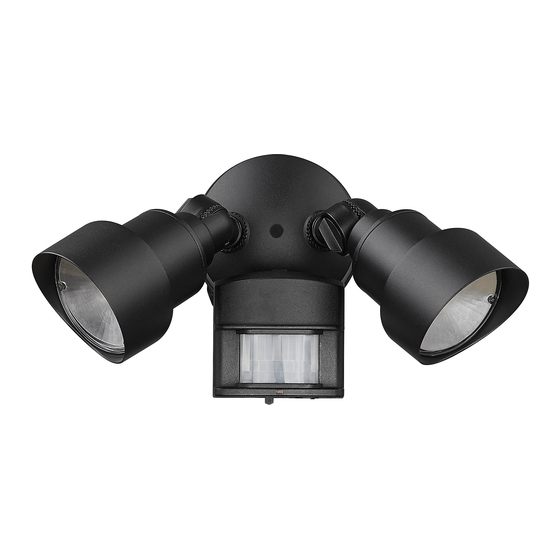
LFL2M
UNPACK THE FIXTURE
Check the contents of the box.You should receive:
Outdoor fixture
Mounting Hardware package.
CAUTION
GENERAL
WIRING CONNECTIONS
Floodlight Installation and
Wiring Instructions
Advertisement
Table of Contents

Related Manuals for Acclaim Lighting LFL2M


Summary of Contents for Acclaim Lighting LFL2M
- Page 1 LFL2M Floodlight Installation and Wiring Instructions 1500 Cherokee Parkway, Suite 100, Acworth, GA 30102 P: 866-845-5451 • F: 866-816-6165 • E: service@acclaim-lighting.com WARNING : To avoid electrical shock. Do not attempt to install the fixture in wet or rainy conditions. Always turn off electrical power at the circuit breaker or by disconnecting the fuse.Only use bulbs in compliance with...
- Page 2 MANUAL MODE Motion Sensor Light Control Manual mode only works at night because daylight re - Model: LFL2WHM/LFL2ABZM turns the sensor to AUTO. Questions or problems? Before Flip the light switch off to your retailer, refer to returning for one second then back 1 Second guide in this manual troubleshooting...
- Page 3 Test and Adjustment Wire the Light Control 1. Turn on the circuit breaker and light switch. NOTE: Sensor has a 40 second warm up period WARNING: Turn power off at circuit breaker before it will detect motion. When first or fuse. turned on, wait 1 minute.
- Page 4 SPECIFICATIONS Range ..Up to 40 ft. (12 m) [varies with surrounding temperature] Sensing Angle ..Up to 180° Up to 24 Watt Maximum LED Electrical Load... Power Requirements . 120 VAC, 60 Hz Operating Modes . TEST, AUT and MANUAL MODE Time Delay ..
Need help?
Do you have a question about the LFL2M and is the answer not in the manual?
Questions and answers