Advertisement
This guide applies when using the RS232-to-RS485 Converter, or the USB-to-RS485 Converter after USB driver is installed.
Revision C1
For these products
You will need:
EZ17
EZHR23
EZHR17
EHR17EN
Start with power supply OFF.
Starting up
Connect power supply to RS485 Converter.
1.
Turn power ON. Confirm current is less than 100mA.Turn power OFF.
2. Connect EZ Stepper to RS485 converter.
If using EZ Start kit, use cable provided. If not using kit, wire mating 4-
pin connectors pin-to-pin per the markings on the connector. (See
Wiring Note below.)
Turn power ON. Ensure current is less than 0.25A, and green Life LED
blinks. If not, look for bad power connection. Turn power OFF
3. Connect stepper motor to middle
four pins of the motor connector
as shown in diagram:
(See Wiring Note below.)
CAUTION!
Always turn off power before
connecting or disconnecting motor
to avoid damaging circuit board.
4. Set address switch firmly to number 1 with Philips screwdriver.
5. Turn power ON. Motor should execute a factory stored
command. If this doesn't occur, check for poor motor
connections.
6. Connect RS485 Converter to the pc.
7. Start HyperTerminal or the EZCommander™ application (see
other side of sheet for HyperTerminal).
8. Issue the command /1P10000R <CR> and observe result.
This command tells motor to move to absolute position
10000 microsteps.
You're on your way!
see the full command set and wiring diagram on our website.
See other side of sheet.
All Motion
www.allmotion.com
5501 Del Oro Court, San Jose, CA 95124
E Z S t a r t
E Z S t a r t
A quick guide to the EZStepper
®
Your EZStepper
Controller/Driver and stepper motor.
A motor rated at about 1/4 of supply voltage is best.
RS232 to RS485 Converter or USB to RS485 Converter, with
cables supplied
PC with port to match cable supplied, with USB driver
installed if USB to RS485 Converter is being used.
Power supply, 12 to 40V. For first-time EZStepper users we
recommend a current-limited power supply to protect
against miswiring.
HyperTerminal application (For Windows 98, download
HyperTerminal Private Edition 4.0+ from www.hilgraeve.com.
This corrects echo problem in Windows 98 version.)
Crimp tool (recommended): T-handle crimp tool, Digikey
part A9982. Otherwise, soldering equipment.
Small Philips screwdriver for operating address switch
If troubleshooting is required: ohmeter, oscilloscope
MA
MA
MB
MB
If using unipolar
"MA" and "MB" are
motor, leave center
marked on bottom of
taps unconnected.
circuit board.
For other commands and hookups,
®
Precautions
12-40V
Power Supply
.
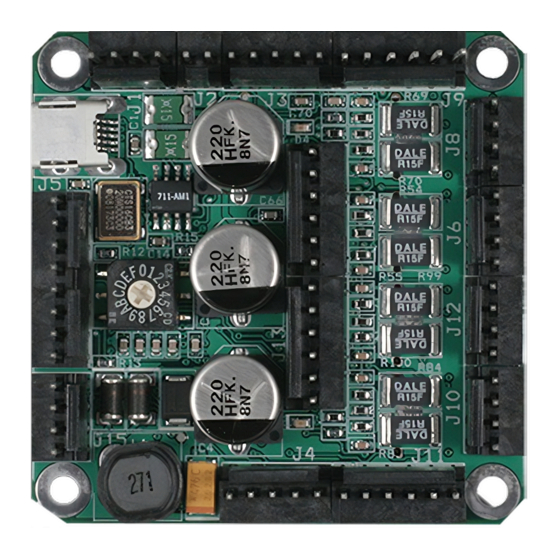
Typical board
shown. Yours
may vary.
Life LED
STEPPER
5
8
Wiring Note
Always wire to the mating connectors supplied on
circuit board. Use crimp tool if you have it, or else
solder. (DO NOT solder to circuit board; damage is
likely. Also, DO NOT press in with a screwdriver,
because this makes unreliable connections.)
Telephone 408.460.1345
starter kit
Observe all electrostatic discharge precautions to avoid
damaging circuit boards.
Allow at least 0.1" air gap when bolting EZStepper to
motor, for cooling.
Use 4-40 round standoffs to bolt EZStepper to motor,
NOT hex (Hex standoffs will touch components).
DO NOT disconnect motor wires while power is on, to
avoid damage to circuit board.
DO NOT place EZStepper board or RS485 Converter
on metal surface when powered (to prevent shorts).
DO NOT run Palm Pilot Hotsync on the computer. It
will take over the comm port.
Avoid bundling encoder or IO wires with motor power
wires, as this may cause noise pickup from motor
wires. If bundling is necessary, put motor wires in a
separate shielded twisted-pair cable.
-For 10' or longer, shield each IO line individually.
-If using ribbon cable, add grounds between signal
wires and motor wires.
+
RS485 Converter
2
+
B A
EZStepper
4
Stepper
Motor
Computer
Comm Port
RS232 to RS485
Converter shown.
3
6
DB9 or USB cable
supplied
Email
Info@allmotion.com
Advertisement
Table of Contents

Related Manuals for All Motion EZ Stepper Ez4Axis


Summary of Contents for All Motion EZ Stepper Ez4Axis
- Page 1 (DO NOT solder to circuit board; damage is likely. Also, DO NOT press in with a screwdriver, Troubleshooting because this makes unreliable connections.) See other side of sheet. All Motion www.allmotion.com 5501 Del Oro Court, San Jose, CA 95124 Telephone 408.460.1345 Email...
- Page 2 EZStepper P-P pulses 100 µ sec DB9, but 3V P-P and board, or wiring to motor. wide (@9600 baud) centered on +2.5V. 010906 All Motion www.allmotion.com 5501 Del Oro Court, San Jose, CA 95124 Telephone 408.460.1345 Email Info@allmotion.com...
Need help?
Do you have a question about the EZ Stepper Ez4Axis and is the answer not in the manual?
Questions and answers