Advertisement
Quick Links
MODEL/MODELO/MODÈLE
pSpecify Finish/Especifíque el Acabado/Précisez le Fini
Register Online
Regístrese en línea
S'enregistrer en ligne
www.brizo.com/customer-support/product-registration
To reference replacement parts and access additional
technical documents and product info, visit www.brizo.com
Para referencia sobre las piezas de repuesto y acceder
a documentos técnicos adicionales e información del
producto, visite www.brizo.com
Pour obtenir la référence des pièces de rechange ainsi
que pour avoir accès à d'autres documents techniques et
renseignements sur le produit, allez à www.brizo.com
?
1-877-345-BRIZO (2749)
brizosupport@brizo.com
Read all instructions prior to installation.
CAUTION
Failure to read these instructions prior to installation may result in personal
injury, property damage, or product failure. Manufacturer assumes no
responsibility for product failure due to improper installation.
Lea todas las instrucciones antes de hacer la instalación.
ADVERTENCIA
El no leer estas instrucciones de instalación puede resultar en lesiones
personales, daños a la propiedad, o falla en el funcionamiento del producto.
El fabricante no asume ninguna responsabilidad por la falla del producto
debido a una instalación incorrecta.
Veuillez lire toutes les instructions avant l'installation.
AVERTISSEMENT
L'omission de lire les présentes instructions avant l'installation peut
entraîner des blessures, des dommages matériels ou le bris du produit. Le
fabricant se dégage de toute responsabilité à l'égard d'un bris du produit
causé par une mauvaise installation.
You may need:
Usted puede necesitar:
Articles dont vous pouvez avoir besoin :
80092p & 80099p
1/2"
3/16"
(5 mm)
(13 mm)
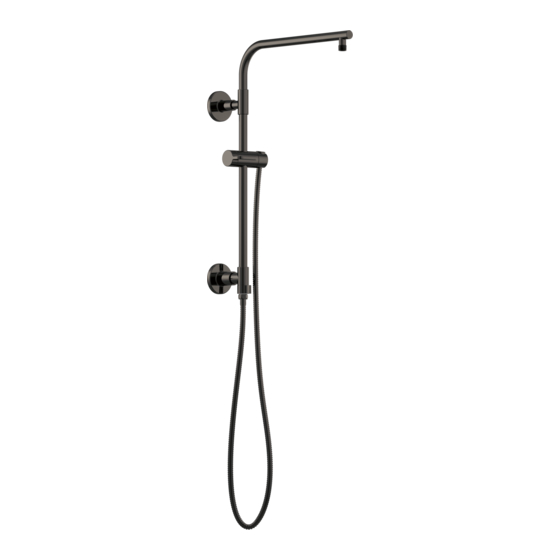
SHOWER COLUMN
104306
COLUMNA DE DUCHA
COLONNE DE DOUCHE
Image is for reference only.
La imagen es sólo para referencia.
L'image est fournie à titre indicatif seulement.
1
01/23/2020
Rev. B
Advertisement


Need help?
Do you have a question about the Euro 80092 Series and is the answer not in the manual?
Questions and answers