Table of Contents
Advertisement
Quick Links
Advertisement
Table of Contents

Related Manuals for body coach BR1900

Summary of Contents for body coach BR1900
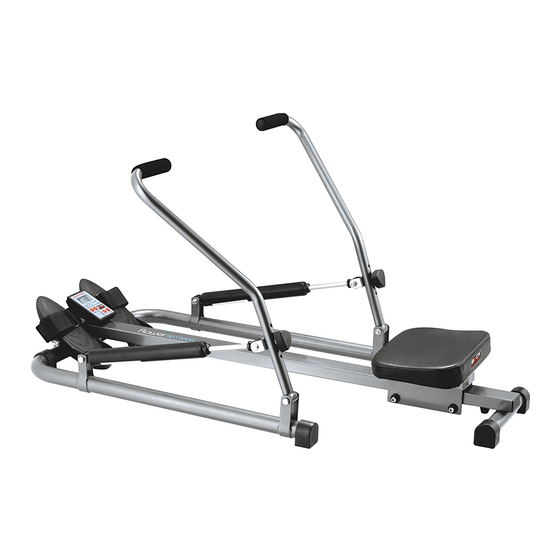
- Page 1 BR1900 ROWING MACHINE...
-
Page 2: Important Safety Information
Important Safety Information Please keep this manual in a safe place for reference. 1. It is important to read this entire manual before assembling and using the equipment. Safe and efficient use can only be achieved if the equipment is assembled, maintained and used properly. -
Page 3: Exploded-View Assembly Drawing
7. The safety level of the equipment can only be maintained if it is regularly examined for damage and/or wear and tear. 8. Always use the equipment as indicated. If you find any defective components whilst assembling or checking the equipment, or if you hear any unusual noise coming from the equipment during use, stop. - Page 5 Fixing Bolt Carriage Bolt Bolt ( M8 x 50mm ) ( M8 x50mm ) ( M8 x 40mm) Carriage Bolt Solt Head Screw Fixing Screw Nylock Nut ( M8 x40mm ) W1/4”x1/2” (M4x16L) (M8) Rubber Washer Plastic Bushes Washer Large Nut (ø8 xø16 x1t ) (1/2”) PART...
- Page 6 ASSEMBLY INSTRUCTIONS STEP 1 Attach the seat to the carriage using 4 slot head screws (pt.9). Note: The thicker end of the seat should be facing the rear end of the rower. STEP 2 Attach the left and Right Hand Frame Tubes (pt.10a,10b) to the main frame as shown, using 4 Carriage Bolts, Washers and Nylock...
- Page 7 STEP 4 Connect the Right Hand rower arm (19a) to buy Bushing (21) to the Right Hand frame (10a) using the bolt (3), washer (12) and a nylock nut (13). Repeat this procedure with remaining arm. Note: The handle on the arm should point inwards with the elbow bend pointing upwards.
-
Page 8: Exercise Computer
EXERCISE COMPUTER FUNCTION BUTTON :PRESS TO SELECT EACH FUNCTION. FUNCTIONS: SCAN :AUTOMATICALLY SCANS THROUGH EACH MODE IN SEQUENCE. TIME :COUNTS UPWARDS TO 99:59 FROM ZERO IN ONE SECOND INCREMENT. COUNT : ACCUMULATES THE NUMBERS OF REPETITIONS DURING THE WORKOUT SESSION. TOTAL COUNT :ACCUMULATES THE TOTAL NUMBERS OF REPETITIONS DURING DIFFERENT SESSIONS OF WORKOUT. - Page 9 4) Continue this movement until you are leaning slightly backwards, during this stage you should bring your arms towards your body. (Fig 3). Then return to stage 2 and repeat. See attached. (Fig.1) (Fig.2) (Fig.3) Rowing Resistance Moving the Brackets along the rower arms can alter the resistance of the rowing action. The level of resistance should be set to meet your individual needs.
-
Page 10: Exercise Instructions
(Fig.4) (Fig.5) (Fig.6) Legs Only Rowing This exercise will help tone muscles in your legs and back. With your back straight and arms out stretched, bend your legs until you are grasping the rowing arm handles in the starting position, Fig 7. Use your legs to push your body back whilst keeping your arms and back straight. -
Page 11: The Exercise Phase
INNER THIGH FORWARD BENDS CALF / ACHILLES SIDE BENDS OUTER THIGH 2.The Exercise Phase This is the stage where you put the effort in. Work to your own pacebut it is very important to maintain a steady tempo throughout. The rate of work should be sufficient to raise your heart beat into the target zone shown on the graph below. -
Page 12: Weight Loss
alter your training program. You should train as normal during the warm up and cool down phases, but towards the end of the exercise phase you should reduce the resistance, allowing you to increase your speed and do more repetitions. Make sure your heart rate stays within the target zone.
Need help?
Do you have a question about the BR1900 and is the answer not in the manual?
Questions and answers