Geekoto C1 Operation Instruction Manual
Hide thumbs
Also See for C1:
- Operation instruction manual (12 pages) ,
- Operation instruction manual (16 pages)
Advertisement
Quick Links
Advertisement

Related Manuals for Geekoto C1


Summary of Contents for Geekoto C1
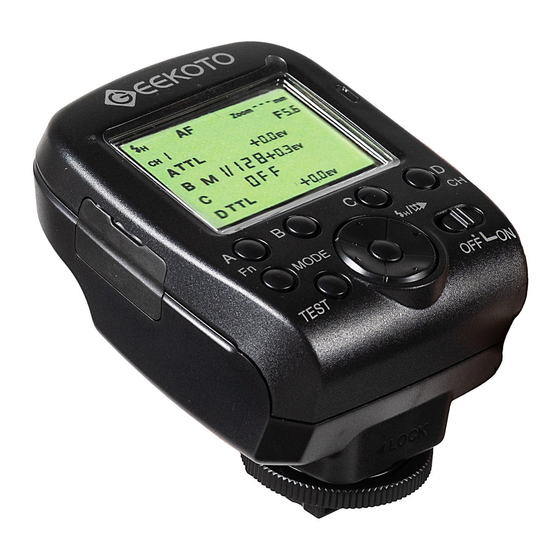
- Page 1 C1 (Commander) Flash Trigger Operation instruction Fit for Sony...
- Page 2 Safety instructions Function list Components LCD Screen Power switch Preparation Functions Customized function Sync mode setting Wireless channel setting Assisted focusing light Modes Compatible devices Technical Features...
- Page 3 Please read this manual carefully before using the device. 1. Available modes:TTL, M and Multi 1.Please turn off the trigger, the flash light and the camera 2. Front curtain sync/ rear curtain sync / high speed sync while connecting them with each other. (up to 1/8000s) 2.
- Page 5 Automatic focusing assist Flash parameter setting for C Flash parameter setting for D High speed sync Focal distance Manual / strobe flash mode Wireless channel Aperture Flash parameter setting for A Frequency Flash parameter setting for B Times...
-
Page 7: Mode Options
Mode options After the transmitter has started, press the mode button repeatedly to switch between the mixed mode and the multi mode. Test Press the test button to check whether the flash units with the same channel will flash with the desired mode and parameters. - Page 8 Press the group A button for about 2 seconds and the transmitter will enter the customized function setting. Within the mixed mode press There you can turn on and off the function with the left the group C button for about 2 and right button.
- Page 9 Press the group D button for If the automatic focusing is enabled on the transmitter, about 2 seconds until the it will automatically help to focus in low light conditions. channel number is highlighted. Press the left and right button To use the focusing light correctly, you need to set the to change the channel number camera in the automatic mode.
- Page 10 3) If you have selected a group and it is indicated with the arrow, press the mode button to set the group in the desired mode. This can be done for every group. The modes are as follows: TTL: Here the exposure compensation can be adjusted from -3.0EV to +3.0EV(in total 22 levels).
- Page 11 3) Setting the frequency Press the OK button repeatedly until the frequency number is highlighted. Press the left and right buttons to change the value from 1-199Hz. 1) Press the mode button repeatedly to select the 4) Number of flashes transmitter mode as multi mode (as shown in the Press the OK button repeatedly until the number of picture).
- Page 12 5) Flash group setting Press the group buttons A, B, C, D shortly and the arrow will indicate in which mode setting you are. You can turn the groups individually on and off by pressing the left and right button. You can also press the mode button shortly to turn the group on or off.
Need help?
Do you have a question about the C1 and is the answer not in the manual?
Questions and answers