Table of Contents
Advertisement
Quick Links
Advertisement
Table of Contents

Related Manuals for uniview technologies IPC672LRa


Summary of Contents for uniview technologies IPC672LRa
- Page 1 Network PTZ Dome Cameras Quick Guide IPC672LRa V1.00...
- Page 2 Waterproof Requirements Please waterproof cables in accordance with the following instructions. User shall assume all responsibility for device damage caused by water due to improper waterproof measures. NOTE! Before you start, connect all the needed cables and cut off the copper wires for the cables that you don't use.
- Page 3 Tighten Tighten Tighten Waterproof tape Wrap the unused cables together into a bundle 3. Install the supplied waterproof components to the network cable in sequence. CAUTION! You need to mount the rubber ring onto the network cable interface first. 4. If your camera has a DC cable and you will not use it, insert the plug into the interface.
-
Page 4: Packing List
Packing List Contact your local dealer if the package is damaged or incomplete. The attachments may vary with models, please see the actual model for details. Name Unit Camera Waterproof components (1) Screw components (2) Mount accessory (3) User manual Remarks: * means optional and supplied with certain models only. -
Page 5: Maintenance
properly fastened. Ensure that the cable is not tense during mounting, with a proper margin reserved to avoid poor port contact or loosening caused by shock or shake. During transportation, special attention is required to protect the transparent dome cover from friction, scratch and stain, etc. Do not remove the protective film from the cover until mounting is finished. -
Page 6: Cable Connection
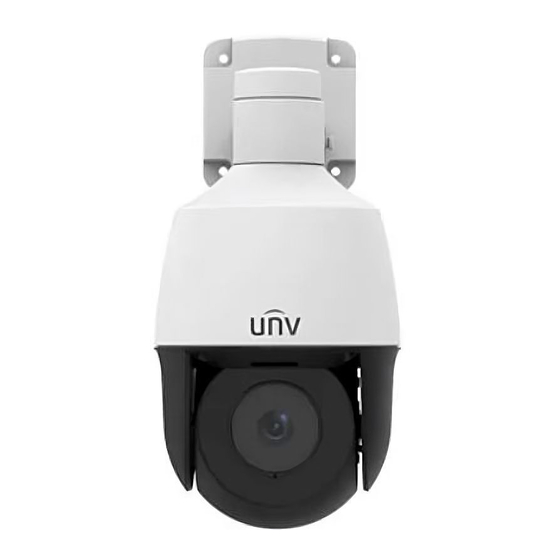
Cable Connection The appearance and tail cable may vary with device model. Power cable Network cable Reset button IP Network Mount Your Camera (Optional) Insert Micro SD Card You need to install a Micro SD card first if you want to save video on an on-board SD card. -
Page 7: Wall Mount
Wall Mount Please mount the camera onto the wall. Make sure the wall is strong enough to support the weight of the camera. Please prepare the installation tools in advance. Locate the positions of the holes. Paste installation positioning stickers on the wall and align the cross center to the hole in the wall. -
Page 8: Access Your Camera
CAUTION! During the wiring process, do not hold the tail cable for weight bearing, otherwise, cable connection might be loosened. Startup After you have installed the device, connect one end of the power adapter (purchased separately) to power supply, and then connect the other end to the power interface to start up the device. - Page 9 NOTE! DHCP is enabled by default. If a DHCP server is used in your network, your camera may be assigned an IP address, and you need to use the assigned IP address to log in. You may need to install a plug-in at your first login. Please follow the on-screen instructions to complete the installation and then open the browser again to log in.
- Page 10 ©2020 Zhejiang Uniview Technologies Co., Ltd. All rights reserved. No part of this manual may be copied, reproduced, translated or distributed in any form by any means without prior content in writing from Zhejiang Uniview Technologies Co., Ltd (referred to as Uniview or us hereafter).
-
Page 11: Disclaimer Of Liability
Uniview reserves the right to change any information in this manual without any prior notice or indication. Due to such reasons as product version upgrade or regulatory requirement of relevant regions, this manual will be periodically updated. Disclaimer of Liability ... -
Page 12: Safety Warnings
Enable HTTPS/SSL: Use SSL certificate to encrypt HTTP communications and ensure data security. Enable IP address filtering: Allow access only from the specified IP addresses. Minimum port mapping: Configure your router or firewall to open a minimum set of ports to the WAN and keep only the necessary port mappings. -
Page 13: Regulatory Compliance
Make sure the power supply provides a stable voltage that meets the power requirements of the device. Make sure the power supply's output power exceeds the total maximum power of all the connected devices. Verify that the device is properly installed before connecting it to power. ... - Page 14 This device complies with Part 15 of the FCC Rules. Operation is subject to the following two conditions: (1) this device may not cause harmful interference, and (2) this device must accept any interference received, including interference that may cause undesired operation. Compliance Information Statement refer to: http://en.uniview.com/Support/Download_Center/Product_Installation/Declaration/ Caution: The user is cautioned that changes or modifications not expressly approved by the...
Need help?
Do you have a question about the IPC672LRa and is the answer not in the manual?
Questions and answers