Advertisement
Table of Contents
- 1 Table of Contents
- 2 Safety Information
- 3 FCC Statement
- 4 For Canada
- 5 Getting to Know Your AVO
- 6 Packaging Content
- 7 Component Overview
- 8 Operating Modes
- 9 Setup and Configuration
- 10 Power and Network Options
- 11 Connecting to the Internet
- 12 Mounting Instructions
- 13 Recommendations and Considerations
- 14 Removing the Mounting Plate
- 15 Mounting the Device
- 16 Technical Specifications
- Download this manual
Advertisement
Table of Contents

Related Manuals for IQAir AirVisual Outdoor


Summary of Contents for IQAir AirVisual Outdoor
- Page 1 Operating and Installation Manual...
-
Page 2: Table Of Contents
Table of Contents Safety Information ........................3 FCC Statement........................4 For Canada: ........................... 4 Getting to know your AVO ...................... 5 Packaging Content ......................... 5 Component overview ......................6 Operating modes ........................6 Setup and Configuration ......................7 Power and network options ....................7 Connecting to the internet ...................... -
Page 3: Safety Information
2. Do not use the equipment at altitudes exceeding 2 000 meters (6 560 feet). 3. The power to run the IQAir AirVisual Outdoor is 12 W (48.0 VDC and 0.25 A PoE or 5.2 VDC and 2.4 A USB). -
Page 4: Fcc Statement
The location of compliance statements on the AirVisual Outdoor is found under the mounting plate. ISEDC RSS Warning This device complies with ISEDC licence-exempt RSS standard(s). Operation is subject to the following two conditions: (1) this device may not cause interference, and (2) this device must accept any interference, including interference that may cause undesired operation of the device. -
Page 5: Getting To Know Your Avo
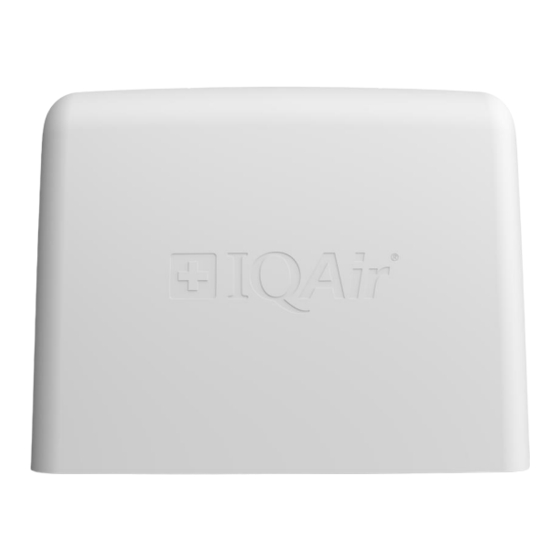
Getting to know your AVO The IQAir AirVisual Outdoor air quality monitor, is designed to provide accurate, configurable and continuous air monitoring in covered outdoor areas. The monitor measures environmental parameters including temperature, humidity, pressure, CO2 and particulate matter. The device can be mounted vertically on walls and poles. Power can be supplied with the provided PoE Injector (PoE –... -
Page 6: Component Overview
Air quality sensor modules Slot for USB 4G modem (two modules shown) Operating modes LED indicator Blue Connected to the IQAir cloud Not connected to cloud or network Red, Resetting / updating / self-testing blinking Green Wi-Fi setup; Wi-Fi hotspot paired Green, Wi-Fi setup;... -
Page 7: Setup And Configuration
Setup and Configuration The next few pages show how to install and configure the IQAir AirVisual Outdoor. First power the device with one of the two power options. Power can be supplied using the provided PoE injector (PoE - Power over Ethernet) and supplied Ethernet cable or via optional USB adapter and USB cable. -
Page 8: Connecting To The Internet
Connecting to the internet Connection to the internet via Wi-Fi requires a few steps as shown in the IQAir AirVisual App, whereas connection via Ethernet or 4G should establish automatically the connection to the IQAir cloud and will not require network configuration in the App. -
Page 9: Mounting Instructions
After successful network configuration, the device is now ready to be mounted in covered outdoor areas. Configure your AVO and confirm that it is connected to the internet and IQAir Cloud (blue LED) before starting with the installation Recommendations and considerations Installing The housing is designed to protect the device from the elements while allowing air to flow freely through the sensors. -
Page 10: Removing The Mounting Plate
There is no need to remove the screw completely. Only in case you need to insert a USB 4G modem or replace an air quality sensor module, the mounting plate and air inlet cover needs to be removed from the IQAir AirVisual Outdoor. Remove the mounting screw... -
Page 11: Technical Specifications
Technical Specifications Size / Dimensions 20.2 x 6.9 x 16.2 cm (length x width x height) Weight 608 g Power Standard: via provided PoE injector (48 VDC 0.25 A) or IEEE-802.3at capable Ethernet switch and Ethernet cable Optional: via specified USB adapter (5.2 V 2.4 A) and USB to micro USB cable Power adapter Supply voltage... - Page 12 Join the Air Quality Community IQAir reports data for more than 10,000 locations worldwide. Yet, still many places lack local air quality monitoring stations. By making your AirVisual Outdoor public you can become an air quality data source for your local community.
Need help?
Do you have a question about the AirVisual Outdoor and is the answer not in the manual?
Questions and answers