Advertisement
MULTISPLIT
Quick start guide July 2018
The MultiSplit is calibrated and QC'd prior to delivery, however some alignment is required upon initial
setup using the calibration cubes provided (containing a 50% mirror). A detailed setup guide is also
supplied; however, the following simplified instructions are useful for initial alignment.
1.
Ensure all filter cubes are removed from the unit.
2.
Using brightfield illumination, focus on an image of a graticule and divert the microscope output to the camera.
3.
Close the adjustable aperture down to ensure one, small rectangle is present within the field of view. This single image is
only reflected by the internal MultiSplit mirrors and is therefore by default the longest wavelength channel once filter cubes are
in place. This image is transmitted through two dichroic mirrors and referred to as TT.
4.
Locate the horizontal and vertical image separation controls at the front of the unit (labelled on the lid). When turned
anti-clockwise, TT should move toward the bottom right corner. If this is not the case, rotate your camera until this orientation
is achieved.
V2
email: sales@cairn-research.co.uk tech@cairn-research.co.uk
+44(0)1795 590140 www.cairn-research.co.uk
Q u i c k
No cubes in the unit
Image TT
TT
S t a r t
Advertisement
Table of Contents

Subscribe to Our Youtube Channel
Summary of Contents for Cairn MULTI SPLIT V2
- Page 1 Locate the horizontal and vertical image separation controls at the front of the unit (labelled on the lid). When turned anti-clockwise, TT should move toward the bottom right corner. If this is not the case, rotate your camera until this orientation is achieved. email: sales@cairn-research.co.uk tech@cairn-research.co.uk +44(0)1795 590140 www.cairn-research.co.uk...
- Page 2 Adjust the position of RT using the horizontal (H) and vertical (V) controls on the magnetic door cover until it reaches the bottom left hand corner. Next insert Cube 2, which will cause image TR to appear. Cube 2 inserted email: sales@cairn-research.co.uk tech@cairn-research.co.uk +44(0)1795 590140 www.cairn-research.co.uk...
- Page 3 Cube 3 is housed in a carrier similar to Cube 2, with the H&V adjustments also on the lid to allow alignment of this image in the top left corner. Final adjustment of all controls can now be carried out for more precise image positioning. email: sales@cairn-research.co.uk tech@cairn-research.co.uk +44(0)1795 590140 www.cairn-research.co.uk...
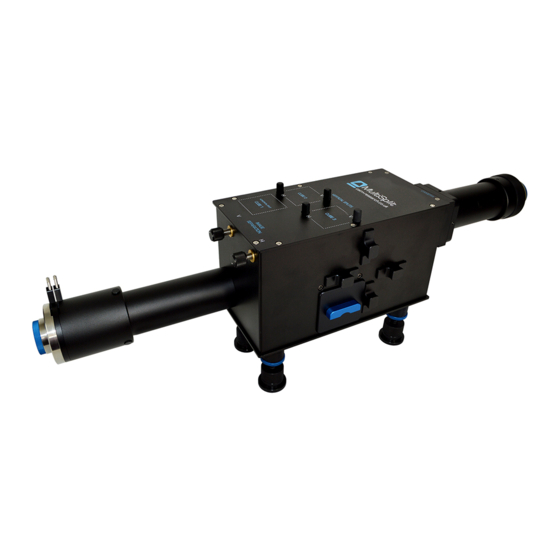
- Page 4 For precise focal plane shifting, we have a spreadsheet available to estimate the best focal length lens (if available). Please contact us for this further detail and we will be happy to advise for your application. MultiSplit Key Controls Corrector lens position: TR Cube 1 position Cube 2 position Corrector lens position: TT email: sales@cairn-research.co.uk tech@cairn-research.co.uk +44(0)1795 590140 www.cairn-research.co.uk...
- Page 5 Cube 3 position Corrector lens Corrector lens position: RR position: RT Horizontal and Vertical Horizontal and Vertical controls Image Separation controls for Cube 2 and Cube 3 email: sales@cairn-research.co.uk tech@cairn-research.co.uk +44(0)1795 590140 www.cairn-research.co.uk...

Need help?
Do you have a question about the MULTI SPLIT V2 and is the answer not in the manual?
Questions and answers