Advertisement
Quick Links
Advertisement

Related Manuals for Datamax H-Class Series


Summary of Contents for Datamax H-Class Series
- Page 1 92-2421-01 Rev.B Cutter Option...
-
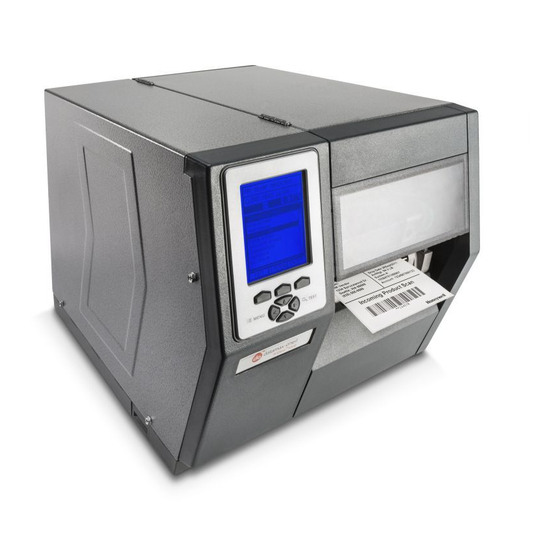
Page 3: Tools Required
Overview This document describes the contents, installation, and use of the Cutter option for the H-Class printer. After verifying the contents of the kit and the tools needed, follow the steps below to install and begin using the cutter. A maintenance procedure and a parts list are also included, so keep this documentation for future reference. - Page 4 B) Press down on the Catch, then pull forward to remove the Door. Catch Door Raise the Access Cover and remove your media Access from the printer. Cover Tear Plate D) Remove the Thumbscrew and Tear Plate. (Alternately, if equipped with an Arc Plate, Present Sensor, or Peel and Present option, remove that Thumbscrew device.)
- Page 5 Step 3: Using the Option During operation, cut labels will be dispensed after printing. Begin using the option as follows: Load Media (see the Operator’s Manual for details). Then, route the Media out the Cutter Opening. Media B) Plug the power cord into the AC Receptacle and Cutter Opening turn ‘On’...
-
Page 6: Step 4: Configuring The Printer
Step 4: Configuring the Printer While the Cutter option is a plug and play device, this step may be necessary if the printer’s default configuration has been changed. Follow the steps below to configure the printer: Note: In the following procedure, consult the Operator’s Manual for detailed front panel instructions. A) Press the MENU Button on the printer’s front panel. - Page 7 Maintaining the Cutter To ensure trouble free operation, the Cutter should be cleaned after printing each roll or box of labels. Additionally, if the cutting action becomes sluggish, immediate cleaning is recommended. Clean the Cutter as follows: Cutter Blades are SHARP: Keep body parts away from the cutting surfaces. Never use metal objects on the cutting surfaces.
- Page 8 4. Close the Cover, then reinstall and tighten the Cover Screw. 5. Carefully press the Cutter Assembly into the Front Plate Connector and, using the Mounting Screw, secure the assembly to the printer. 6. Reload media and close the Access Cover to complete the procedure.
- Page 9 Cutting Requirements Table 1, below, lists the media requirements for use with the cutter option. For a complete listing of media requirements, see the Operator’s Manual. Minimum Maximum Description Inches Millimeters Inches Millimeters Media Width Media Weight Maximum 180 g/m (see note below) Table 1 The values in the following tables are only provided as a guide and should not be used as specifications...
Need help?
Do you have a question about the H-Class Series and is the answer not in the manual?
Questions and answers