
Subscribe to Our Youtube Channel
Related Manuals for MD SPORTS TT415Y20008


Summary of Contents for MD SPORTS TT415Y20008
- Page 1 MODEL/MODÈLE TT415Y20008 Walmart Canada Assembly Instructions Instructions D'Assemblage 877-472-4296 www.medalsports.com...
- Page 2 WE ARE READY NOUS SOMMES TO HELP PRÊTS À VOUS AIDER DO NOT RETURN TO STORE NE PAS RAPPORTER EN MAGASIN Please Contact Veuillez contacter MD SPORTS Customer Service Service Clientèle Toll Free N° Vert 877-472-4296 Mon.-Fri., Du lundi au vendredi de 9:00 a.m.
- Page 3 CHOKING HAZARD - This item contains small parts. RISQUE D’ASPHYXIE - Ce produit contient de petites Not suitable for children under 3 years. pièces. Ne convient pas à des enfants de moins de 3 ans. TT415Y20008 (Continued on the next page.) (Suite page suivante.) www.medalsports.com...
-
Page 4: Parts Identifier
Plastic Corner Coin plastique Filet Strap - Long Sécurité - Longue Strap - Short Sécurité - Courte FOR FIG. 14 POUR LE FIGURE 14 Wood Blocs de bois Block Spacers TT415Y20008 (Continued on the next page.) (Suite page suivante.) www.medalsports.com... - Page 5 If any parts are missing, call our comme indiqué sur les pages de liste des pièces. S’il customer service. y a des pièces qui manquent, appelez notre service clientèle. TT415Y20008 (Continued on the next page.) (Suite page suivante.) www.medalsports.com...
- Page 6 ASSEMBLY ASSEMBLAGE FIG. 1 / FIGURE 1 Note: Playfield graphic should face down when assembling. Note: Le schéma du terrain de jeu doit être face ers le bas pendant l’assemblage. TT415Y20008 (Continued on the next page.) (Suite page suivante.) www.medalsports.com...
- Page 7 à l’intérieur de chaque section. Les sections plateau (1 & 2) vont s’aligner l’une contre l’autre. La charnière (7) va correspondre alors aux orifices pré-percés, comme sur FIG. 2. TT415Y20008 (Continued on the next page.) (Suite page suivante.) www.medalsports.com...
- Page 8 Note: The notch of leg bracket - A (8), will face towards the center of the table. Note: L’encoche de la charnière de pied - A (8) doit être dirigé vers le centre de la table. TT415Y20008 (Continued on the next page.) (Suite page suivante.) www.medalsports.com...
- Page 9 Note: Placez le tube de liaison avec le support d’arrêt (Pièce 5) sur le pied intérieur depuis l’extérieur et sur le pied extérieur depuis l’intérieur. TT415Y20008 (Continued on the next page.) (Suite page suivante.) www.medalsports.com...
- Page 10 Note: Placez le tub de liaison (Pièce 6) sur le pied intérieur depuis l’extérieur et sur le pied extérieur depuis l’intérieur. FIG. 8 / FIGURE 8 TT415Y20008 (Continued on the next page.) (Suite page suivante.) www.medalsports.com...
- Page 11 Note: L’encoche de la charnière de pied A - (8) doit être dirigé vers le centre de la table. FIG. 10 / FIGURE 10 TT415Y20008 (Continued on the next page.) (Suite page suivante.) www.medalsports.com...
- Page 12 (part 5) on the inner leg from the outside and outer leg from the inside. Note: Placez le tube de liaison (Pièce 5) sur le pied intérieur depuis l’extérieur et sur le pied extérieur depuis l’intérieur. TT415Y20008 (Continued on the next page.) (Suite page suivante.) www.medalsports.com...
- Page 13 Note: Use the wood blocks to align the center gap before assembling the logo panel. Note: Utilisez les entretoises en bloc de bois pour aligner l’écartement central avant d’assembler le panneau logo. TT415Y20008 (Continued on the next page.) (Suite page suivante.) www.medalsports.com...
- Page 14 English Français ASSEMBLY ASSEMBLAGE FIG. 15 / FIGURE 15 Note: Both logo panels should be inverted when assembling. Note: Les deux panneaux logo doivent être inversés pendant l’assemblage. TT415Y20008 (Continued on the next page.) (Suite page suivante.) www.medalsports.com...
- Page 15 English Français ASSEMBLY ASSEMBLAGE FIG. 16 / FIGURE 16 TT415Y20008 (Continued on the next page.) (Suite page suivante.) www.medalsports.com...
- Page 16 DO NOT lean too much weight on the wheels while lifting the table. Lift the table. / N’appliquez pas de trop de poids sur les / Soulevez la table. roulettes en levant la table TT415Y20008 (Continued on the next page.) (Suite page suivante.) www.medalsports.com...
- Page 17 FIG. 19 / FIGURE 19 Note: Unbuckle the Safety Strap before unfolding the table. Note: Décrochez la Sangle de Sécurité avant de déplier la table. TT415Y20008 (Continued on the next page.) (Suite page suivante.) www.medalsports.com...
- Page 18 Note: Pull the legs out from the table top and lower the table half to the floor. Note: Tirez les pieds du plateau vers vous puis baissez la moitié de table vers le sol. TT415Y20008 (Continued on the next page.) (Suite page suivante.) www.medalsports.com...
- Page 19 English Français ASSEMBLY ASSEMBLAGE FIG. 21 / FIGURE 21 Note: Attach the post and the net. Note: Fixez le poteau et le filet. TT415Y20008 (Continued on the next page.) (Suite page suivante.) www.medalsports.com...
- Page 20 IMPORTANTE! Quand la table est en position de stockage, veuillez toujours fixer la sangle de sécurité pour empêcher les côtés de tomber. TT415Y20008 (Continued on the next page.) (Suite page suivante.) www.medalsports.com...
-
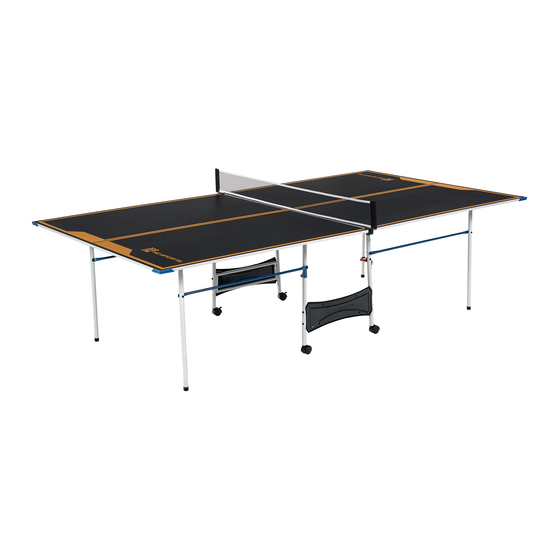
Page 21: Playback Position
Step 3: Pull legs out from the table top and lower the table half to the floor. Étape 3: Tirez les pieds du plateau vers vous puis baissez la moitié de table vers le sol. TT415Y20008 (The last page) (Dernière page) www.medalsports.com... - Page 22 www.medalsports.com...
Need help?
Do you have a question about the TT415Y20008 and is the answer not in the manual?
Questions and answers