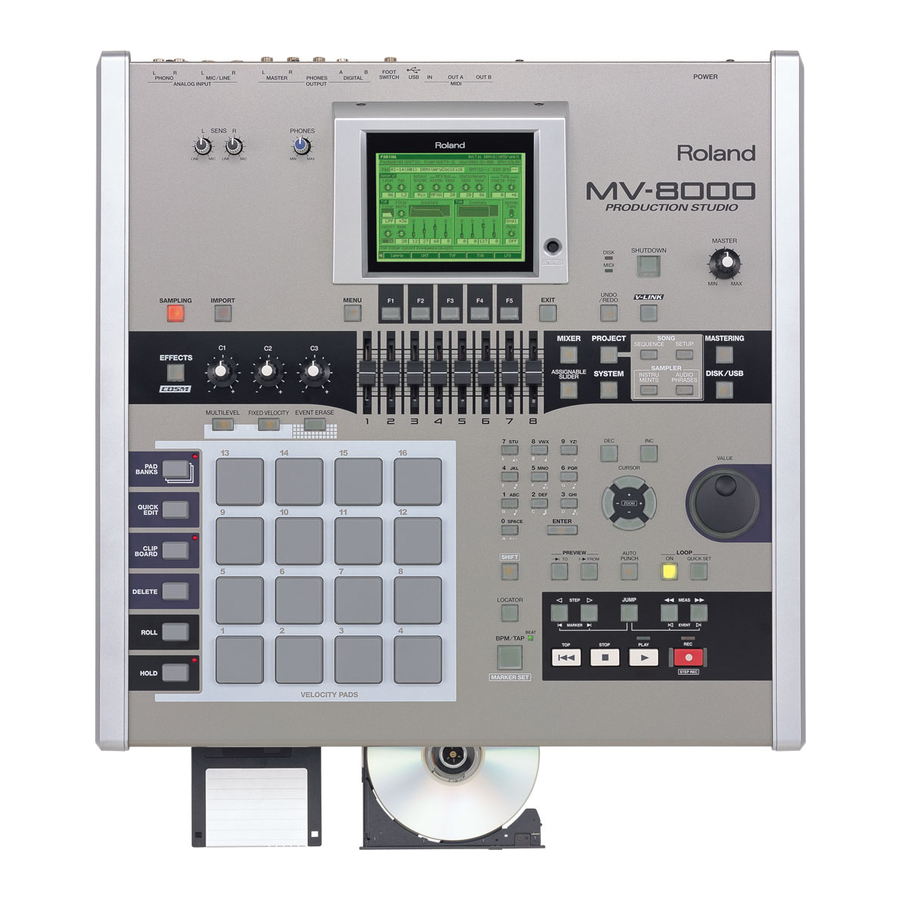
Roland MV-8000 Owner's Manual
Production studio
Hide thumbs
Also See for MV-8000:
- Owner's manual (460 pages) ,
- Service notes (48 pages) ,
- Quick start manual (32 pages)
Advertisement
Quick Links
Owner's Manual
This manual explains how to use an MV-8000 in which "System Program Version 3.50 is
installed.
About the symbols and icons in this manual
●
Text in square brackets [ ] refers to buttons on the panel of the MV-8000.
Buttons indicated as [F1 (sample)] refer to the F1 (function 1) button when the F1 function
shown in the LCD is "Sample."
●
Where a range of values is shown, the default value is printed in bold type.
For example, an indication of
Range: 60, 67, 72, 75 (Hz)
means that 60 Hz is the default value.
Indicates information that you should be aware of when using the MV-8000.
Indicates a convenient operation or useful music production technique.
Indicates supplementary information about an operation.
Indicates operation from the mouse and the external VGA display.
• Before using this unit, carefully read the sections entitled: "IMPORTANT SAFETY
INSTRUCTIONS" (Owner's Manual p. 2), "USING THE UNIT SAFELY" (Owner's Manual p. 3),
and "IMPORTANT NOTES" (Owner's manual p. 5). These sections provide important
information concerning the proper operation of the unit. Additionally, in order to feel assured
that you have gained a good grasp of every feature provided by your new unit, Quick Start and
Owner's Manual should be read in its entirety. The manual should be saved and kept on hand
as a convenient reference.
• The explanations in this manual include illustrations that depict what should typically be shown
by the display. Note, however, that your unit may incorporate a newer, enhanced version of the
system (e.g., includes newer sounds), so what you actually see in the display may not always
match what appears in the manual.
©2005 Roland Corporation
All rights reserved. No part of this publication may be reproduced in any form without the
written permission of ROLAND CORPORATION.
http://www.roland.com/
Advertisement

Related Manuals for Roland MV-8000


Summary of Contents for Roland MV-8000
- Page 1 Owner’s Manual This manual explains how to use an MV-8000 in which “System Program Version 3.50 is installed. About the symbols and icons in this manual ● Text in square brackets [ ] refers to buttons on the panel of the MV-8000.
- Page 2 An overview of version 3.5 Added functionality ● Mixer automation (p. 3) Operations on the MIXER screen can now be recorded and recalled. ● Track mute automation (p. 5) Operations on the TRACK MUTE screen can now be recorded and recalled. ●...
- Page 3 Automating mixing operations (Automation) Automating operations of Mixer Channel The operations of the mixer parameter on the MIXER screens can be recorded on the sequencer (MIDI track). You can’t record mixer operations for multiple Mixer Mixer parameters that can be recorded and played Channels at the same time.
- Page 4 Automating mixing operations (Automation) Use the Output Assign parameter to select the Mixer Channel for which you want to record/playback mixer operations. When you delete an Audio The following table shows the Mixer Channel that can be recorded and played back. track, the Output Assign parameter will be switched Off Mixer Channel...
- Page 5 Automating mixing operations (Automation) Automating mute operations for each track Mute settings for each track can be recorded on the Mute Control Track and played-back. Recording mute operations Hold down , and press The TRACK MUTE screen will appear. Move the current time to the location at which you want to start recording mute operations.
-
Page 6: Input Quantize
Automating mixing operations (Automation) • Input Quantize You can record into the sequencer while applying quantization. Value: Off, (60), (80), (120), (160), (240), (320), (480) Press Recording will end automatically if you access any [REC] (red) and [PLAY] (green) will light, and the RECORDING PARAMETER screen other than the TRACK (MUTE CONTROL) popup will close. - Page 7 Automating mixing operations (Automation) operations for other tracks, repeat steps 2–5. Hold down , and press Press to select “Track Mute Setup” and press (Select). The TRACK MUTE SETUP popup will appear. The on/off status of the Mute Control Track parameter can Set the Mute Control Track parameter to On.
- Page 8 Automating mixing operations (Automation) Editing the recorded mute data In the MUTE CONTROL TRACK screen, you can edit the mute data that is recorded on the Mute Control Track. You can adjust the timing (measure-beat-tick) of the recorded mute data, or change the mute on/off status. You can access the MUTE CONTROL TRACK screen from the SEQUENCE (or...
- Page 9 Automating mixing operations (Automation) Viewing the mute data of only a specific track You can limit the mute data shown on the MUTE CONTROL TRACK screen so that you see only the single track you’re interested in. Hold down , and press The TRACK MUTE screen will appear.
- Page 10 Recording C (Control) knob operations Assign the C (Control) knobs to the effect parameters you want to control, as described in “KNOB ASSIGN popup” in the MV-8000 owner’s manual. Access the SEQUENCE screen or the PATTERN screen. to select the MIDI track on which you want to record the C knob operations (movements).
- Page 11 Automating mixing operations (Automation) Playback C (Control) knob operations to control Automation only playback the effect parameters operations of the C1–C3 knobs. It does not directly record the values of the effect parameters Move the current time to the location at which the C knob operations were themselves.
- Page 12 Added Functionality in Sequencer Transmitting MIDI Program Changes at the beginning of a Pattern or Song You can transmit MIDI Program Change at the time you start playback Song or Pattern from the beginning (0001-01-000). You can select the correct Patches (sounds) of external MIDI sound module at the beginning of playback when you are using an external MIDI sound modules.
- Page 13 Note length (Step time) and the number of ticks direction will wide (zoom-out) the displayed area. The MV-8000’s sequencer divides each quarter note into 480 “ticks.” The following table Zoom out to view more data. shows the number of ticks in each note value.
- Page 14 Volume data or Pan data. As described in steps 1–6 of “Using the SEQUENCE EDIT screen to edit” in the MV-8000 owner’s manual, select the region for which you want to enter data. Press (Command), select “Create Continuous Data...” and press (Select).
- Page 15 You can modify data such as volume and pan changes for automation in a selected region. As described in steps 1–6 of “Using the SEQUENCE EDIT screen to edit” in the MV-8000 owner’s manual, select the region for which you want to edit data. Press (Command), select “Change Continuous Data...” and press (Select).
- Page 16 Added Functionality in Mixer Adjusting the tone of an Instruments or Audio track Each Part of Instruments and the mixer section of each Audio track has a 3-band EQ (equalizer). While the EQ screen is You can use this equalizer to adjust the tone. displayed, repeatedly pressing the [MIXER] button will cycle through the screens in the...
- Page 17 Added Functionality in Mixer Parameter Value Explanation Switches the status (On/Off) EQ Sw Off, On of equalizer. Specify the amount of Gain [dB] -15 - 0 - +15 boost/cut at the frequency specified by Freq. 1000, 1120, 1250, 1400, 1600, 1800, High Specify the high range 2000, 2240, 2500, 2800, 3150, 3550,...
- Page 18 You can audition a Patch before actually loading and using it. Let’s try auditioning a pre-installed Patch before actually loading it for use. Types of Patches that can be auditioned/previewed • MV-8000 Patches (File extension “.MV0”) • Roland S-7x0 series Patches •...
- Page 19 Specify the parameter “Part” and “Library,” then press [F5 (Execute)]. If the display indicates “Wave memory is not enough to preview.” The MV-8000’s wave memory is not enough. No further audio data can be auditioned or previewed, and therefore this Patch data could not be auditioned or previewed.
-
Page 20: Australia/New Zealand
Information When you need repair service, call your nearest Roland Service Center or authorized Roland distributor in your country as shown below. AFRICA PHILIPPINES COSTA RICA TRINIDAD NORWAY JORDAN G.A. Yupangco & Co. Inc. JUAN Bansbach Instrumentos AMR Ltd Roland Scandinavia Avd.
Need help?
Do you have a question about the MV-8000 and is the answer not in the manual?
Questions and answers