Advertisement
Quick Links
Advertisement

Related Manuals for Camp Chef SIDEKICK 14


Summary of Contents for Camp Chef SIDEKICK 14
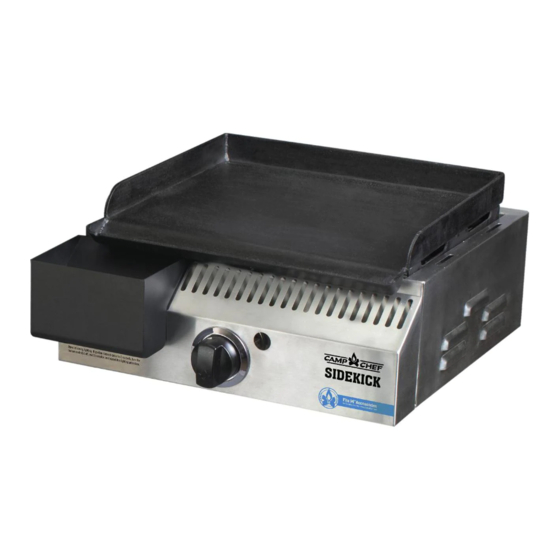
- Page 1 SIDEKICK 14 WARNINGS & INSTRUCTIONS MODEL: PG14BB...
- Page 2 WARNING DANGER FOR OUTDOOR USE ONLY • Never operate this appliance unattended. • Never operate this appliance within 10 ft (3 m) of stored LP gas cylinder. DANGER • Never operate this appliance within 25 ft If you smell gas: (7.5 m) of any flammable liquid.
-
Page 3: Parts List
PARTS LIST PG14-11 HARDWARE KIT QTY 7 M6X15 SCREWS QTY 4 M4X12 SCREWS POT GRATE (1) PG14-1 AIR VENT (1) 0826L LP SPRING (1) 0980 VALVE (1) PG14-3 IGNITER (1) PG14-2 BEZEL (1) FTG600-27 KNOB (1) PG14-4 LP BURNER (1) PG14-9 GREASE CUP (1) PG14-5... - Page 4 Note: The grease cup that is included with 1. Remove Qty (2) bolts from drum as shown. this product will only be needed when using a griddle. It is not needed when using the other PROPANE TANK BRACKET accessories. WARNING Leak test must be performed before lighting the grill.
- Page 5 there is a leak. Replace the faulty parts. use. Use insulated oven mitts or gloves for 9. Extinguish all open flames before protection from hot surfaces or splatter connecting the gas supply to the appliance from cooking liquids. and before checking for leaks. 21.
- Page 6 coupling nut for tightness. When appliance is by hand only.Do not use tools to disconnect. not in use, turn off control knob and LP tank Place dust cap on cylinder valve outlet valve on supply cylinder. whenever cylinder is not in use. Only install •...
- Page 7 • UL listed Overfill Protection Device (OPD). LP Tank Leak Test This OPD safety feature is identified by a WARNING unique triangular hand wheel. Use only tanks Appliance must be leak checked outdoors equipped with this type of valve. in well-ventilated area, away from ignition LP tank must be arranged for vapor sources such as gas fired or electrical withdrawal.
- Page 8 6. Turn the coupling nut clockwise to tighten to a full solid stop. The regulator will seal on the back-check feature in LP tank valve, resulting in some resistance. An additional one-half to three quarters turn is required to complete connection. Tighten by hand only –...
- Page 9 be stopped, do not try to repair. Call for replacement parts. Order new parts by Lighting Instructions giving the serial number, model number Follow the instructions exactly. and name of items needed to the Service 1. Check that the burner control knob and Center at 1.800.650.2433.
- Page 10 2. Use a long nose lighter and place through lighting hole in the front of the grill to approximately 1/2” (1 to 2 cm) from the burner. WARNING 3. Turn on the control knob to the “HIGH” position. The burner should light within 5 All cleaning and maintenance should only be seconds.
- Page 11 Cleaning and Maintenance • Be sure thermometer is in good working Correct care and maintenance will keep your condition. To check the thermometer, insert appliance operating smoothly. Clean regularly it into a pot of boiling water and ensuring as determined by the amount of use. NOTE: that it registers approximately 212°F ±...
-
Page 12: Limited Warranty
LIMITED WARRANTY Camp Chef No-Hassle Warranty Here at Camp Chef we stand by our products and take pride in our customer service. Because of this, your new Camp Chef product comes with a No-Hassle Warranty. We warrant that our products will be free from defects in all materials and workmanship (excluding paint and finish) for the Warranty Coverage Period described below.
Need help?
Do you have a question about the SIDEKICK 14 and is the answer not in the manual?
Questions and answers