Table of Contents
Advertisement
Quick Links
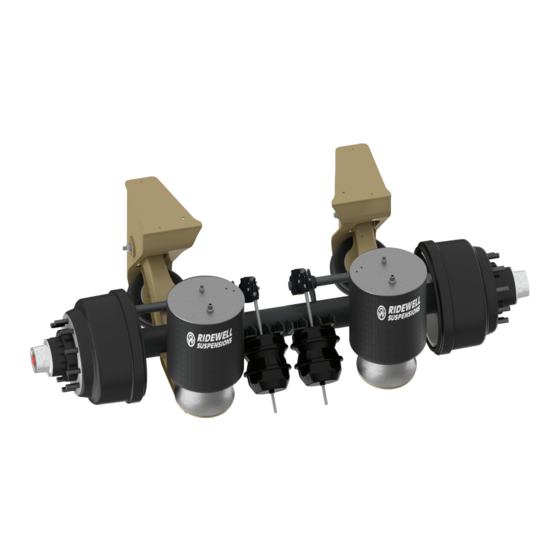
RCA-215T - Trailer
Nonsteerable - Auxiliary Axle Suspension
Installation and Service Manual
Suspension Identification ---------------------------------------2
Prior to Installation --------------------------------------------------------------------3
Axle Integration ------------------------------------------------------------------ 4
Suspension Mounting ------------------------------------------------------------------6
Air Control Kit - Troubleshooting ---------------------------------------------- 8
Recommended Service Intervals -----------------------------------------------------9
Parts Illustration
RCA-215T Suspension - Drum Brakes ----------------------------------------10
RCA-215T Suspension - Disc Brakes ------------------------------------------11
Bushing Replacement/Torque Specifications ------------------------------------- 12
Axle Alignment -----------------------------------------------------------------15
Warranty ------------------------------------------------------------ 16
Part No.:
9710113
Doc.:
215T-Trailer-ISM-RevF-03-24-21
Advertisement
Table of Contents

Subscribe to Our Youtube Channel
Related Manuals for Ridewell Suspensions RCA-215T-Trailer


Summary of Contents for Ridewell Suspensions RCA-215T-Trailer
-
Page 1: Table Of Contents
RCA-215T - Trailer Nonsteerable – Auxiliary Axle Suspension Installation and Service Manual Suspension Identification ---------------------------------------2 Installation Prior to Installation --------------------------------------------------------------------3 Axle Integration ------------------------------------------------------------------ 4 Suspension Mounting ------------------------------------------------------------------6 Air Control Kit - Troubleshooting ---------------------------------------------- 8 Maintenance Recommended Service Intervals -----------------------------------------------------9 Parts Illustration RCA-215T Suspension –... -
Page 2: Suspension Identification
SUSPENSION IDENTIFICATION Introduction The Ridewell Compact Air Ride (RCA) 215T Trailer Suspension is available for a wide range of appli- cations. The suspension can be purchased with or without an integrated axle. PART NO: Refer to the engineering drawing for detailed infor- SUSP. -
Page 3: Installation
• If vehicle chassis modifications are required, con- sult with the vehicle manufacturer to ensure that such changes are permitted. • Welding or altering suspension components is not permitted without the express written permission of Ridewell Suspensions. 215T-Trailer-ISM-RevF-03-24-21 Page 3 Back To TOC ... -
Page 4: Axle Integration
Axle Integration Suspension systems are available with and without a factory integrated axle. Customer-supplied axle assemblies must be positioned and oriented (rotated) properly before welding the axle. Use the top-center mark on the axle, if available, to identify the center of the axle and orient the axle as- sembly on the suspension. - Page 5 ROOT 1/2" SECOND PASS 3/8" PASS THIRD 1/8" MAX PASS AXLE AXLE AXLE AXLE 1/2" BEAM AXLE SEAT BEAM AXLE SEAT BEAM AXLE SEAT BEAM AXLE SEAT THIRD PASS WELD JOINT PREPARATION FIRST PASS SECOND PASS ARC START ARC START ARC STOP ARC STOP THIRD PASS...
-
Page 6: Suspension Mounting
Suspension Mounting Final Assembly and Inspection Refer to the engineering drawing for the range of ride 1. Verify welds of frame hangers and air spring heights available and clearance requirements . mounting plates. The suspension installer has the final responsibility 2. - Page 7 continued from previous page 3. Weld replacement upper air spring mounting Regulate load with air spring pressure brackets provided in shock absorber kit to frame crossmember with 3/16” fillet weld. The load capacity of the auxiliary axle is adjusted by increasing or decreasing the pressure to the air 4.
-
Page 8: Air Control Kit - Troubleshooting
Connect the load and lift air springs and an air con- Pressure trol kit to the air system (Figure 5). Protection Valve (PPV) (Required with air brakes) The air control kit (ACK) consists of a pressure Pressure Regulator regulator with a gauge connected to an air valve Air Tank controlled by an electric switch or manual knob. -
Page 9: Maintenance
MAINTENANCE Recommended Service Intervals Ridewell Suspensions recommends these minimum service intervals for standard duty, on-highway usage applications. More frequent intervals are recommended for heavier duty applications. Daily/Pre-Trip Inspections Every 12,000 miles of use Check tires for proper inflation, damage or Inspect air springs for damage/excessive wear. -
Page 10: Rca-215T Suspension - Drum Brakes
Locknut Crosschannel (Air Spring) (Customer-Supplied) Locknut (Air Spring) Pivot Nut (Flanged Lock Nut) Hanger Mounting Plate (Left-Hand) (Air Spring) Alignment Washer Wear Washer Flat Washer Air Spring Pivot Bushing (Load) (Narrow) Adjuster Plate Lock Nut (Lift Spring) Locknut Pivot Bolt* (Lift Spring) (Shear-Type) Locknut... -
Page 11: Rca-215T Suspension - Disc Brakes
Crosschannel (Customer-Supplied) Locknut Hanger (Air Spring) (Left-Hand) Locknut Pivot Nut (Air Spring) (Flanged Lock Nut) Mounting Plate Wear Washer (Air Spring) Alignment Washer Adjuster Plate Pivot Bushing (Narrow) Flat Washer Lock Nut Locknut (Lift Spring) (Lift Spring) Locknut Air Spring (Lift Spring) (Load) Pivot Bolt*... -
Page 12: Bushing Replacement/Torque Specifications
rCA 215t t – b rAiler uspension ushing eplACement orque peCifiCAtions Part Number Torque Values (Component) Item Description Size foot-pound Newton-meter Do not lubricate bolt/nut threads. 6040128-Bushing Kit Pivot Bolt/Nut - (Shear-Type Bolt/Locknut) 7/8”-9NC Use 1”-drive impact wrench to 6100044-Narrow Tool Requires E-20 Torx socket (RW #6100054) ®... - Page 13 Replacement Procedure with Narrow Bushing Tool #6100044 (continued) Tool Assembly Bushing Removal Check that thrust bearing is installed in the flat, 1. Push the HHCS through the inner sleeve until outside edge of endcap. Inspect tapered insert and the tool cone is against the beam eye. Thread the endcap for damage.
- Page 14 Replacement Procedure with Narrow Bushing Tool #6100044 (continued) Tool Assembly Reassemble suspension Rotate the beams into the hangers. Thread the flat washer, the bearing collar and the endcap onto the hex-head cap screw until the bearing Assemble the pivot connection – alignment washer, collar and endcap rest against the head of the HHCS.
-
Page 15: Axle Alignment
Axle Alignment Alignment should be performed on a level surface with the suspension at the desired ride height. Align the suspension per TMC- or SAE-recommended standards. On a multiple-axle vehicle, the forward axle is moved into proper alignment, then the remaining axles are positioned so that they are parallel to the forward axle. -
Page 16: Warranty
Terms and coverage in this warranty apply only to the United States and Canada. Ridewell Suspensions warrants the suspension systems manufactured by it to be free of defects in material and workmanship. Warranty coverage applies only to suspensions that have been properly installed, main- tained and operated within the rated capacity and recommended application of the suspension.
Need help?
Do you have a question about the RCA-215T-Trailer and is the answer not in the manual?
Questions and answers