
Related Manuals for Fantom Drives eXtreme Thunderbolt 3


Summary of Contents for Fantom Drives eXtreme Thunderbolt 3
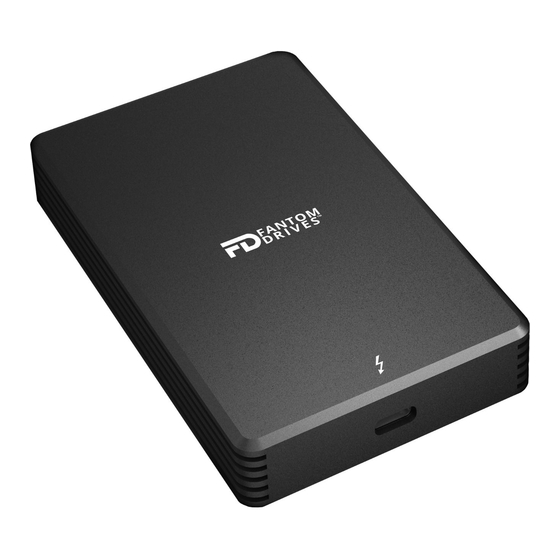
- Page 2 (1) eXtreme Thunderbolt 3 SSD (1) Thunderbolt 3 USB C - USB C Cable (1) User Manual We at Fantom Drives take great pride in bringing personal satisfaction to each of our customers. If you ever have any trouble with this unit, please contact us at support@fantomdrives.com or call us at...
- Page 3 We at Fantom Drives take great pride in bringing personal satisfaction to each of our customers. If you ever have any trouble with this unit, please contact us at support@fantomdrives.
- Page 4 STEP 1: SET UP (For Windows Only) For maximum performance, enable the following settings in Windows: Plug the eXtreme SSD to the computer using the USB C to USB C. Please note that Thunderbolt 3 port is the same design as a USB C port. You will need a Thunderbolt 3 device/port to use eXtreme SSD.
- Page 5 STEP 2A: Instructions for Windows 10 or Greater On the eXtreme SSD box, locate the barcode sticker that includes the part number. If the part number ends with “W”, you have a unit formatted specifically for Windows. Once you have connected the device, your computer should recognize it and should be ready for use.
- Page 6 other than Disk 1. You can check by unplugging and plugging back the unit in and seeing what shows when connected). If your drive does not say “Unallocated” follow steps 6 and 7. Otherwise, go to step 9. Right click on the Windows icon again and select “Windows PowerShell (Admin).”...
- Page 7 Go back to Disk Management. You should now see that drive as “Unallocated” as mentioned in step 5. Right click on your Disk and select “Initialize Disk.” Make sure your disk and GPT option is selected.
- Page 8 10. Right click your disk again on Disk Management and click on “New Simple Volume.” 11. Continue through with the Wizard and where it asks for File System Type, make sure it is set to NTFS. Finish the Wizard and you are now able to use the drive with Windows.
- Page 9 STEP 2B: Instructions for Mac OSX Connect the eXtreme SSD to a Thunderbolt 3 port to power the drive. Open Mac HD or the name of your main hard drive in finder. Open Applications, then Utilities, and then Disk Utility. Once the Disk Utility application has opened, your eXtreme SSD should be listed on the left.
- Page 10 Warning: This will delete all your current data in the drive! 5) For Format, select Mac OS Extended (Journaled) 6) Click Erase at the bottom of the screen. You will receive a warning message asking you to confirm the erase procedure. 7) The drive will be available to use after the process completes.
- Page 11 STEP 3: Instructions to Disconnect eXtreme SSD To avoid losing data, it’s important to remove external hardware like hard drives and USB drives safely. Look for the “Safely Remove Hardware” icon on the taskbar. If you can’t find the “Safely Remove Hardware” icon, right click the taskbar and select “Taskbar settings.”...
- Page 12 Designed, Engineered and Assembled in Torrance, California since 1988. FOR AN ONLINE VERSION OF THE MANUAL OR SUPPORT, PLEASE VISIT WWW.FANTOMDRIVES.COM...
Need help?
Do you have a question about the eXtreme Thunderbolt 3 and is the answer not in the manual?
Questions and answers