Table of Contents
Advertisement
Quick Links
FTL2133
VOLNA
INSTALLATION GUIDE
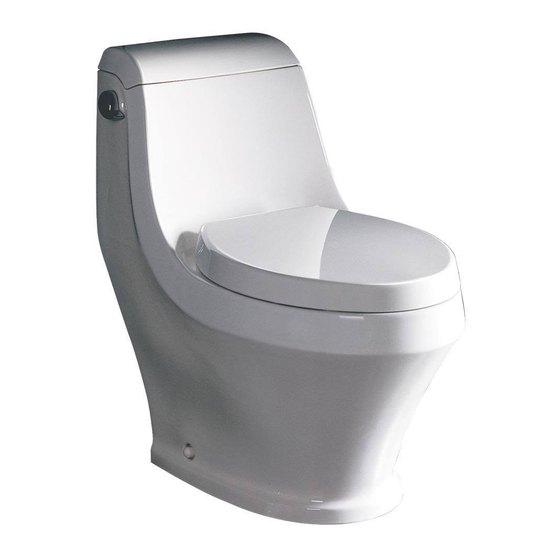
Dimensions
Your item may appear slightly different from the illustration
Note:
All dimensions are specifications are approximate and subject to change without notice.
Supplied Parts List
Please unpack and inspect all packages and components carefully,make sure they are complete.
Examine for shipping damage. If some parts are damaged or missing, notify your dealer immediately.
A
B
Toilet body
Toilet seat
x1
x1
J
K
Decoration cap
Plastic cover
x2
x2
©2014 Fresca ™ All rights reserved. This material may not be reproduced, displayed, modified or distributed without the express prior written permission of the copyright holder.
C
D
Tank cover
Flush handle
x1
x1
L
M
Bolt
Expansion rubber
x2
x2
E
F
Flange
Screw
Screw
x1
x6
x2
N
O
Hinge base
Gasket
x2
x2
G
H
Expansible
Plastic bracket
plastic plug
x2
x6
PAGE 1
I
Advertisement
Table of Contents

Related Manuals for Fresca VOLNA FTL2133


Summary of Contents for Fresca VOLNA FTL2133
- Page 1 Decoration cap Plastic cover Bolt Expansion rubber Hinge base Gasket PAGE 1 ©2014 Fresca ™ All rights reserved. This material may not be reproduced, displayed, modified or distributed without the express prior written permission of the copyright holder.
- Page 2 Mark the installing position for mounting screws and connecting pipe as illustrated(drawing for distance of installing holes). PAGE 2 Drawing for distance of installing holes ©2014 Fresca ™ All rights reserved. This material may not be reproduced, displayed, modified or distributed without the express prior written permission of the copyright holder.
- Page 3 Connecting pipe Fix the plastic bracket(H) by screws(F). PAGE 3 ©2014 Fresca ™ All rights reserved. This material may not be reproduced, displayed, modified or distributed without the express prior written permission of the copyright holder.
- Page 4 Soft pipe nut Soft pipe Soft pipe nut Waterproof spacer Water supply valve PAGE 4 ©2014 Fresca ™ All rights reserved. This material may not be reproduced, displayed, modified or distributed without the express prior written permission of the copyright holder.
- Page 5 Overflow pipe Toilet body Chain 6. Put on the tank cover(C) gently PAGE 5 ©2014 Fresca ™ All rights reserved. This material may not be reproduced, displayed, modified or distributed without the express prior written permission of the copyright holder.
- Page 6 Note: Do not use the product immediately after finishing installing.Make sure there is no water around the product about 24 hours. PAGE 6 ©2014 Fresca ™ All rights reserved. This material may not be reproduced, displayed, modified or distributed without the express prior written permission of the copyright holder.
Need help?
Do you have a question about the VOLNA FTL2133 and is the answer not in the manual?
Questions and answers