
Related Manuals for MYERSON FlexPress

Summary of Contents for MYERSON FlexPress
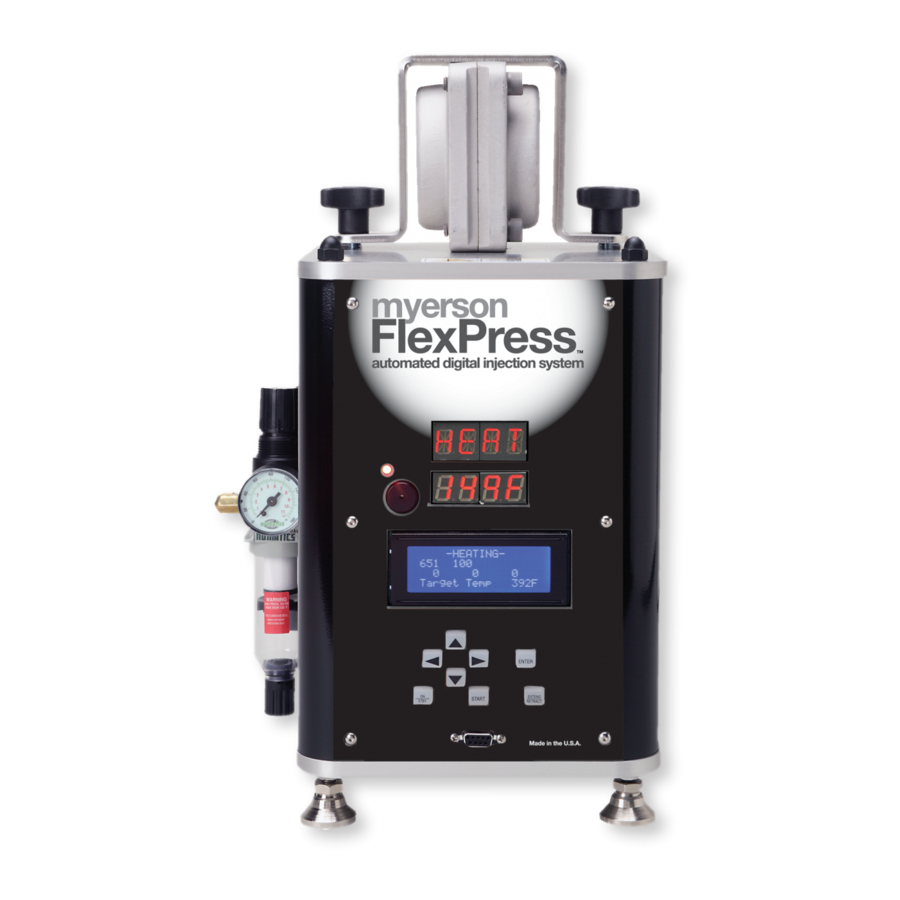
- Page 1 6.17.2010 Instruction Manual more to myerson than teeth www.myersontooth.com...
-
Page 2: Table Of Contents
The heat guard can be removed periodically for cleaning. Just follow the above steps in reverse order to remove the heat guard. Thank you for your purchase. Feel free to call myerson with any questions. -
Page 3: Components
1~components The following is a list of components that are included in the myerson Flexpress™ Digital Injection Systems: Description Professional Kit Advance Kit 120v - FP-0101 120v - FP-0100 230v - FP-0103 230v - FP-0102 myerson Flexpress™ (1) Injection Flask... -
Page 4: Storage & Handling
To turn on the unit, press the rocker switch located on the left side of the unit above the power cord receptacle. The control panel will illuminate briefly then turn back off. The myerson Flexpress™ is now in Standby mode. To turn on the controller press the ON/STBY button (lower left button). -
Page 5: Editing User Profiles
4 ~ editing user profiles The myerson FlexPress allows the user to save up to 7 custom processing profiles for easy switching between materials. The following procedure outlines how to create and save profiles in the myerson FlexPress™ Digital Injection System. Note: myerson, LLC does not provide process settings for materials other than myerson, LLC supplied materials. - Page 6 START or put the unit in standby by pressing the STBY button. Press the START button to begin the profile. Now let the myerson Flexpress™ do the rest. The unit will begin counting down the Melt Time and once it expires the unit will automatically inject the material into the flask.
-
Page 7: Processing Using The "Rerun Last Profile
12. Press the EXTEND/RETRACT button again to retract the piston. 13. The myerson Flexpress™ is now ready to process another case. Repeat steps 1-9 for your next injection. section 6 ~ processing using the “Re-run Last Profile” From the main menu use the UP or DOWN buttons until the cursor is to the left of “Rerun Last Profile”... - Page 8 Wax and set up the teeth just as you would for an acrylic partial. Add the clasps to the partial. myerson,LLC recommends using 12 gauge sprue wax for creating clasps.
- Page 9 Coat the inside of the flask with a petroleum jelly. This will prevent the stone from adhering to the flask. Invest the partial using regular Buff stone. When stone sets, place sprues using 3/16” (4.75mm) utility rope wax. Extend the sprue to the injection port in the flask.
- Page 10 The holes in the teeth are very important. They create the mechanical retention necessary to lock the teeth in place as well as allow air to escape as the myerson DuraFlex is injected. Once the holes have been created, the teeth need to be placed back into the proper locations.
- Page 11 11. Next, turn on the myerson Flexpress™ by pressing the ON/STBY button. Select the method of processing referred to in sections 4-6. 12. When the myerson Flexpress™ has reached the preset temperature, a buzzer will sound. At this time, insert the desired myerson DuraFlex cartridge into the heating chamber with the crimped end down.
- Page 12 13. Place the flask onto the myerson Flexpress™, centering the sprue hole of the flask over the center of the heating chamber. Lock the flask in place using the flask strap and knobs. 14. When the timer expires, the myerson Flexpress™ will automatically inject the myerson DuraFlex cartridge.
- Page 13 18. This is the finished myerson DuraFlex case. Ready for try in.
-
Page 14: Myerson Duracetal Framework Injection Procedure
Section 8 ~ myerson DurAcetal framework injection procedure The following procedure outlines the steps necessary to create myerson DurAcetal frameworks with the myerson Flexpress™ Digital Injection ® System. Block out the saddles on the model. This is in preparation for the acrylic that will be placed later. - Page 15 4. Wax up the framework. 5. Coat the inside of the flask with a petroleum jelly. This will prevent the stone from adhering to the flask. 6. Invest the framework using regular Buff stone. When stone sets, place sprues using 3/16” (4.75mm) utility wax. Extend the sprue to the injection port in the flask.
- Page 16 This will keep the stone from leaking out during the second half of the investing process. 8. Pour up the flask using myerson, LLC’s Investing Stone INVSTONE-25LB. Notice the stone is not protruding from the widow in the flask.
- Page 17 11. Next, turn on the myerson Flexpress™ by pressing the ON/STBY button. Select the method of processing referred to in sections 4-6. 12. After the appliance is divested, it can be placed in a stone remover to eliminate any extra stone that is adhering to the appliance.
- Page 18 13. Here you have your finished myerson DurAcetal appliance. The holes in the saddle areas were created using a standard round bur. This will allow the acrylic to mechanically retain to the myerson DurAcetal framework.
-
Page 19: Warranty & Returns
Section 9 ~ myerson warranty & returns myerson offers a three (3) year limited warranty for US and Canada against defects in material and workmanship. If you would like to submit a product for warranty return, please contact a myerson distributor or myerson. -
Page 20: Section 11 Preventative Maintenance & Cleaning
Section 11 ~ preventive maintenance & cleaning Use only approved materials in the myerson Flexpress™ Digital Injection System. The use of other materials may cause the unit to fail and will void the manufactures warranty. See Section 10 for warranty information. -
Page 21: Section 14 Important Safety Warnings
It is normal for the unit to become quite warm during use. Do not leave unit unattended with the power on. The myerson Flexpress™ Digital Injection System is for indoor use only. Do not use outdoors or in wet or damp locations. Never immerse unit in water or other liquids. -
Page 22: Section 15 Notes
section 15 ~ notes... - Page 23 SPECIAL Premium quality teeth hand-crafted to be Clasps Partial Dentures virtually indistinguishable from natural teeth Crowns myerson DB PLUS Time proven formula reinforced with sub-micron silica to enhance hardness...
- Page 24 MANUFACTURED BY myerson company limited 3 trinity avenue laventille, trinidad & tobago telephone 868 623 1007 facsimile 868 627 4594 myerson LLC 311 north aberdeen chicago, IL 60607-1203 USA toll free phone 800 423 2683...
Need help?
Do you have a question about the FlexPress and is the answer not in the manual?
Questions and answers