Advertisement
Quick Links
01865 767676
sales@unicol.com
www.unicol.com
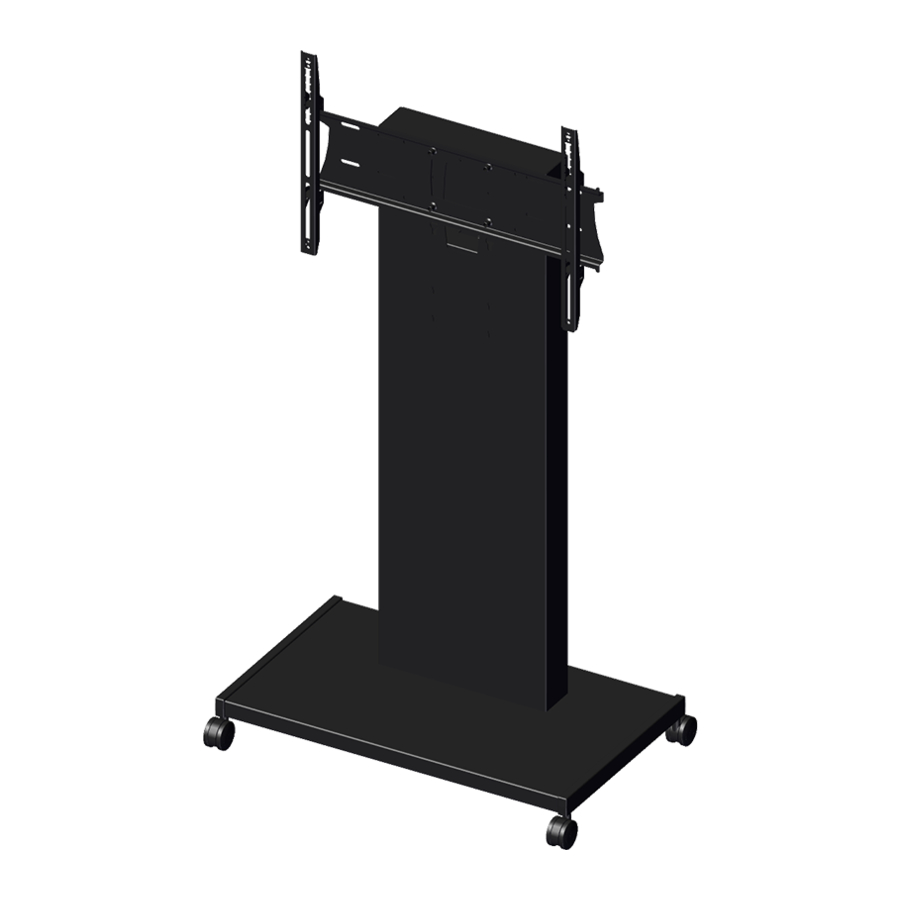
RH100 / RHBDU / RFWSH / RH200
Screen Size: 33-110"
Guide Max. Weight: 80-150kg
Revised 05/08/21
*Please check model specific details before installing*
WARNING
Please carefully inspect the product before assembling. If you notice any apparent damage, call your
carrier claims agent and do not continue the installation until it has been reviewed. Please watch for
pinch points. Do not put your fingers between moveable parts. Do not tamper with or disassemble any
spring loaded parts. Before installing, make sure that the supporting surface will support five times the
combined load of the solution and the hardware. Never exceed the maximum load capacity. Please also
layout all components to ensure that you have all of the required parts before proceeding (see BOM list
on following page). Use of this product for anything other than its specified use may result in failure or
personal injury. This product is intended for indoor use only. We recommend using a qualified trades
person for installation. Use an assistant or lifting equipment to lift and position products.
For support, please call: +44 (0)1865 767676 or email: sales@unicol.com
Advertisement

Related Manuals for Unicol RH100


Summary of Contents for Unicol RH100
- Page 1 This product is intended for indoor use only. We recommend using a qualified trades person for installation. Use an assistant or lifting equipment to lift and position products. For support, please call: +44 (0)1865 767676 or email: sales@unicol.com...
-
Page 2: Tools Required
01865 767676 sales@unicol.com www.unicol.com TOOLS REQUIRED INSTALLERS REQUIRED Pozi Head Screwdriver 4mm & 5mm Allen Keys 19mm Spanner 17mm Spanner Rubber Mallet COMPONENTS *bases may vary from model to model *masts may vary from model to model DESCRIPTION Rhobus Mast (inc. cabinet door) - Page 3 STEP 2 Connect base to mast as shown (4 fixings for Unlock and lift out rear door. Remove upper rear RH100 and 6 for HD versions). panel by unscrewing 4x M6 screws. For RH200, please continue on page 6. For a stand version, insert the plastic feet. For a...
- Page 4 01865 767676 sales@unicol.com www.unicol.com STEP 5 STEP 6 Locate the mounting holes on the back of your Line the screen and arms up with the secured back screen. Line the two mounting arms up and using plate and offer it up at a slight angle - allowing the...
- Page 5 01865 767676 sales@unicol.com www.unicol.com BOLT DOWN STEP 2a STEP 1a With mast laying flat on a table (as shown above) Once secure, stand the stand upright and place pick up the base and offer the base to the mast. on a flat, stable surface. Mark position of holes, as Ensure fixing holes are aligned and then secure.
-
Page 6: Twin Screen
01865 767676 sales@unicol.com www.unicol.com TWIN SCREEN STEP 3 STEP 3a Place 2x screws in the bottom two rivnuts of the Feed cables for screen through hole in backplate span bar plate and slot into chosen keyholes in and front of mast, down through cable access and mast.