Table of Contents
Advertisement
Quick Links
MOUNTING, OPERATING, TESTING & MAINTENANCE INSTRUCTIONS
FOR ROTEX 2/2 INTERNAL PILOT, DIAPHRAGM OPERATED,
MODEL: 24201, 24202, 2420V01, 24202V01, 24229, 24232
ROTEX retains all rights to this publication.
All details within this manual and the catalogue are subject to change without manner.
ROTEX will not be responsible for any damage whatsoever arising from the use of the Solenoid Valve, due to misuse
or incorrect installation or misinterpretation of the information contained herein.
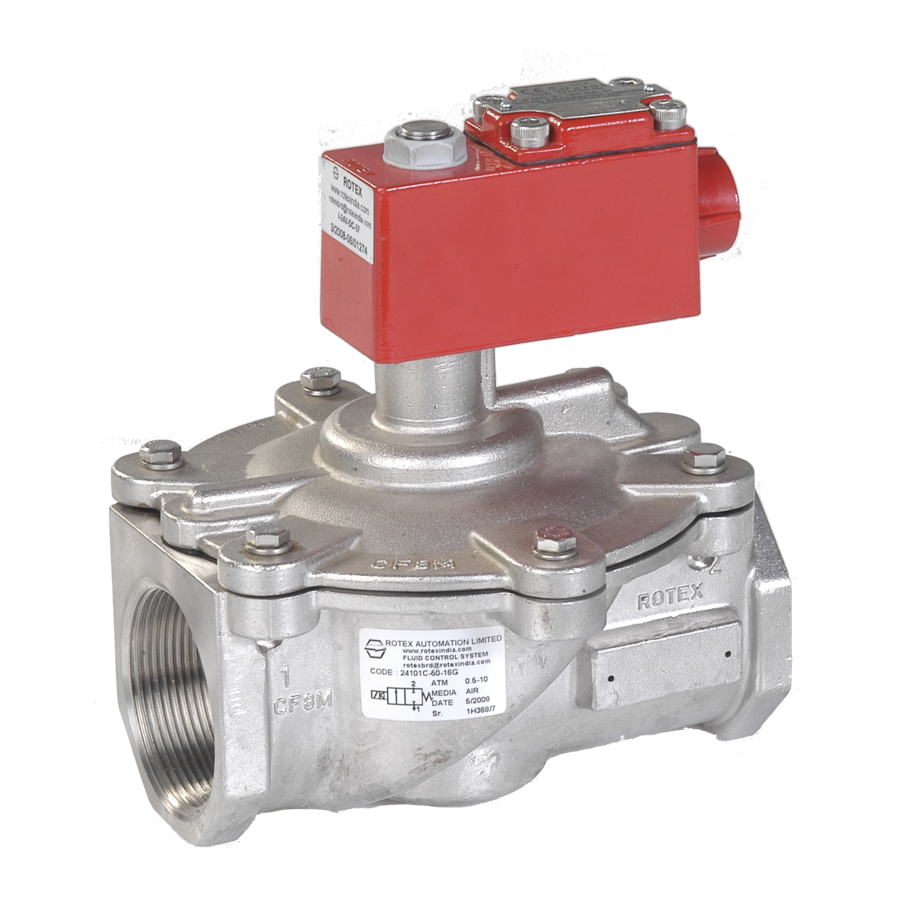
CONNECTION
VALVE TYPE
24201, 24202, 24201V01,
24202V01, 24229, 24232
(A) OPERATING PRINCIPLE
In de-energized condition of solenoid, applied pressure at Inlet port # 2, a part of media pressure passed from bleed
hole of diaphragm to surrounding hole of Duse to tube hole to out let port # 1. thus, pressure released from top of the
diaphragm assembly and it is moves up. In this state, Inlet port # 2 and Outlet port # 1 is connected. Media come from
outlet.
In energized condition of solenoid, thus plunger assembly moves up and blocked the pilot passage, now applied
pressure at Inlet port # 2, media pressure act on the diaphragm assembly from bleed to keep downwards. In this state,
Inlet port # 2 and Outlet port # 1 is disconnected. Media cannot come out.
INLINE, NORAMLLY OPEN SOLENOID VALVE
FUNCTION
IN
NC
2
OUT
1
IM No. : IM/V/00063
Rev. 1 dtd. 23.05.2017
Page 1 of 5
Advertisement
Table of Contents

Subscribe to Our Youtube Channel
Related Manuals for Rotex 24201


Summary of Contents for Rotex 24201
- Page 1 All details within this manual and the catalogue are subject to change without manner. ROTEX will not be responsible for any damage whatsoever arising from the use of the Solenoid Valve, due to misuse or incorrect installation or misinterpretation of the information contained herein.
- Page 2 Rev. 1 dtd. 23.05.2017 Page 2 of 5 IDENTIFICATION ON THE SOLENOID VALVE VALVE MARKING Label on the ROTEX Solenoid Valve shows the following details: Logo + Name & address of the Manufacturer Valve Type / Code 24201 = Valve Model...
- Page 3 Inlet pressure does not exceed rated pressure. Hemp-Filaments, ’Jute’ or even Teflon-Ribbons are normally not required, as the port connections of ROTEX Valve is accurately machined. To avoid overlap of the Teflon ribbon or cuts generated while tightening, getting carried away into the valve.
- Page 4 It is recommended to replace complete set of O Ring even if one of the O Ring is damaged. This is to ensure trouble free operation of the valve and will avoid its premature failure. • Using Grease other than Silicon base Molykote M55 will lead to premature failure of O Rings of the ROTEX Solenoid valve. ...
- Page 5 Ensure that the O Rings and other rubber parts are compatible to the media passing through the valve. Reassemble the valve. Check operation and leakage of the valve. Contact ROTEX in case of any difficulty. (C) REPLACEMENT OF DIAPHRAGM Remove solenoid and tubing, if necessary as per Procedure (A). Remove cover by opening Bolts.
Need help?
Do you have a question about the 24201 and is the answer not in the manual?
Questions and answers