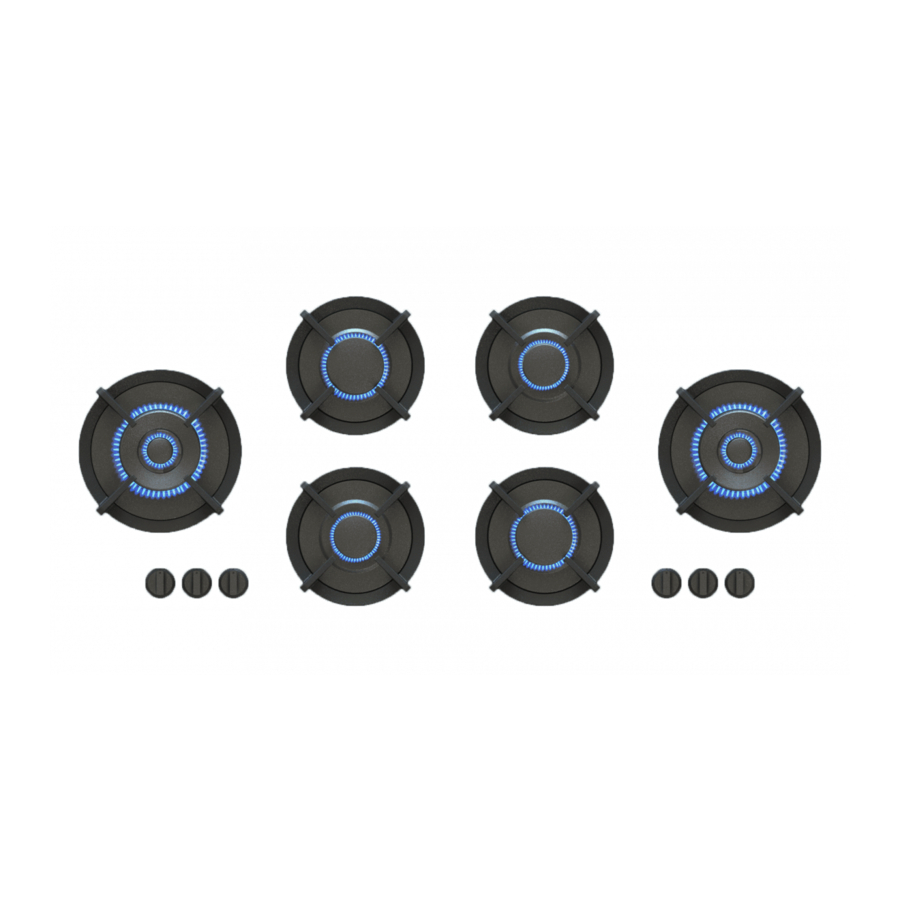
PITT Foessa Manual
Hide thumbs
Also See for Foessa:
- User manual (12 pages) ,
- Installation instructions manual (15 pages) ,
- Installation instructions manual (28 pages)
Advertisement
Quick Links
Made in Holland
Benchtop and Cabinetry procedures
and guidelines for PITT
For more detailed information visit Installation
and handling instructions www.pittcooking.info
Do not used the enclosed Aluminium Heat
Conductors as a benchtop template! Only
use the paper template provided.
These documents contain instructions to securely and successfully install PITT
kitchen benchtops. Furthermore, they indicate which level of craftsmanship is required. To
make a warranty claim, installation procedures should be applied as described. PITT
is exclusively intended for consumer use.
®
Caution
cooking
cooking into
®
cooking
®
IH2019-1-PC/AU
Advertisement

Subscribe to Our Youtube Channel
Summary of Contents for PITT Foessa
- Page 1 These documents contain instructions to securely and successfully install PITT cooking into ® kitchen benchtops. Furthermore, they indicate which level of craftsmanship is required. To make a warranty claim, installation procedures should be applied as described. PITT cooking ® is exclusively intended for consumer use.
- Page 2 Contents 1. Benchtop materials suitable for PITT cooking ® 2. Manufacturing hole cut-outs 3. Manufacturing hole cut-outs | Solid Surface 4. Installation the kitchen benchtop 5. Installation PITT cooking in the kitchen benchtop ®...
- Page 3 1. Benchtop material suitable for PITT cooking ® PITT cooking can safely be built into: ® • Compact board (eg. Trespa) • Solid Surface (eg. Corian, Hi-Macs, Staron) • Quartz composite (Caesarstone, Silestone, Quantum Quartz, Smartstone) • Concrete • Glass •...
- Page 4 Manufacturing hole cut-outs for benchtop’s The guidelines of the kitchen manufacturer and/or the manufacturer of the kitchen benchtop should always be strictly followed. Fig. 1 The C-size for Top Side models should be at least 50 mm (fig.1). The distance between the cut out (Top Side and Front Side) and the sides (left or right) of the benchtop should be at least 150 mm.
- Page 5 Manufacturing hole cut-outs Fig. 4 Fig. 5 The insides of the holes should be smooth and even (fig. 4). Irregularities can cause cracking (fig. 5). Facet 1x1 mm Fig. 6 On the top and bottom of the recess(es) should be a facet of at least 1x1 mm be applied (with exception for Solid Surface) (fig.
- Page 6 Manufacturing hole cut-outs Fig. 9 The minimum clearance from a combustible surface shall be a 200 mm horizontal distance from the periphery of any gas burner (AS/NZS 5601.1). (fig. 9). If that horizontal clearance is less than 200 mm, that vertical surface must be protected by a non-combustible material for 150 mm above the cooktop surface across the entire length (depth, width).
- Page 7 Fig. 11 Glue an extra Solid Surface plate at all times at the bottom of the benchtop. This plate should have the same measurements as the PITT cooking heat conductor, and the same thickness as the benchtop (fig. 10). A range of minimum R=3 mm should be applied on the top and bottom of the recess(es). By sanding it smooth afterwards, possible cracks can be prevented (fig.
- Page 8 Manufacturing hole cut-outs | Solid Surface (eg. Corian, Sharon, Hi-Macs) Aluminum tape Thermo tape Aluminum tape Note! Tape may not be folded on edge of recess. Fig. 13 Heat conductor Apply aluminium tape and thermo tape in the recess(es), in this order: 1) aluminum tape 2) thermo tape 3) aluminum tape (fig.
- Page 9 The cabinets should be placed perfectly levelled (fig. 14 and 15). Fig. 16 If there is a substrate under the benchtop the substrate should be cut to fit the PIT cooktop. The cutout should be the same size (+10 mm) as the PITT cooking module. This is to bring ®...
- Page 10 Fig. 17 Fig. 18 The benchtop should have full support on the left, right, front and back side of the PITT cooking unit (fig. 17). This prevents tension in the benchtop from the weight of the cooking unit. We advise to support the benchtop with a ladder frame.
- Page 11 FS = Front Side Fig. 16 Fig. 19 Fig. 20 The PITT cooking module should always be fully supported with the PITT cooking support ® ® set to prevent bending of the kitchen benchtop (fig. 19 and 20). Fig. 21...


Need help?
Do you have a question about the Foessa and is the answer not in the manual?
Questions and answers